66
Turning the Instrument On and O
2.6 Turning the Instrument On and O
WARNING
Before turning on the instrument, verify that the supply voltage you plan
to use falls within the supply voltage range noted on the instrument’s
AC Adapter.
Supplying a voltage that falls outside the specied range to the AC Adapter could
damage the instrument or AC Adapter, causing bodily injury.
NOTICE
Do not input a voltage to input terminals while the instrument or wireless
module is o.
Doing so could damage the instrument or wireless module.
IMPORTANT
• Be sure to turn o the instrument and any wireless modules after use.
• The instrument and wireless modules will not malfunction in the event of a momentary power
interruption lasting 40 ms or less. However, an interruption lasting longer than 40 ms will cause
the instrument and wireless modules to malfunction. Check the condition of the power supply
being used. In addition, you can continue measurement even in the event of an outage by
using the Z1007 Battery Pack.
See “2.2 Installing a Battery Pack” (p. 40).
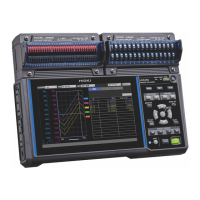
LR8450/LR8450-01
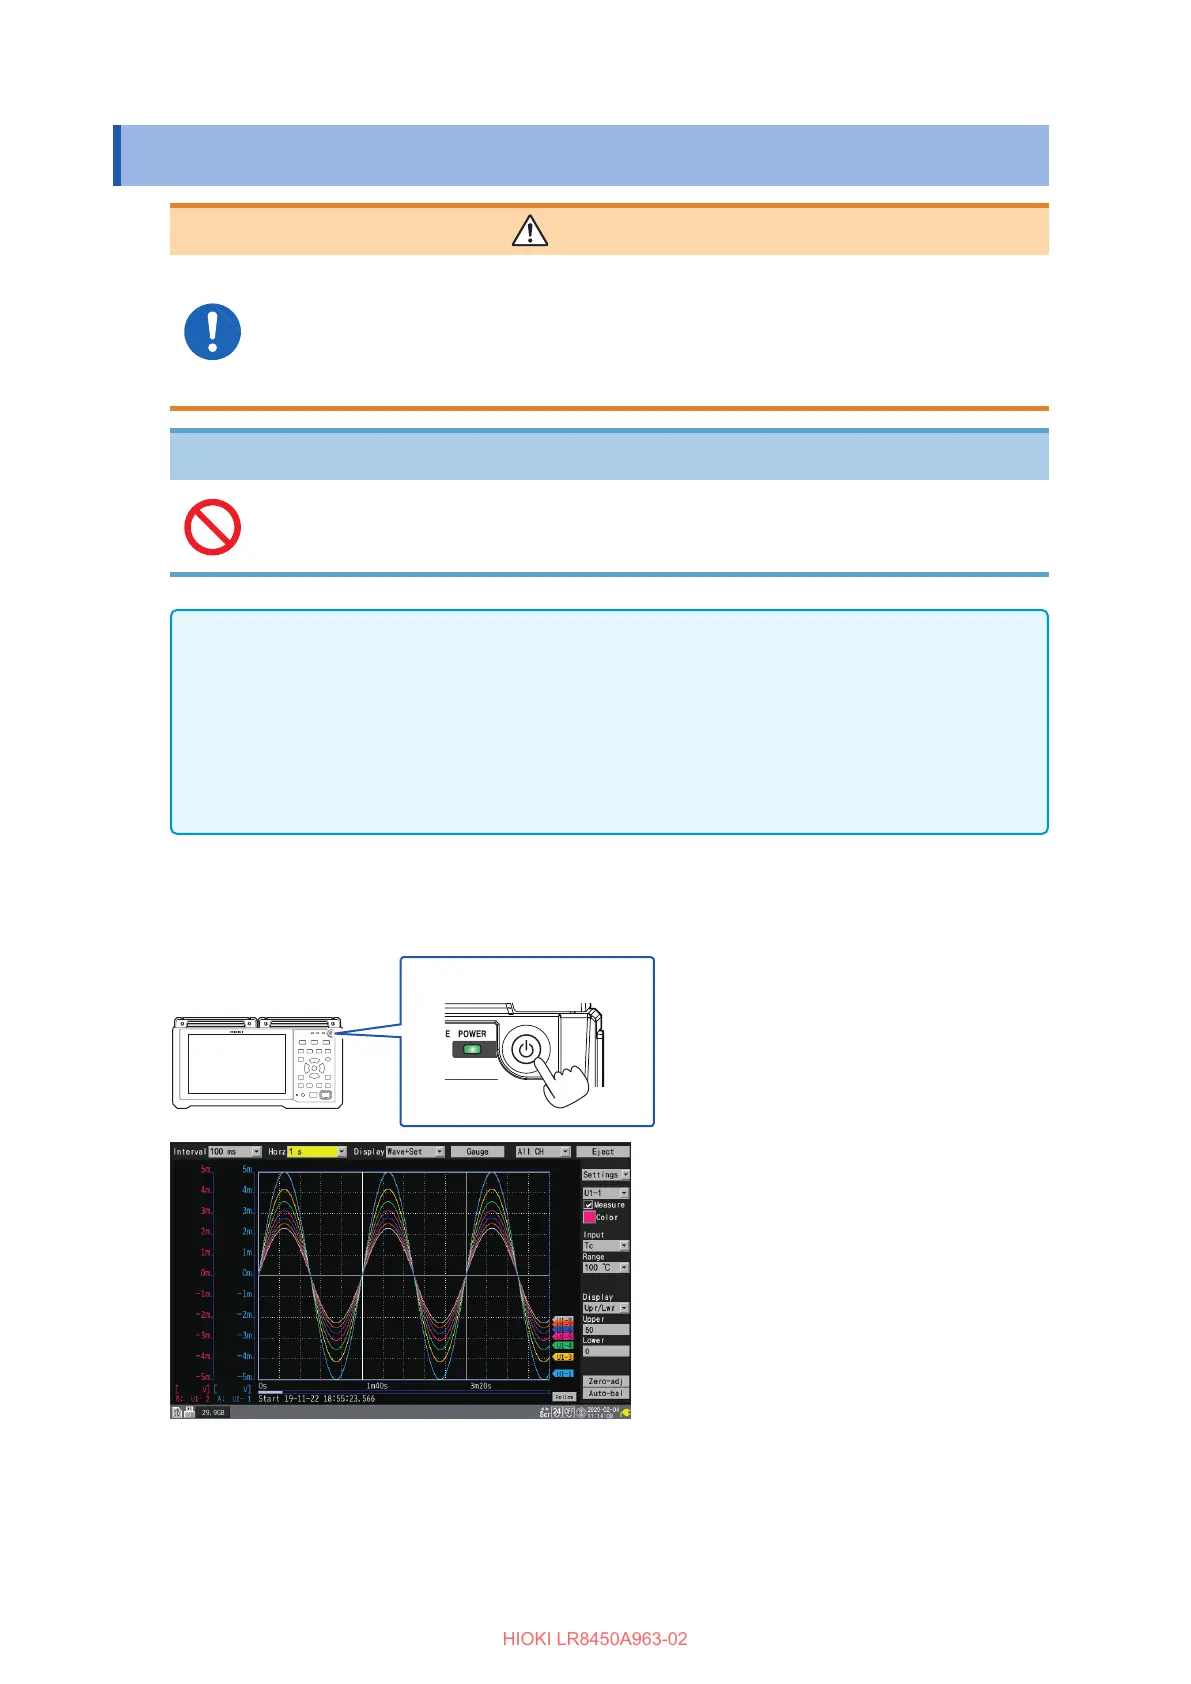
(1) Turning on the instrument
Press the power key to turn on the instrument. The POWER LED will turn green.
When the instrument starts up, the icon will be
shown on the bottom right of the screen.
See “Screen and icons” (p. 27).
When the instrument is powered by the AC
Adapter, the power plug icon will be displayed.
When operating on battery power, the battery
icon will be displayed.
(2) Turning o the instrument
Pressing the power key will cause the instrument to display a message conrming whether you
want to turn o the instrument. Choose [OK] and press the ENTER key to turn o the instrument.
The POWER LED will be turned o.

 Loading...