l Screw driver
1. Install the DIN rail on the wall in the desired location. Ensure that the secure
installation, supporting surface, and mounting hardware will safely support
the weight of a fully loaded charger, at 25 lbs. per linear foot (37.2 kg/m) of
DIN rail. Ensure that the anchor holes are at least 12 inches (30.5 cm.) from
the floor. Verify that the installation meets all local building codes.
2.
IMPORTANT
The power supply for the charger should already be
zip-tied in the back of the charger chassis. If it is not,
plug the power supply into the charger and secure it.
Do not plug it into a power source until after
mounting is complete.
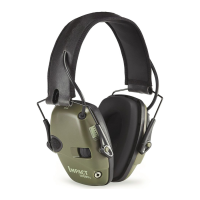
Before attaching the charger to the rail, open the locking arms on the back
of the unit by rotating the two levers out on each side of the charger. The
arms are parallel to the floor in the unlocked position.
3. Attach the charger to the DIN rail by hanging the two hooks on the back of
the unit on the top lip of the rail.
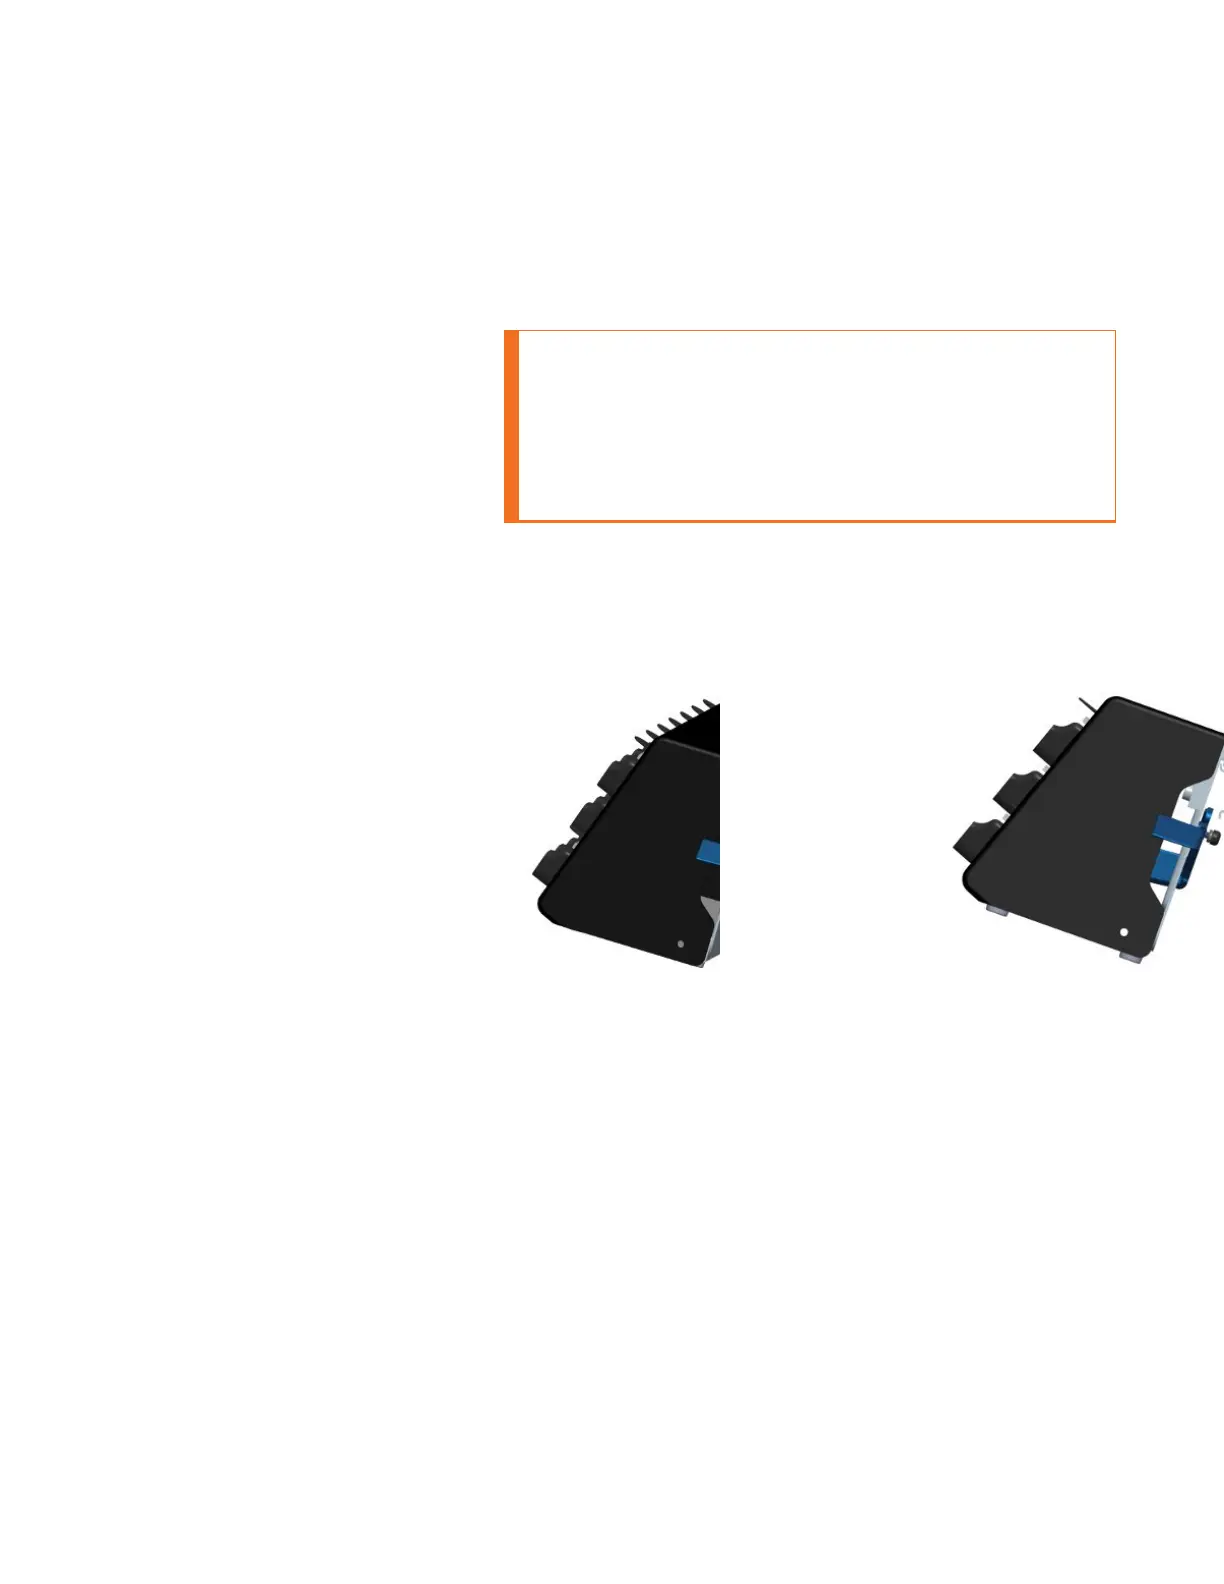
4. Slide the charger horizontally to the desired position on the rail, and rotate
the locking arms into the locked position - flush with both sides of the unit.
5. If the charger does not feel secure on the rail, adjust the rubber stops on the
back of the unit by screwing them out toward the wall.
6. Plug the power supply into a power source and check the LED indicator at
the bottom right of the charger face. If the indicator light is a solid green,
the charger is powered on.
About LED Indicators
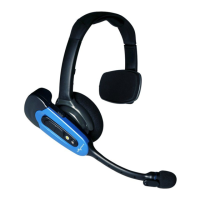
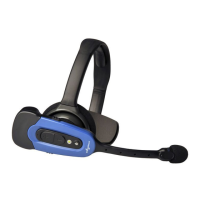
Vocollect Talkman devices, wirelesss headsets, and their chargers have LEDs
that indicate the state of the equipment. These LEDs may be on, off or blink. In
some cases an LED will blink, alternating between two colors.
SRX3 User Guide - Preliminary 56
 Loading...