To test the hard disk drive voltages
Refer to chapter 6, "Replacing Assemblies," for instructions to remove or replace covers and
assemblies.
WARNING
Hazardous voltages exist on the power supply, the CRT, and the CRT driver board. This
procedure is to be performed by service-trained personnel aware of the hazards involved,
such as fire and electrical shock.
Equipment Required
Equipment Critical Specification Recommended
Model/Part
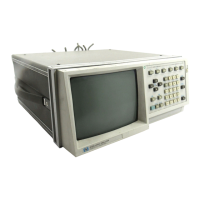
Digitizing Oscilloscope > 100 MHz Bandwidth HP 54600B
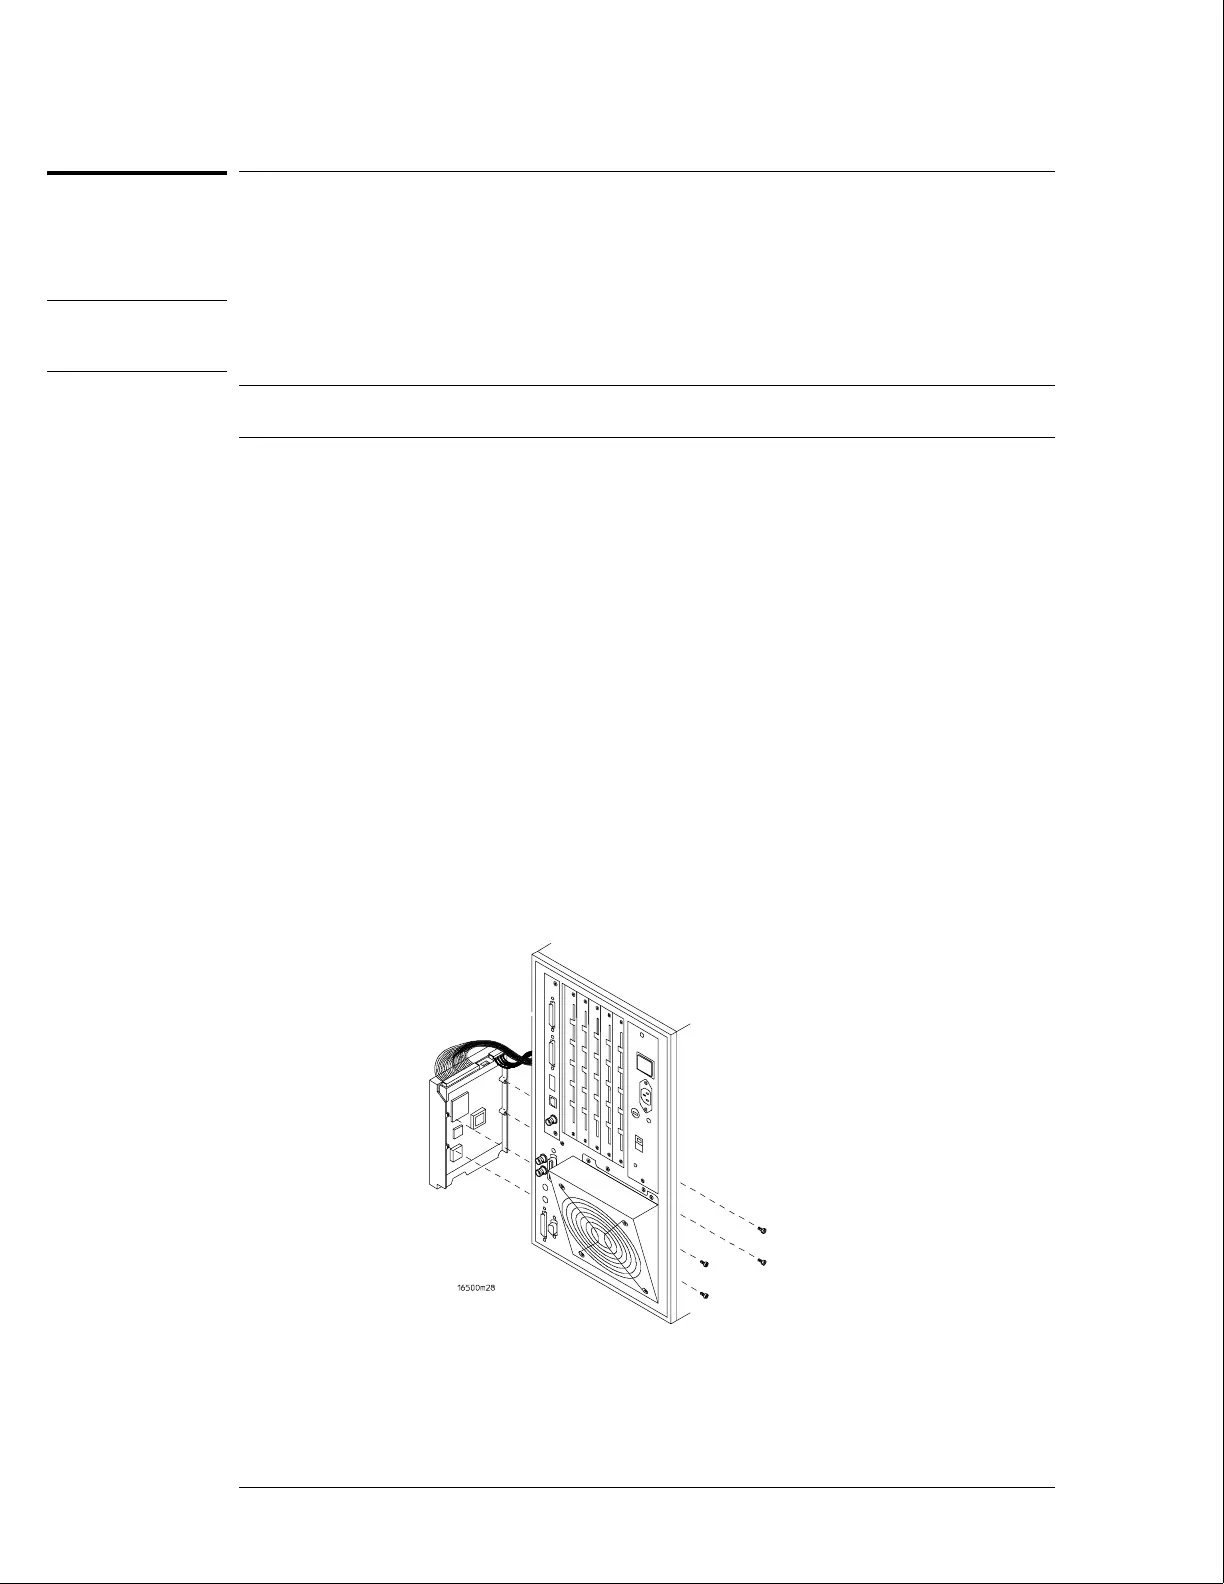
1 Turn off the instrument, then remove the power cable. Remove both the top and
bottom covers of the mainframe and set the mainframe on its side with the strap
handle facing up.
2 Remove the four screws holding the hard disk drive and let the hard disk drive hang
by the power and the data cables. Do not let the hard disk drive contact the CPU
board.
3 Connect the line power cable and apply power to the mainframe. When the hard
disk drive begins spinning, ensure the disk drive does not contact the CPU board.
When the mainframe has powered up, enter the Test System.
4 When the System Test menu appears, select Mainframe Test, then select Disk Test.
When the disk test menu appears, select Run-Repetitive.
5 Using an oscilloscope, check for activity on the pins. Probe the voltages on the hard
disk drive circuit board where the data cable connector is soldered. Pin 1 of the
connector is marked on the circuit board and is on the side of the connector closest
to the power cable.
Troubleshooting
To test the hard disk drive voltages
5–26
 Loading...