2-5
Installing the Switch
Installation Procedures
1. Prepare the Installation Site
Cabling Infrastructure - Ensure the cabling infrastructure meets the
necessary network specifications. See “Cabling and Technology Information”
in the appendices for more information.
Installation Location - Before installing the switch, plan its location and
orientation relative to other devices and equipment:
• In the front of the switch, leave at least 7.6 cm (3 inches) of space for
the twisted-pair and fiber-optic cabling.
• In the back of the switch, leave at least 3.8 cm (1 1/2 inches) of space
for the power cord. If you are stacking the switches, you will need 20
to 23 cm (approximately 8 to 9 inches), depending on the lengths of
the stacking cables being used.
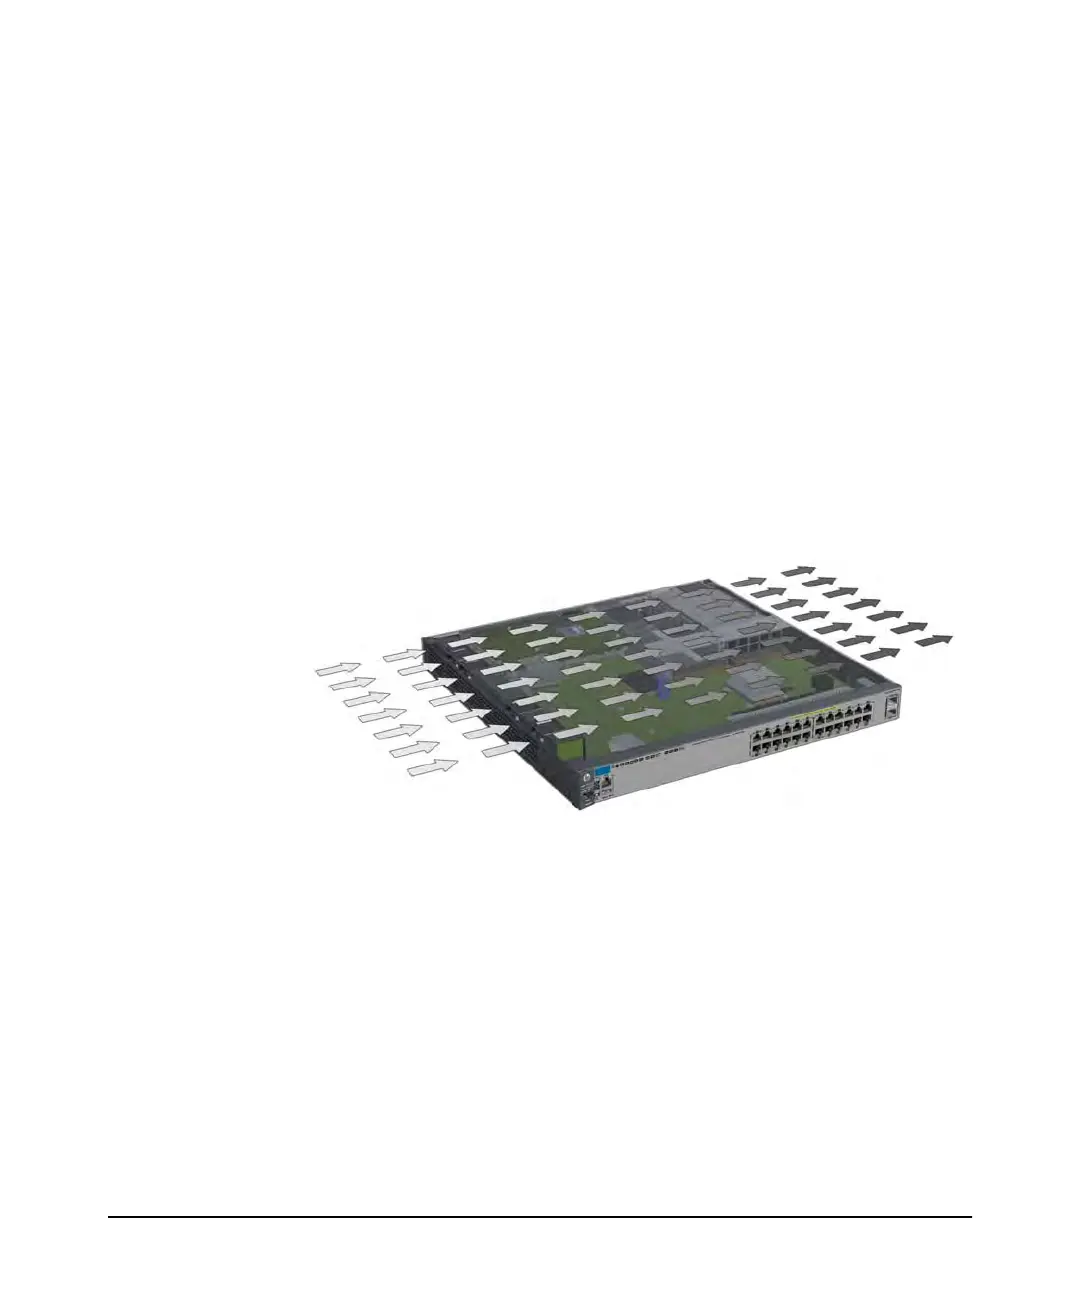
• On the sides of the switch, leave at least 7.6 cm (3 inches) for cooling,
except if the switch is installed in an open EIA/TIA rack.
Figure 2-1. Air flow direction of the E3800 switches
 Loading...