Removal and replacement procedures 44
9.
Power up the server.
IMPORTANT: To prevent damage to the processor socket pins during shipment, install the
processor socket covers before the defective processor memory module is shipped to HP.
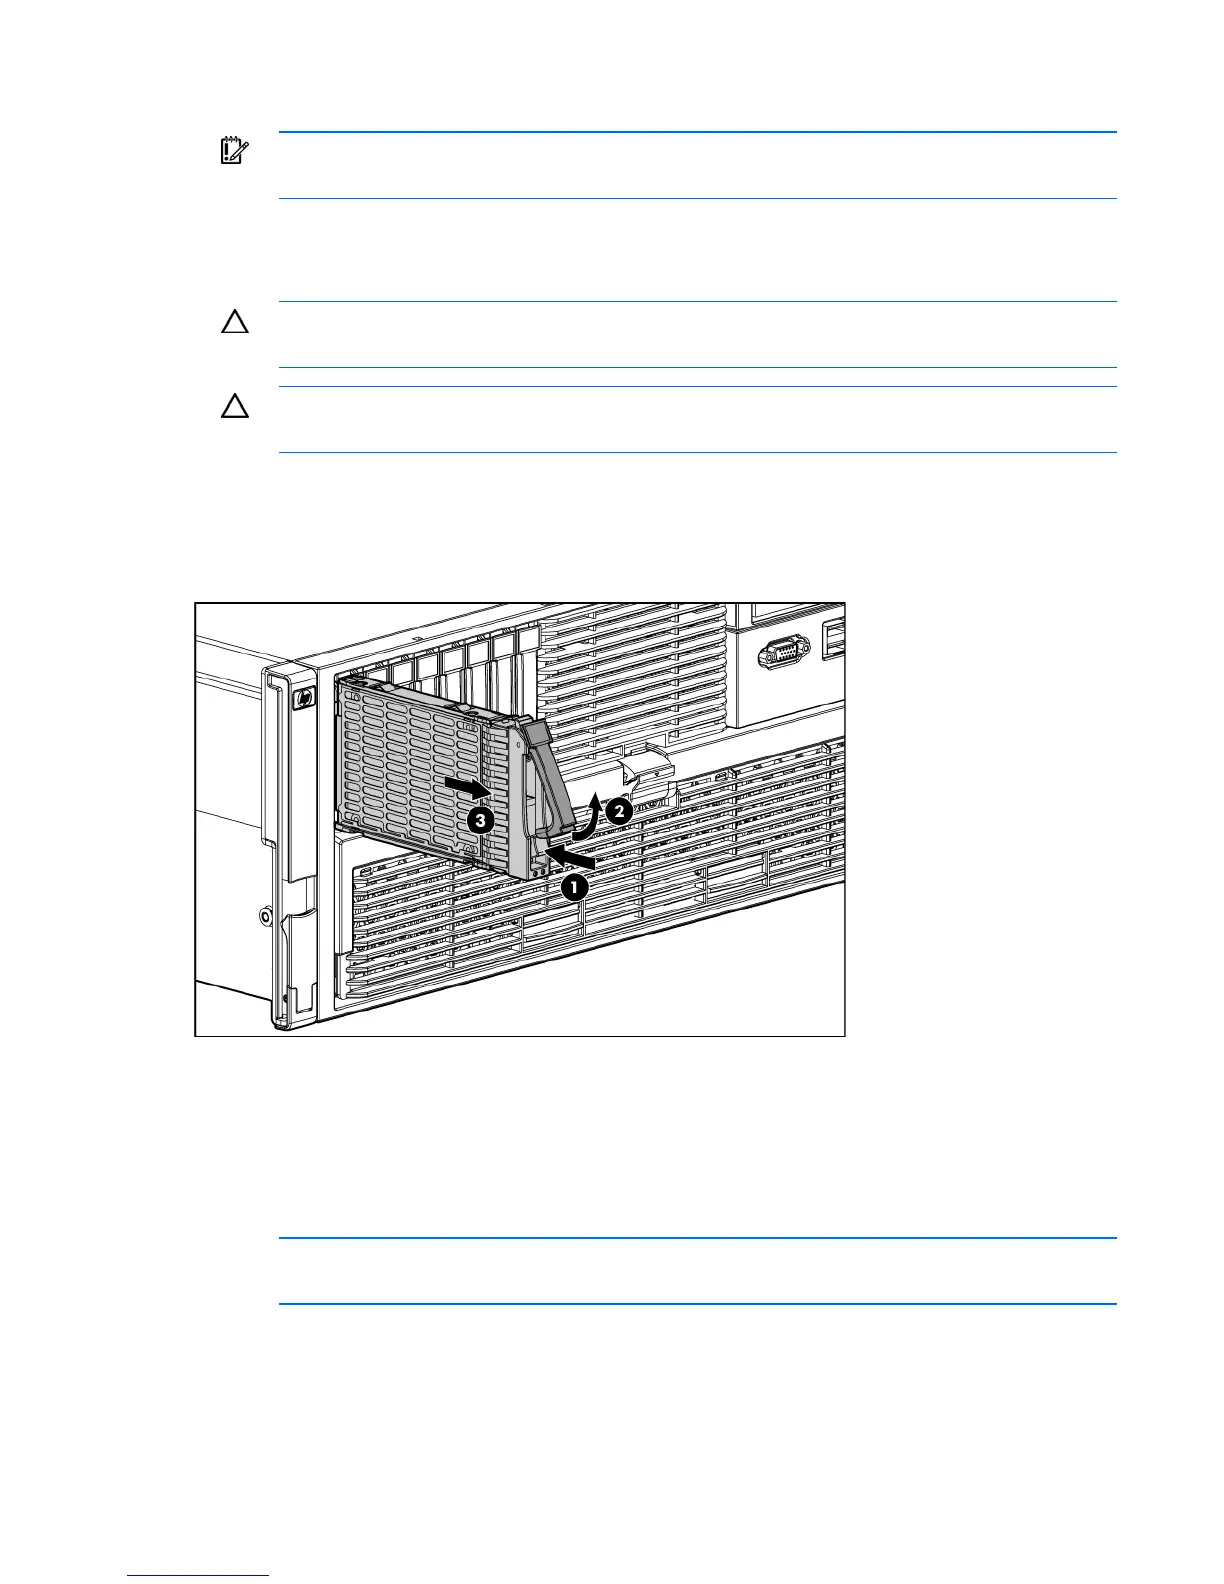
SAS or SATA hard drives
CAUTION: Always power down the server if the boot partition resides on the drive you are
replacing or if you are replacing the only drive in the server.
CAUTION: To prevent improper cooling and thermal damage, do not operate the server unless
all bays are populated with either a component or a blank.
1. Determine the status of the hard drive from the hot-plug hard drive LEDs ("SAS and SATA hard drive
LED combinations" on page 72, "SAS and SATA hard drive LEDs" on page 71).
2. Back up all data on the hard drive.
3. Remove the hard drive.
To replace the component, reverse the removal procedure.
Diskette, DVD, CD-RW drive, or blank
1. Power down the server (on page 26).
2. Use the T-15 Torx screwdriver to eject the drive, and pull the drive out of the server.
NOTE: The T-15 Torx screwdriver is shipped with the server and can be located on the rear
panel ("Rear panel components" on page 73).
 Loading...