6. Move the retaining clips on the ends of the DIMM connector to the open
position by pressing the retaining clips away from the center of the DIMM
connector.
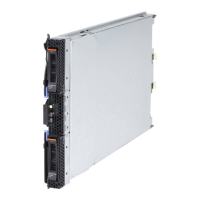
Note: To access DIMM connector seven through twelve, use your fingers to lift
the DIMM access door.
7. Using your fingers, pull the DIMM out of the connector.
8. Install a DIMM or DIMM filler in each empty DIMM connector (see “Installing
a memory module” on page 29).
Note: A DIMM or DIMM filler must occupy each DIMM socket before the
blade server is turned on.
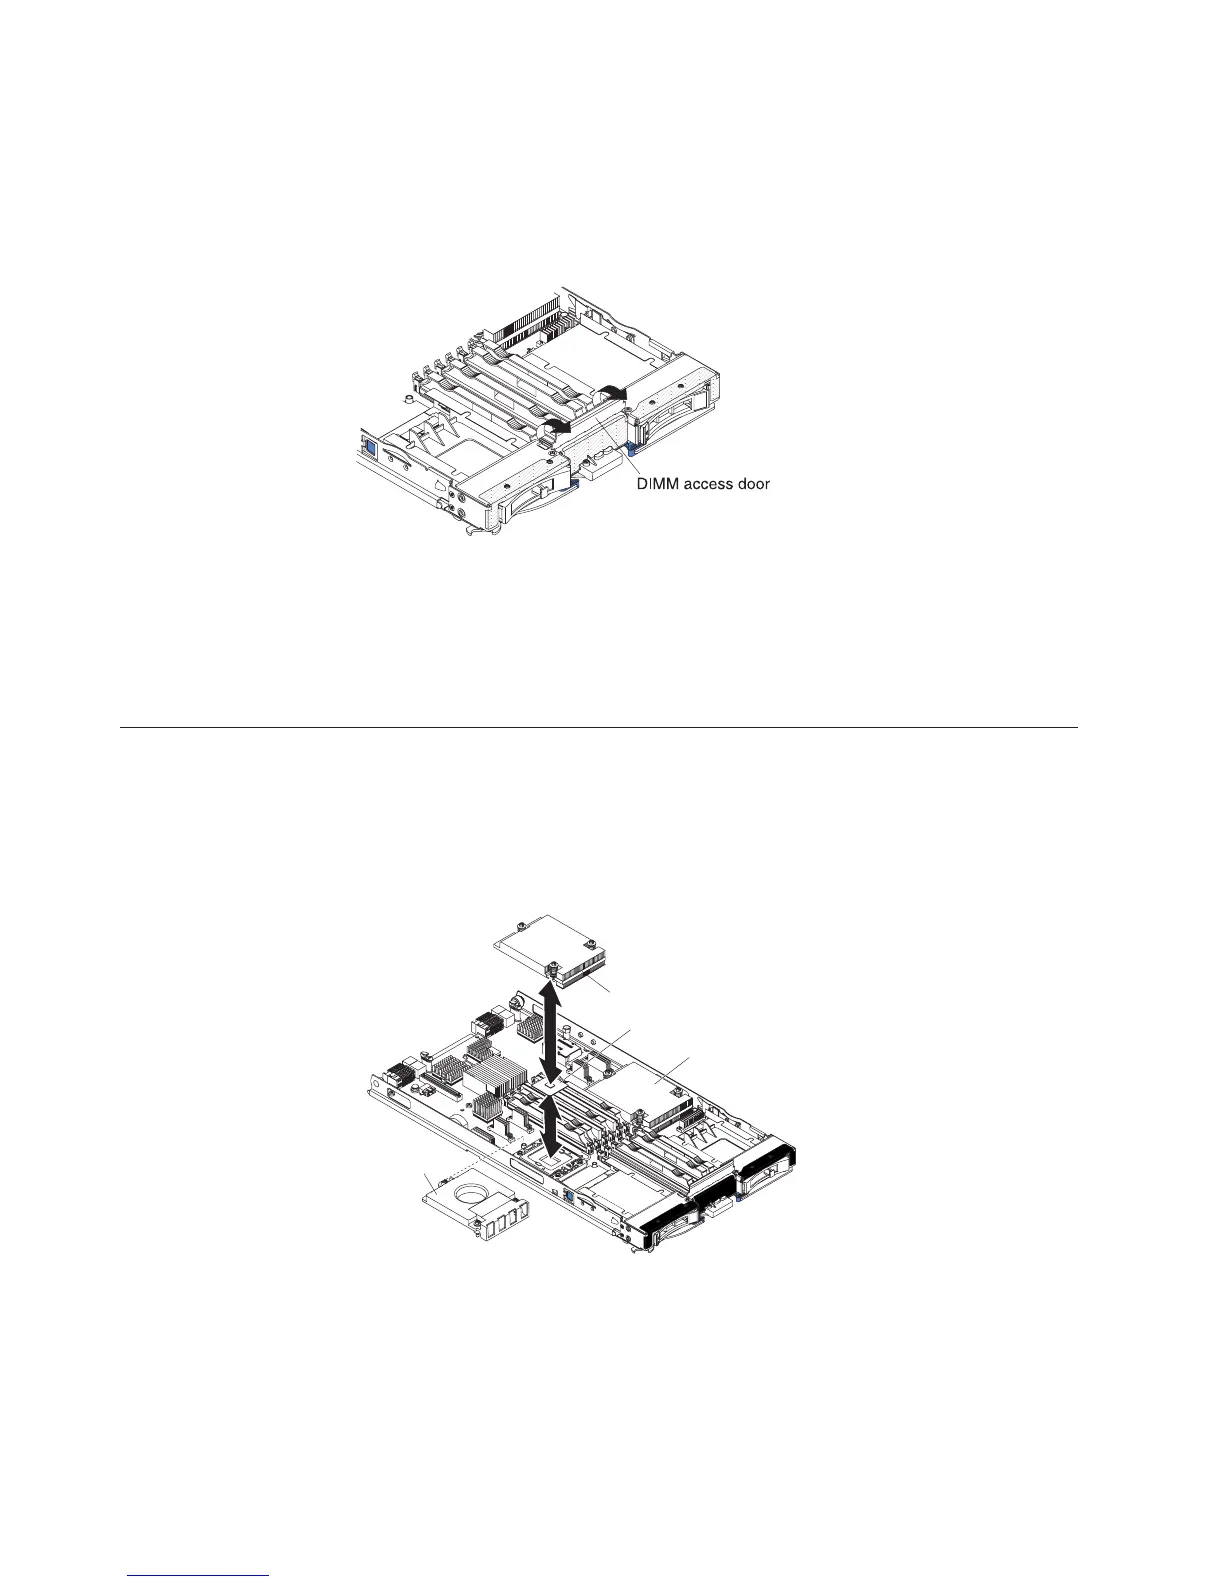
Installing a microprocessor and heat sink
Use this information to install a microprocessor and heat sink in the blade server.
The following illustration shows how to install a microprocessor and heat sink in
the blade server.
Microprocessor 1
and heat sink
Microprocessor 2
Heat sink
Microprocessor
heat sink filler
Note: If you install an additional microprocessor, it must have the same type,
speed, and power specifications as the first microprocessor.
To use SMP, obtain an SMP-capable operating system. For a list of supported
operating systems and other optional devices, see http://www.ibm.com/servers/
eserver/serverproven/compat/us/.
34 BladeCenter HS22 Type 7870 and 1936: Installation and User's Guide
 Loading...