New2001
22
4
BASIC OPERATION
1
2
3
4
5
6
7
8
9
10
11
12
13
14
15
16
17
18
19
■ Receiving
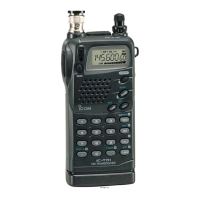
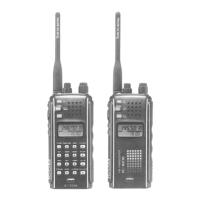
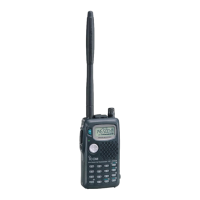
Make sure a charged battery pack (BP-264, BP-265) or a
case with brand new alkaline batteries (BP-263) is attached
to the transceiver (pp. 2, 12–14).
q Push and hold [
] for 1 sec. to turn power ON.
w Rotate [VOL] to set the desired audio level. (p. 16)
•Thefrequencydisplayshowsthevolumelevelwhilesetting.
e Set the receive frequency. (p. 20)
r Set the squelch level. (p. 17)
•Whilecontinuingtopush[MONI](BAND), rotate [DIAL].
•Therstclickof[DIAL] indicates the current squelch level.
•“LEVEL1”isloosesquelch(forweaksignals)and“LEVEL9”is
tight squelch (for strong signals).
•“Auto”indicatestheautomaticleveladjustmentbyanoisepulse
counting system.
•Pushandhold[MONI](BAND) to open the squelch manually.
t When a signal is received:
•Squelchopensandaudioisheard.
•TheS/RFmetershowstherelativesignalstrengthlevel.
q Power ON
r Set squelch level
e Set frequency
r Push and hold for
setting the squelch
(Push and hold
to monitor)
e Select band
w Set audio level
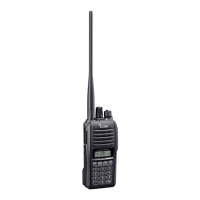
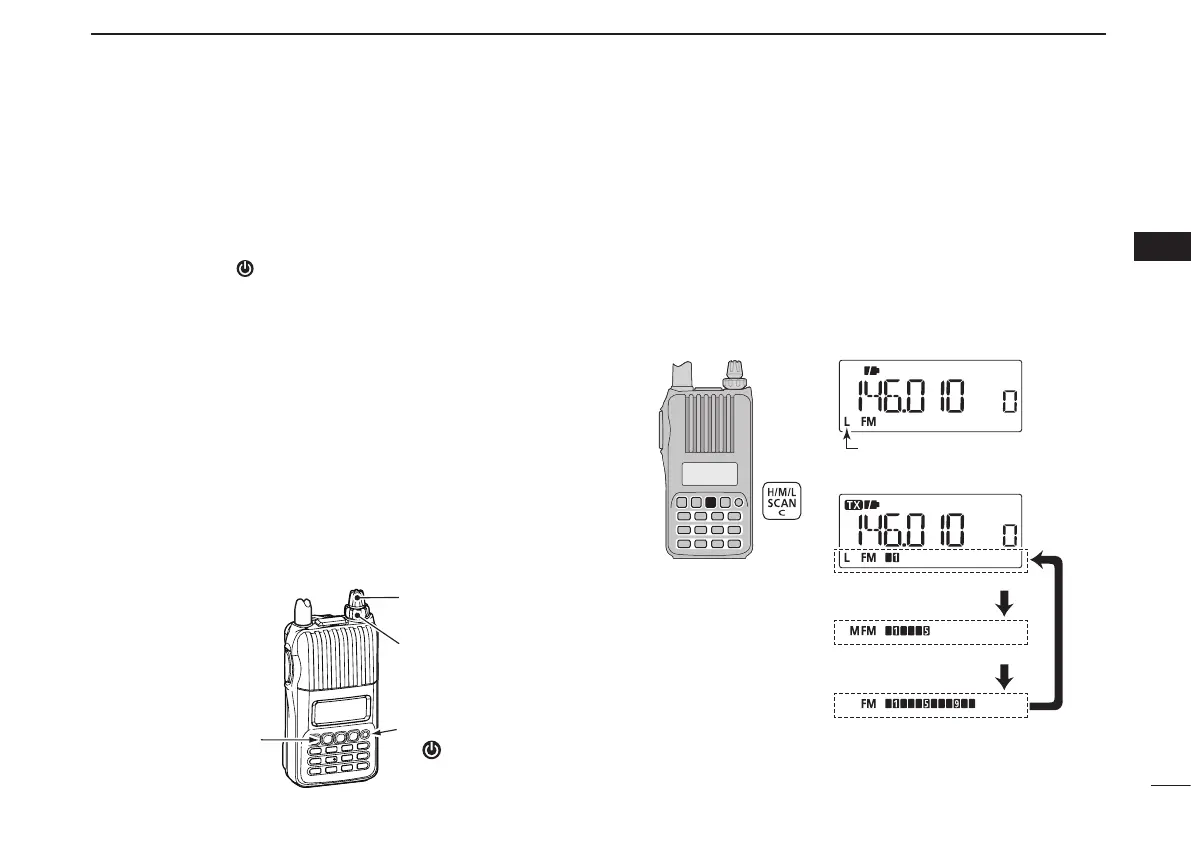
■ Transmit power selection
The transceiver has three output power levels to suit your op-
erating requirements. Low output power during short-range
communications may reduce the possibility of interference to
other stations, and will conserve battery power.
➥
Push [H/M/L] to toggle the transmit output power between
High (5 W*), Middle (2.5 W*) and Low (0.5 W*).
*Approximately
Appears
Low power transmission
Middle power transmission
High power transmission
• While transmitting
 Loading...