NOTE: Each power supply must be connected to a dedicated power source outlet.
To install an AC power supply in the switch, see Figure 49 on page 115 shows how to install an AC power
supply. The power supply slots are at the right end of the rear panel.
1. Ensure that you have the correct power supply. The label on the power supply must match the label
AFI or AFO on the installed fan module.
2. Attach the ESD grounding strap to your bare wrist, and connect the strap to the ESD point on the
chassis.
3. Taking care not to touch the power supply pins, leads, or solder connections, remove the power supply
from the bag.
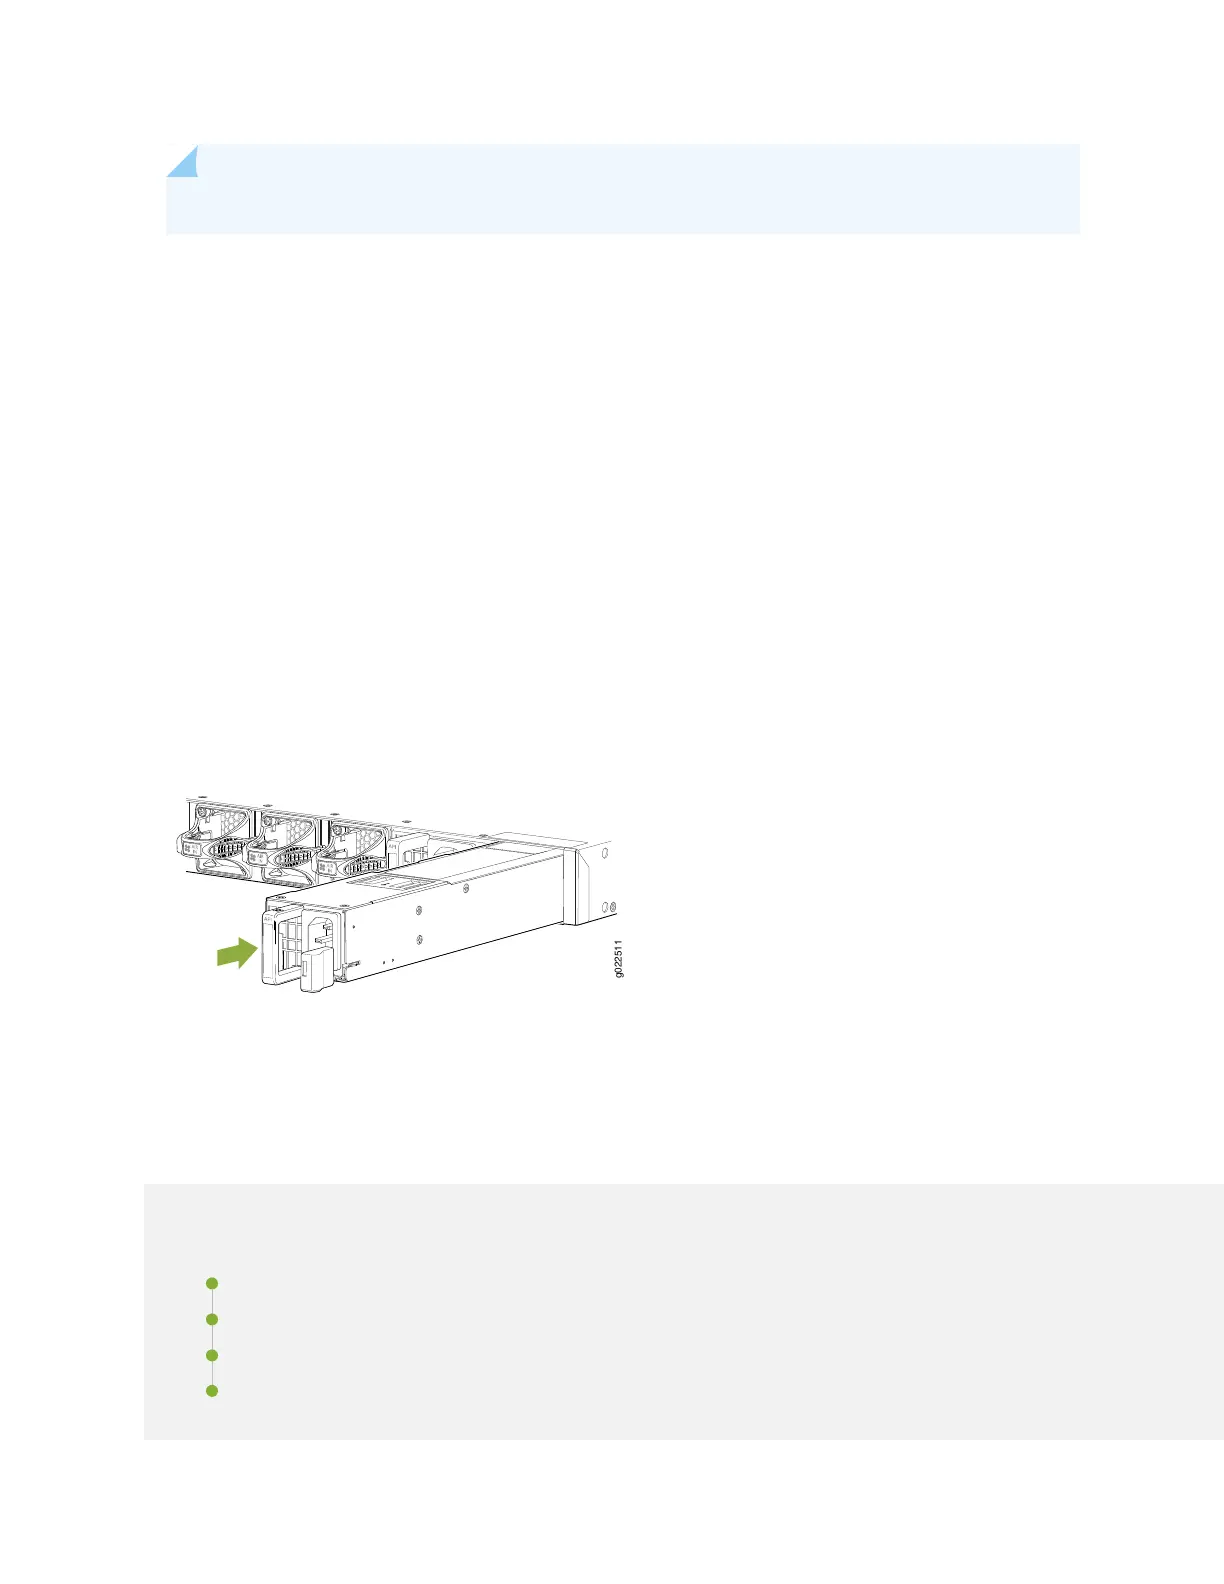
4. Using both hands, place the power supply in the power supply slot on the rear panel of the switch, and
slide it in until it is fully seated and the ejector lever fits into place.
Figure 49: Installing an AC Power Supply in an EX4650 Switch
Maintaining Transceivers
IN THIS SECTION
Removing a Transceiver | 116
Removing a QSFP28 Transceiver | 119
Installing a Transceiver | 121
Installing a QSFP28 Transceiver | 123
115
 Loading...


