TP-7070 7/1848 Section 2 Operation
2.11.7 Screenshot
Before taking a screenshot, it is necessary to insert a
USB key in the port provided on the bottom of the HMI
module. See Figure 2-50.
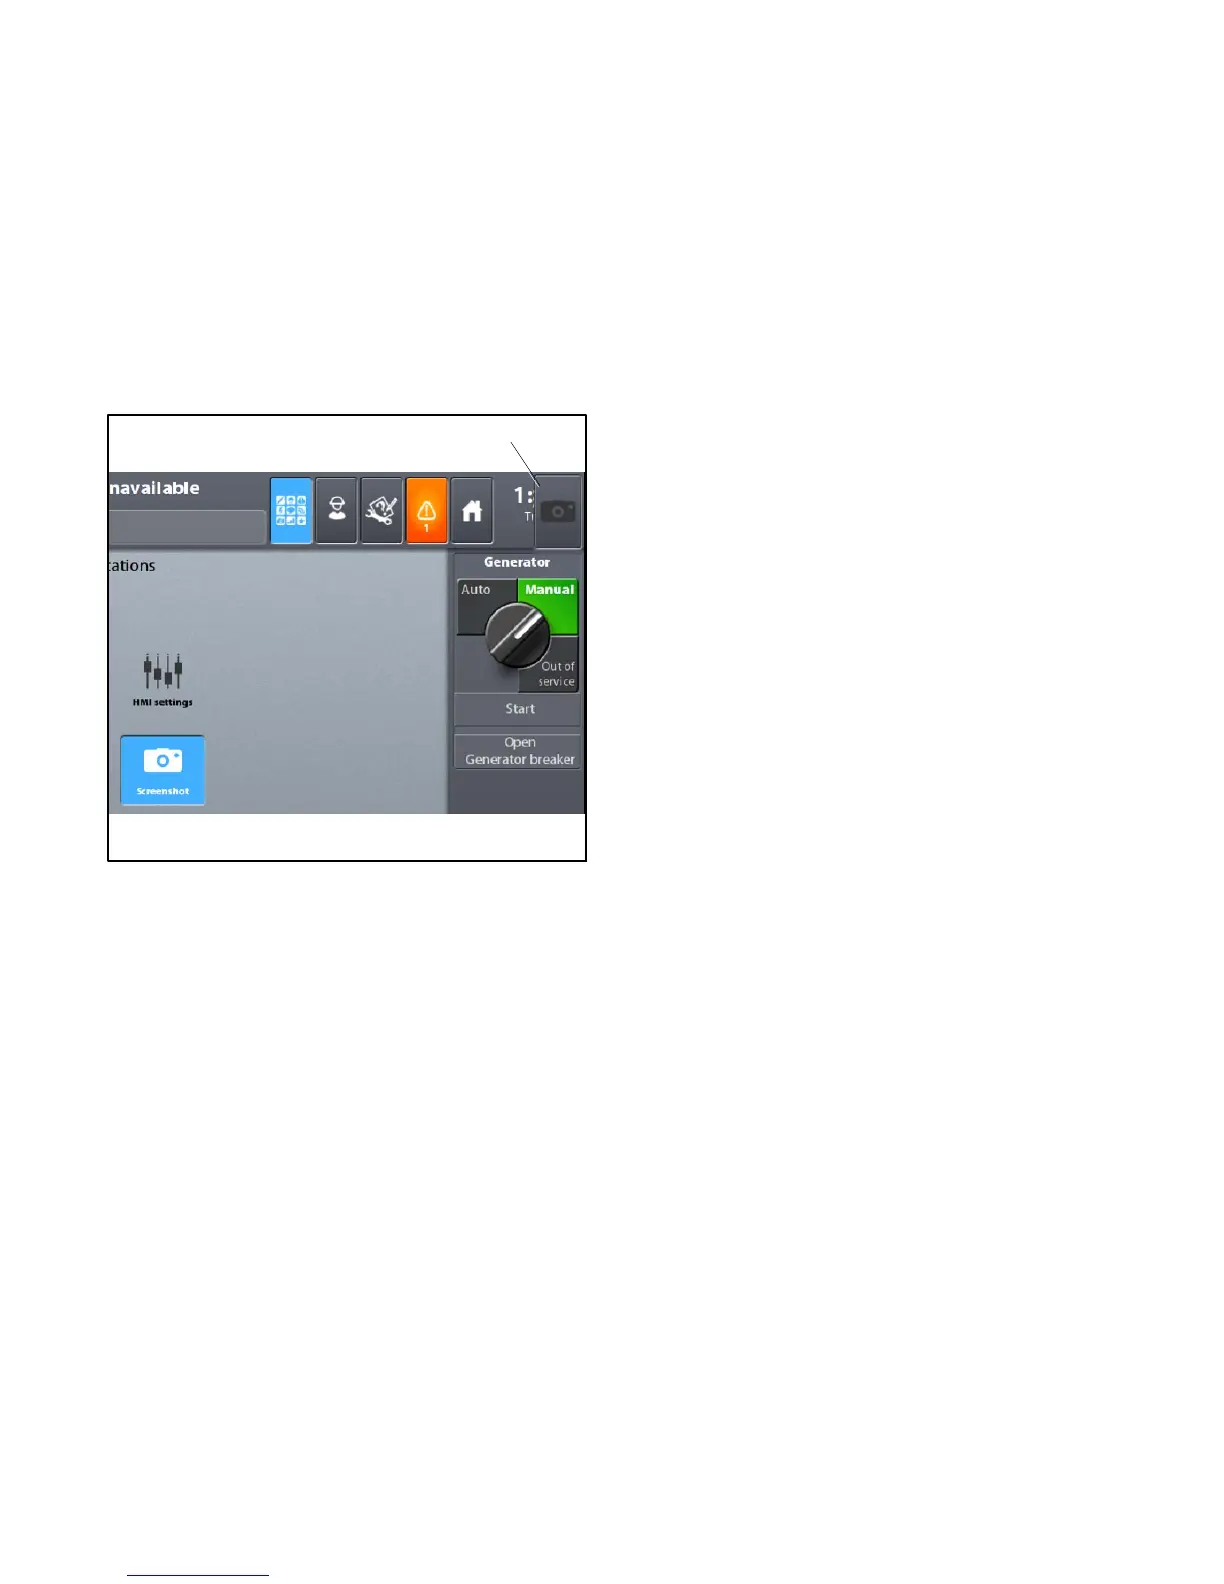
Pressing the Screenshot button enables the screenshot
feature. The screenshot icon turns blue when enabled.
Screenshot mode stays enabled until turned off. Return
to the Applications screen and click on the camera
button to turn off the screenshot mode.
The button shown in Figure 2-52, which symbolizes a
camera, then appears at the top right of the screen.
1
1. Camera button
Figure 2-52 Camera Button (for screenshots)
Go into the screen to be copied and press the camera
button. The screenshot is automatically saved to the
USB key in the directory “E:\apm802\screenshot.
Note: During the time it takes to create the screenshot,
the camera button remains blue.
Note: The images are in PNG format. It is not possible
to create a partial screenshot.
 Loading...