4: Configuration
Lantronix® xPrintServer® User Guide 43
Changing Printer Description
Use this selection to change the advertised printer name of a configured printer as it will be
displayed to all users on their tablet, smartphone or PC device(s.)
1. Login to the xPrintServer device’s Admin interface (see Logging In.)
2. Click the Printer tab to access the Printers > List page (see Figure 4-1.)
3. Utilize Navigation as necessary in situations where there are multiple pages of printers.
4. Utilize Search as necessary to find a particular printer.
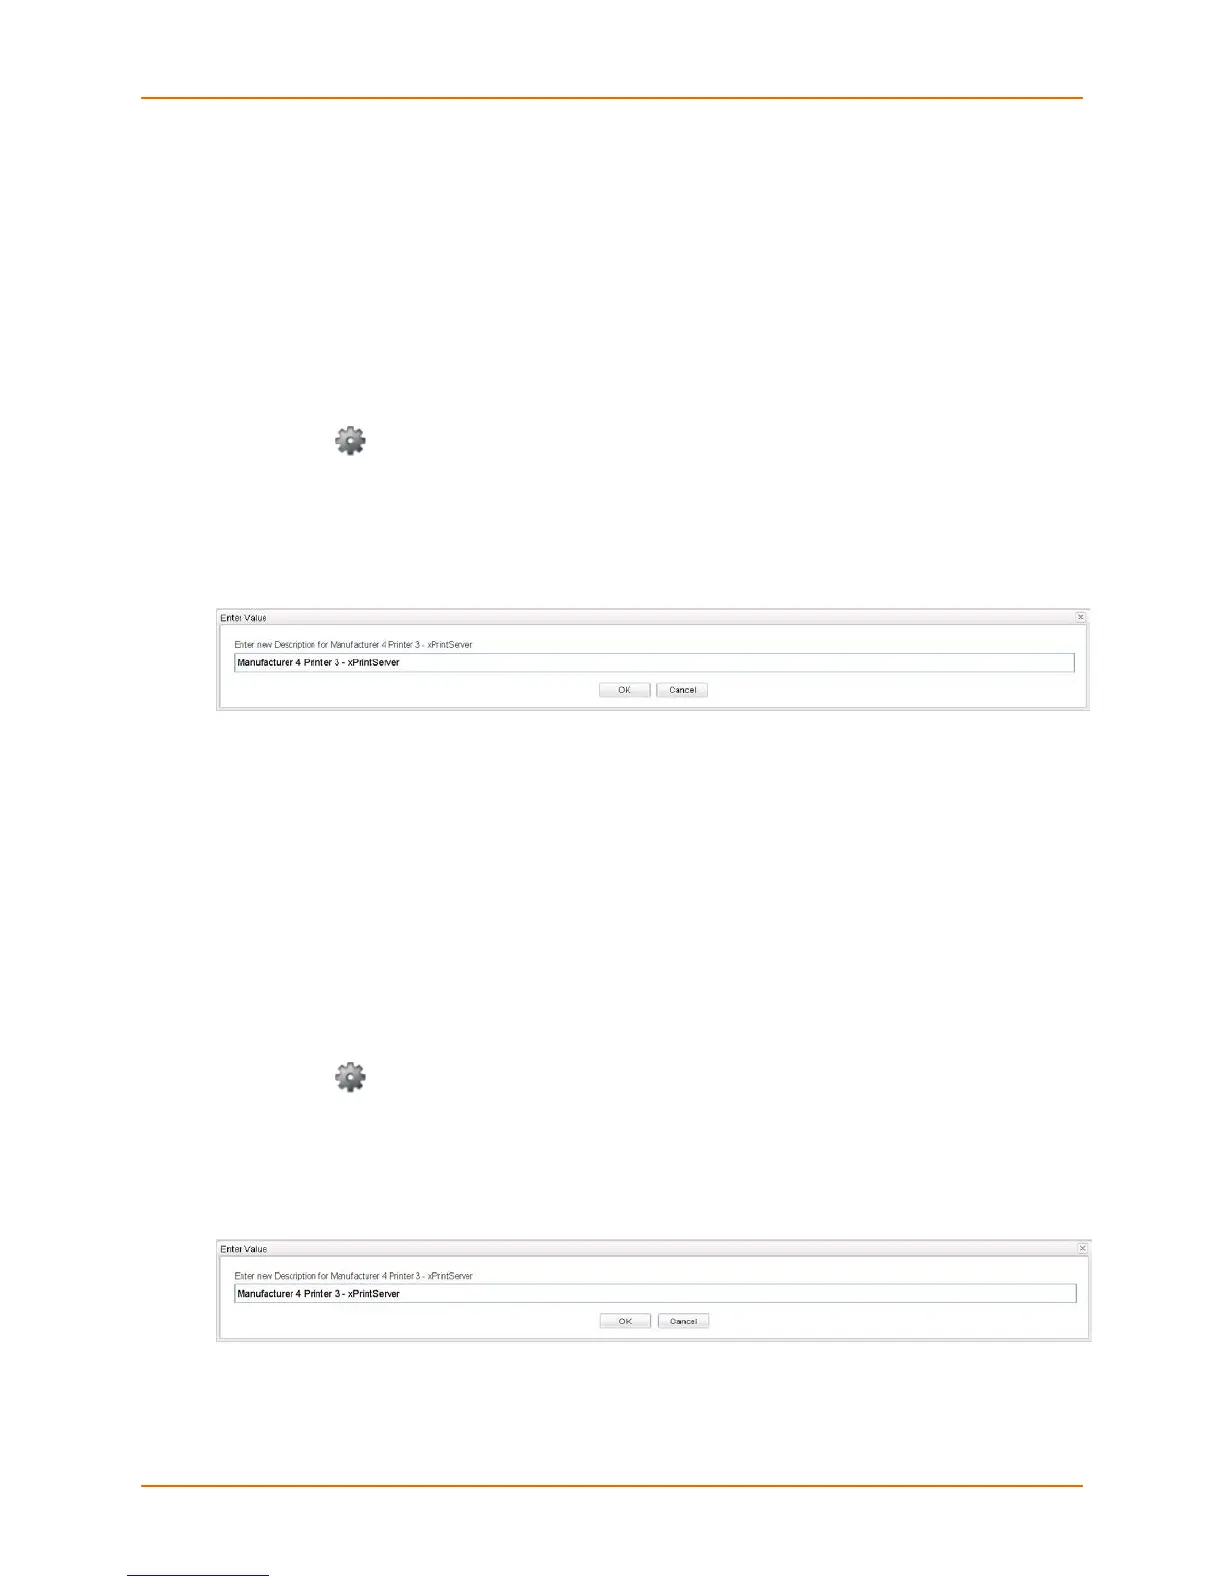
5. Click the button beside the printer description to be changed.
6. Click Change Description in the popup command menu that appears (or Cancel within the
same menu if you want to back out of it.)
7. Modify the new description for the printer in the popup window which appears.
Figure 4-6 New Printer Description
8. Click OK. After a few seconds, the printer description will be changed.
Changing Printer Location
Use this selection to change the advertised location of a configured printer as it will be displayed
to all users on their tablet, smartphone or PC device(s). This command is useful for updating the
location of printers initially identified as “Auto Discovery”.
1. Login to the xPrintServer device’s Admin interface (see Logging In.)
2. Click the Printer tab to access the Printers > List page (see Figure 4-1.)
3. Utilize Navigation as necessary in situations where there are multiple pages of printers.
4. Utilize Search as necessary to find a particular printer.
5. Click the button beside the printer with location to be changed.
6. Click Change Location in the popup command menu that appears (or Cancel within the
same menu if you want to back out of it.)
7. Modify the printer location in the popup window which appears.
Figure 4-7 New Printer Location
8. Click OK. After a few seconds, the printer location will be changed.
 Loading...