GROVE 5-17
CD3340B/YB4411 MAINTENANCE
Published 04/07/2015 Control # 569-00
50 Hours of Operation/Weekly
NOTE: You must read and understand the warnings and
basic safety rules, found in Section 1 of this
manual, before performing any operation or
maintenance procedures.
For additional engine maintenance guidelines, see
the engine manual furnished with this crane.
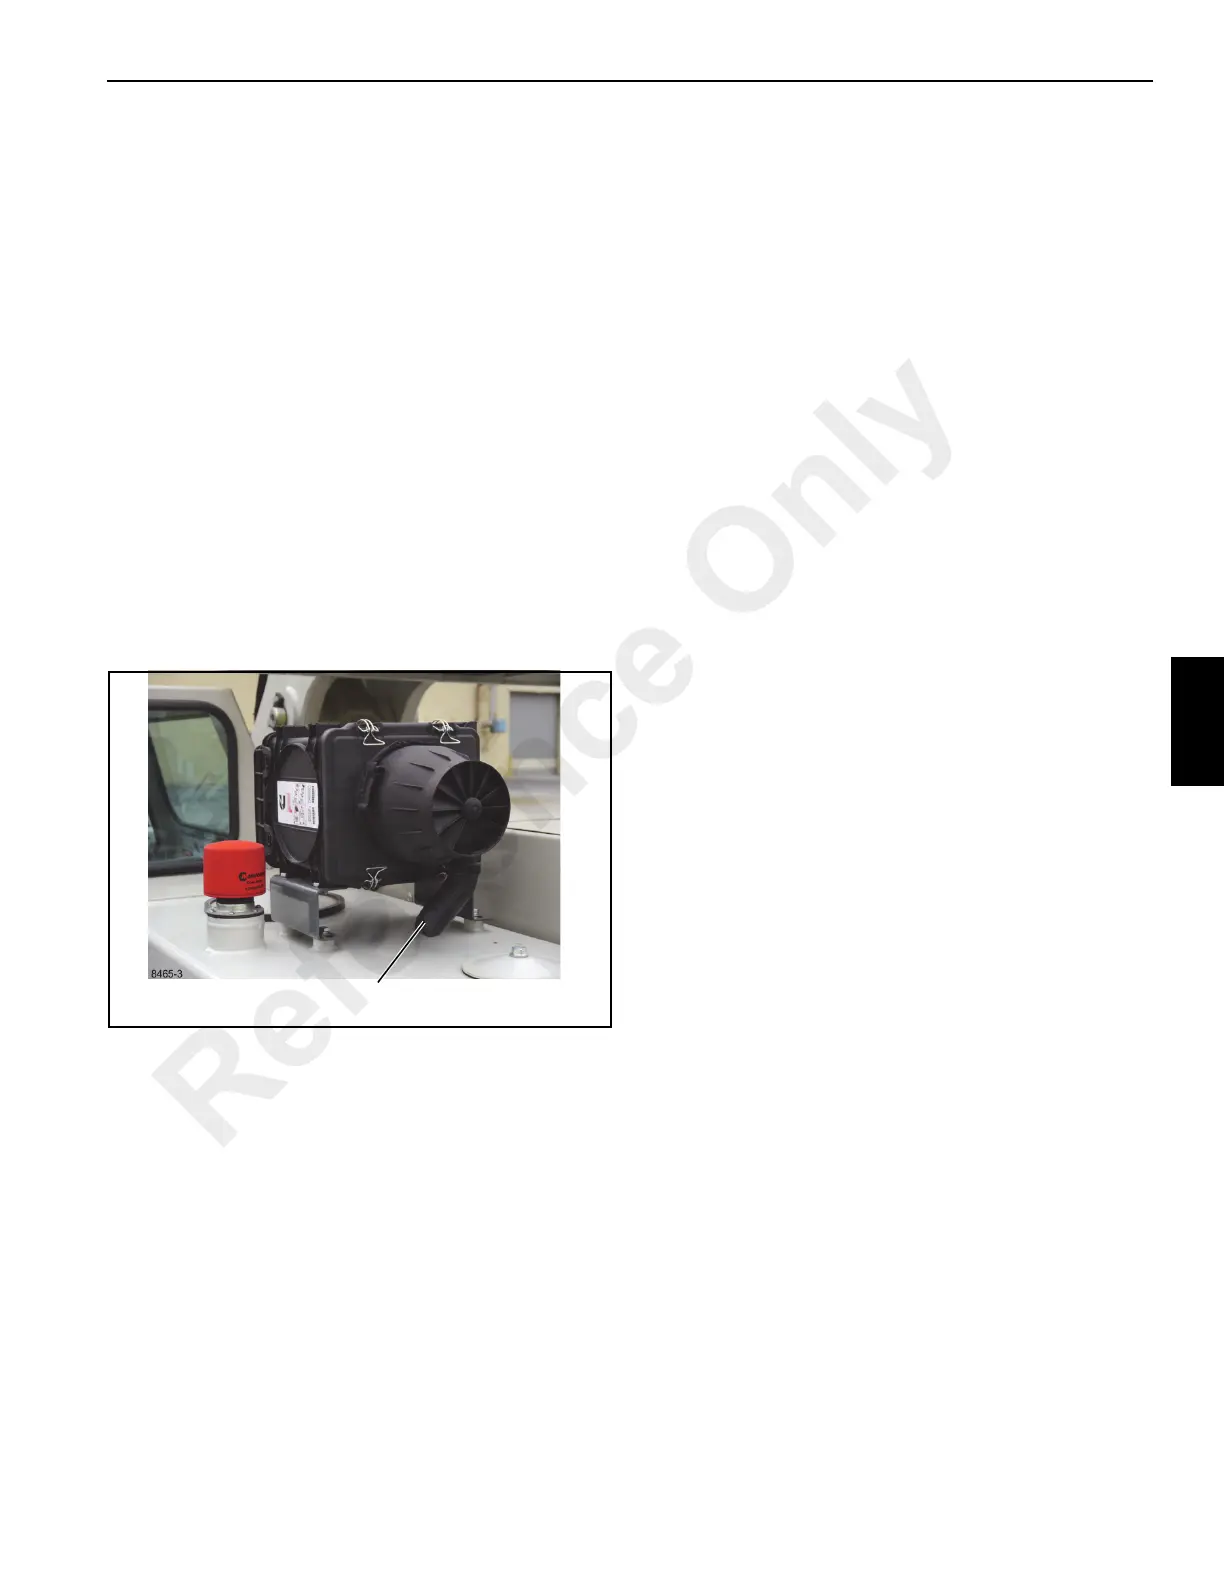
Clean the Air Cleaner Dust Cup
Inspect the VacValve (Figure 5-27) for damage. Replace if
any of the following is found:
• It remains open.
• It is cracked.
• It is torn.
• It is missing.
If any of the above conditions are found, replace the
VacValve. Dust particles that are normally expelled can
deposit themselves onto the filter element and will shorten
the element service life.
Wire Rope and Sheave Inspection
All wire ropes wear out eventually and lose work capability
throughout their service life. That’s why periodic inspections
are critical. SAE J959, Lifting Crane, Wire-Rope Strength
Factors, requires that a thorough inspection be performed
and recorded on the wire rope not less often than weekly
when the crane is in continuous service.
Regular inspection of wire rope and equipment should be
performed for three good reasons:
• It reveals the rope’s condition and indicates the need for
replacement.
• It indicates if you are using the most suitable type of
rope.
• It makes possible the discovery and correction of faults
in equipment or operation that can cause costly
accelerated rope wear.
Inspection
Inspections should be carried out by a person who has
learned through special training or practical experience what
to look for and who knows how to judge the importance of
any abnormal conditions they may discover. It is the
inspector’s responsibility to obtain and follow proper
inspection criteria for each application inspected.
If you are not familiar with wire rope inspection, information
on how to inspect wire rope, sheaves and drums is available
from your distributor. Order Wireco Report No. 107.
General Inspection
NOTE: Always wear gloves when working with wire rope to
inhibit hand injuries.
1. Wire Rope - Inspect for damage, rust or wear to the wire
rope. Keep a record of each inspection. Replace the
wire rope if any of the conditions in Figure 5-28 are
present.
2. Sheaves - Inspect sheaves for damage and/or wear.
The sheave grooves must be smooth and a little larger
than the wire rope. Use a sheave gauge to check the
size of the sheave groove. Rough edges, narrow or worn
grooves will cause damage to the wire rope. Replace
any worn or damaged sheaves.
NOTE: As a sheave wears, the groove for the wire rope
becomes smaller. The tracks on the sheave are
caused by the wire rope. Yet, the wire rope will
continue to engage these tracks, for example as a
chain engages a sprocket. As the wire rope turns
and twists on the sheave, the wire rope will move
out of the worn track. This will cause increased
wear on the wire rope.
Grease Fittings
Lubricate all points indicated under the heading “Lubrication
Points”.
Lubricate the Boom Slides
1. Lower the boom and then extend it to its maximum out
position.
2. Engage the parking brake and shut off the engine.
3. Clean the old lubricant from the booms.
4. Apply bronze anti-seize, or equivalent, to the boom
sliding surfaces (Figure 5-29) on the boom sections.
Only use a small amount of lubricant for best results.
5. Align the boom access holes to gain access to the chain
roller bracket and slide pad at the end of the boom
telescope cylinder.
FIGURE 5-27
8465-3
Air Cleaner VacValve
Reference Only

 Loading...


