SET-UP AND INSTALLATION RT765E-2 OPERATOR MANUAL
4-12 Published 4-09-2021, Control # 364-11
ERECTING AND STOWING THE BI-FOLD
BOOM EXTENSION
Erecting
1. Fully extend and set the outriggers.
2. Position the boom over the front.
3. If extended, fully retract all the boom sections and lower
the boom to minimum elevation to permit ease of
installation of pins and access to the boom nose.
NOTE: The auxiliary boom nose (rooster sheave) does not
have to be removed. However, if reeved, the hoist
cable must be removed from the sheave.
4. Rig either the main hoist or optional auxiliary hoist cable
for single part line with nothing but the wedge socket on
the end of the cable.
5. Extend the boom enough to disengage the spring
loaded boom stop block (Figure 4-11).
6. Pull down on the handle to disengage the spring loaded
boom stop block. Place the handle in the retainer plate
to lock. Fully retract the boom.
NOTE: When the boom retracts, the handle will be
released allowing the stop block to re-engage
when the boom is extended.
7. Remove the retainer clips from the attachment pins
stowed in the base of the boom extension and insert the
attachment pins through the attachment and anchor
fittings on the right side of the boom nose. Install the
retainer clips in the attachment pins.
NOTE: If erecting the boom extension fly section with the
boom extension base section, skip to step 12. If not
erecting the boom extension fly section, perform
steps 8 to 11.
8. Remove retainer clip from base to fly attachment pin and
remove attachment pin from base section to fly section
attachment fittings.
9. Stow the pin in the opposite attach fitting or the stowage
lug.
10. Ensure the pin attaching the fly section to the boom base
section rear stowage bracket (Figure 4-12), (Detail D) is
in place.
11. At fly section sheave end (Figure 4-12), (Detail E) push
in on the spring loaded latch hook to release latch,
allowing the base to separate from the fly. Skip to step
14.
12. Remove the pin attaching the fly extension section to the
boom base section rear storage bracket ((Figure 4-12),
(Detail D). Ensure that the latch hook at the fly section
sheave end (Figure 4-12), (Detail E) is latched.
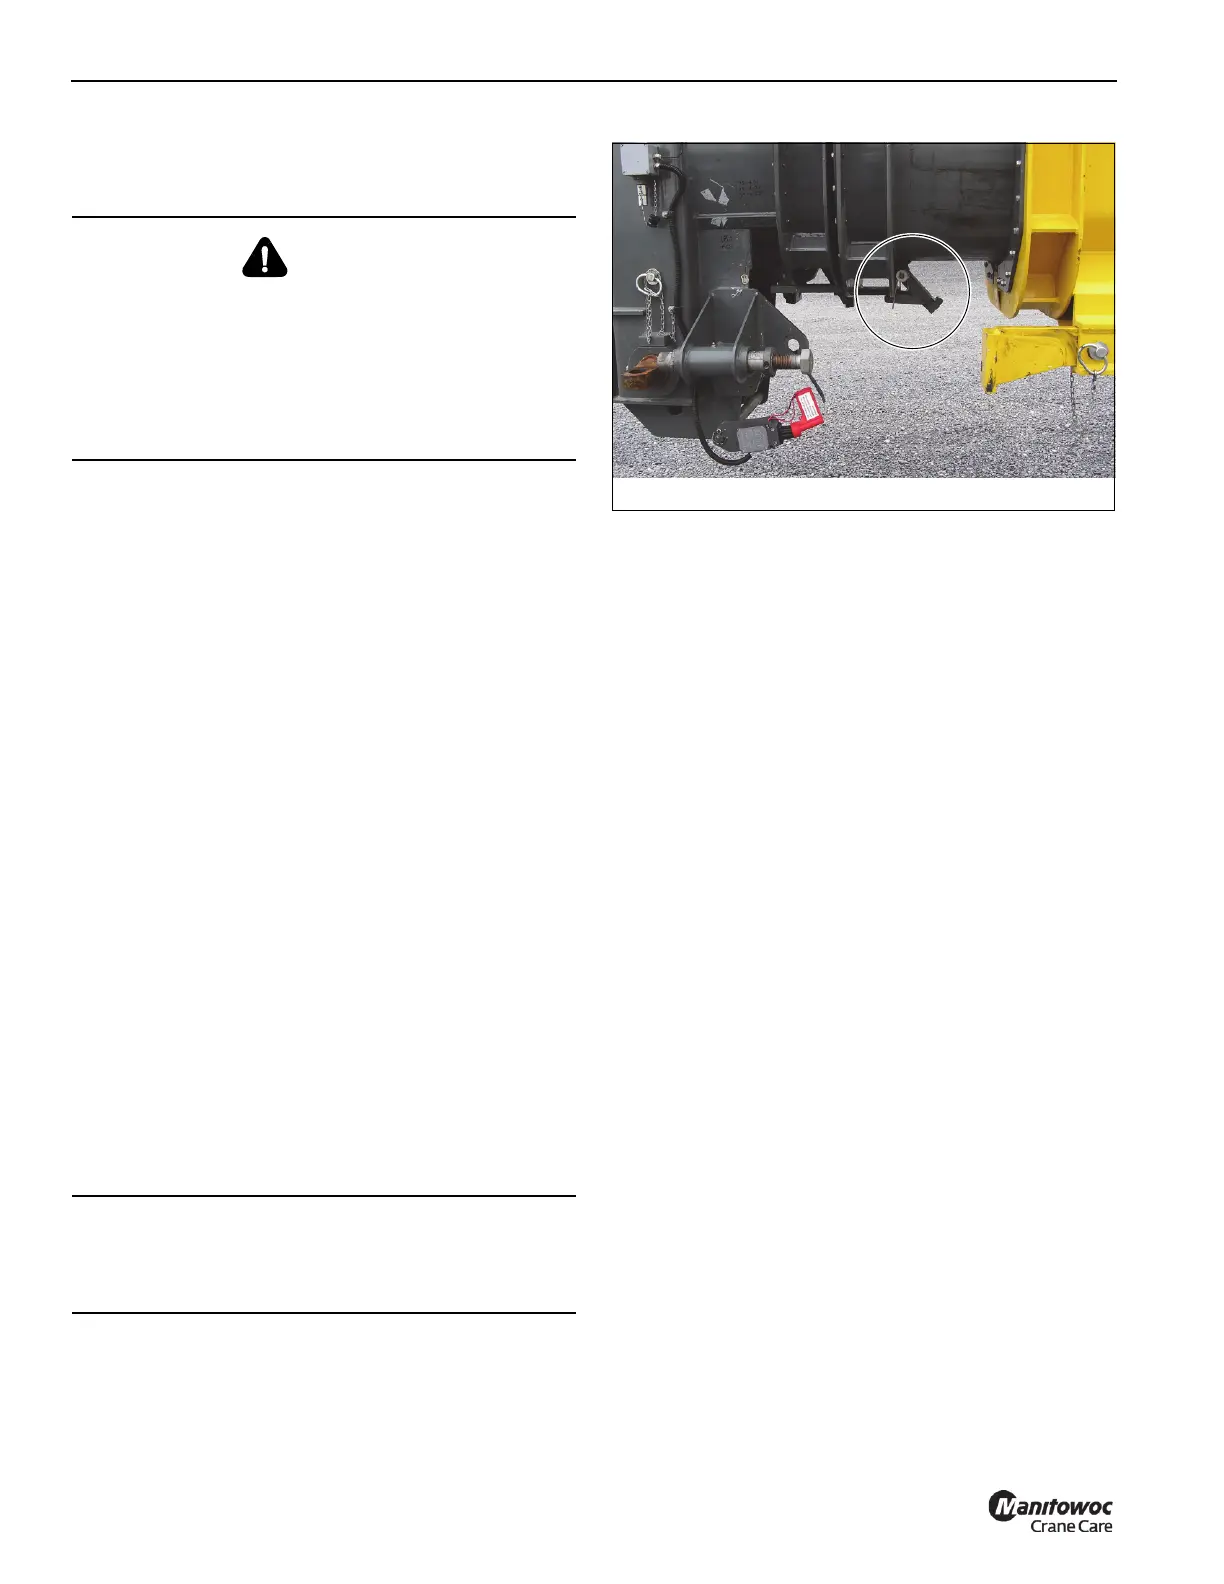
13. Remove the lock hitch pin securing the extension base
to the front stowage bracket (Figure 4-12), (Detail A).
Stow lock hitch pin in lug provided.
14. Attach a length of rope to the extension base section tip
to aid in the extension of the swingaway into place
ahead of the boom nose.
DANGER
Before attempting to erect or stow the boom extension;
read and strictly adhere to all danger decals installed on
the boom/boom nose, boom extension, and stowage
brackets.
Lifting over the bi-fold extension base section is strictly
prohibited, when the fly extension is either erected or
folded along side of extension base section.
CAUTION
If the boom extension fly section (stinger) is not to be
erected, it should remain on the stowage brackets on the
side of the boom.
 Loading...


