Connect a UPS to a G-2426G-B ONT
3FE-49441-ABAA-TCZZA
Issue 1
e. Remove the wall mount bracket from the wall.
f. On a flat surface such as a desk, install the ONT into the wall mount bracket by lifting the unit
above the bracket and sliding it downward onto the bottom ledge of the bracket.
g. Seat the ONT into the wall mount bracket by engaging the hooks on the base of the unit with
those on the bracket. Engaging the hooks ensures that the ONT stays in place while the unit
is mounted onto the wall.
h. Mount the unit onto the wall.
i. Connect the cables
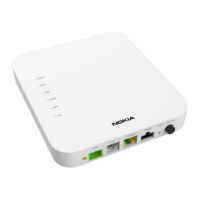
Connect the cables. See Chapter 6, “Install a G-2426G-B indoor ONT”.
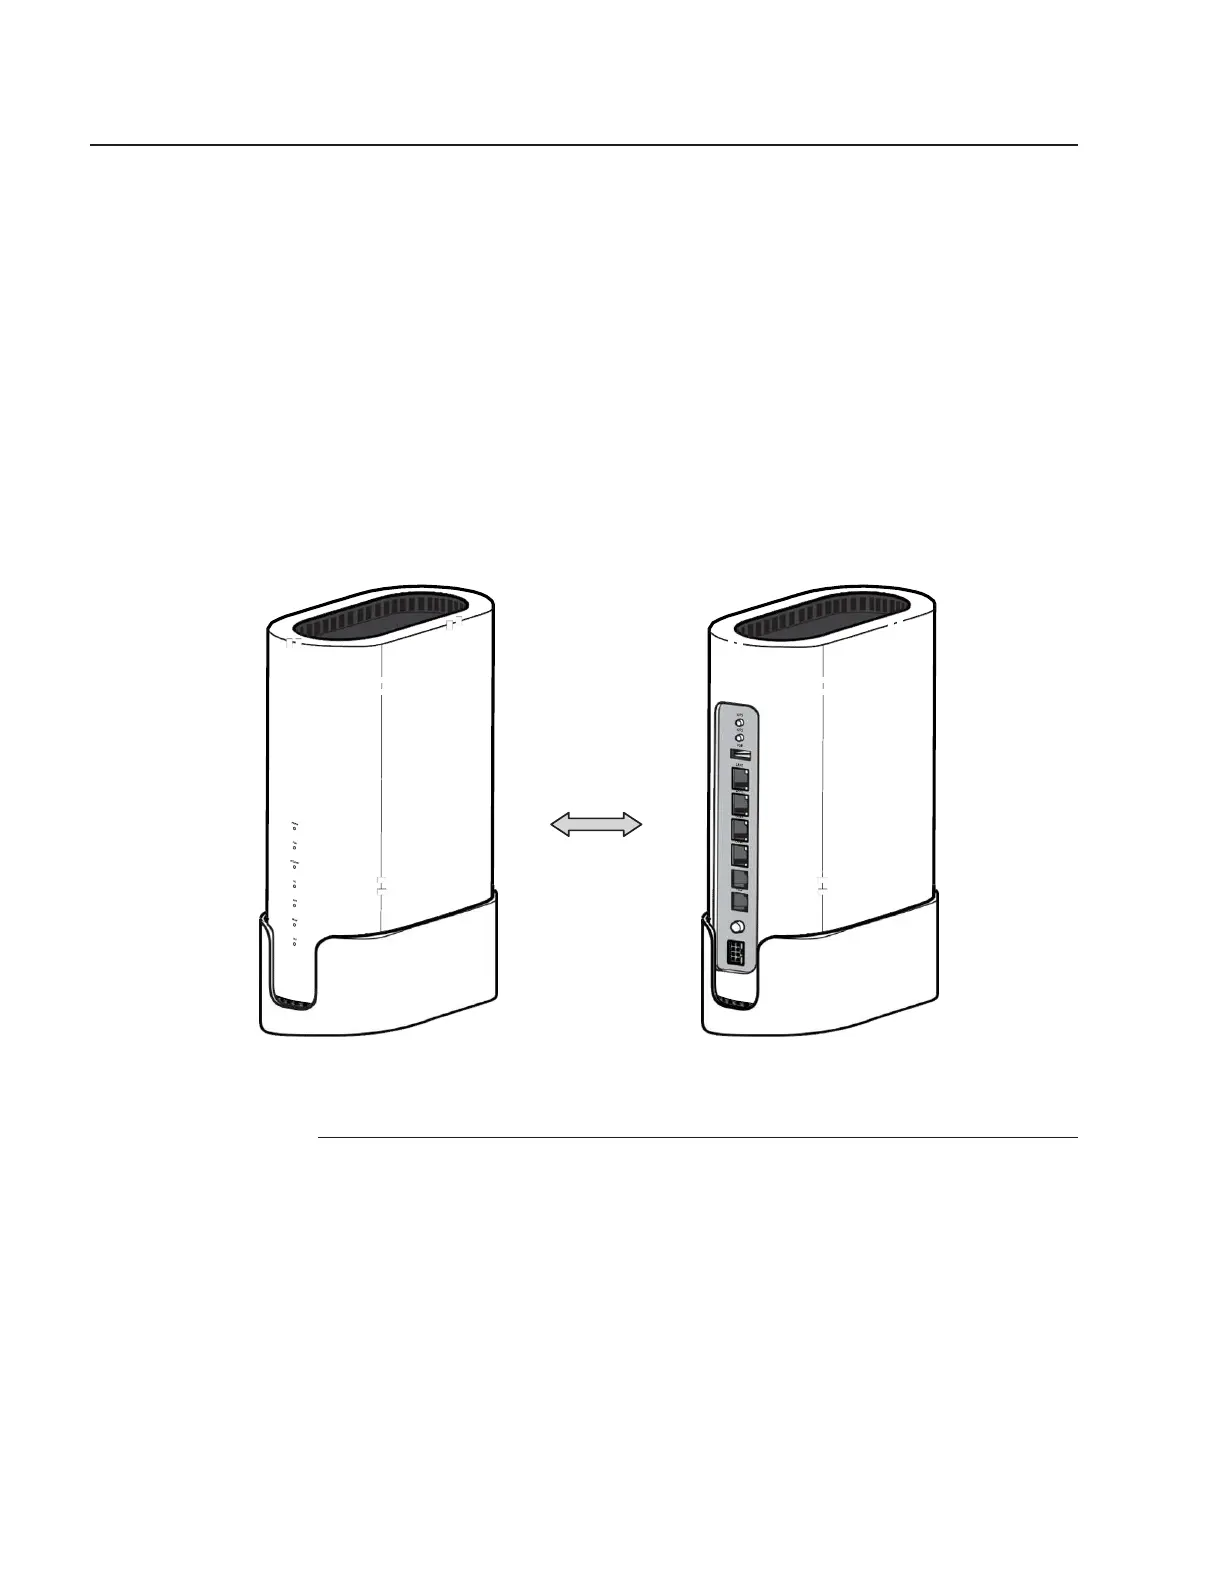
Figure 6-7, “ONT in wall mount bracket—facing the room / facing the wall” (p. 77) shows the
mounted unit facing the wall with the cables (including the fiber) installed.
Figure 6-7 ONT in wall mount bracket—facing the room / facing the wall
36749
E
ND OF
STEPS
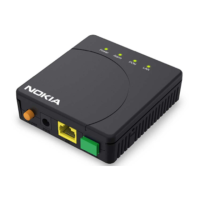
6.9 Connect a UPS to a G-2426G-B ONT
Use this procedure to connect a UPS to indoor or outdoor G-2426G-B ONTs.
See Table 5-3, “G-2426G-B UPS ordering information” (p. 47) in the Chapter 5, “G-2426G-B unit
data sheet” for the supported power supplies.
 Loading...