NVIDIA Jetson TX2/TX2i OEM Product Design Guide
JETSON TX2/TX2i OEM PRODUCT | DESIGN GUIDE | 20180618 65
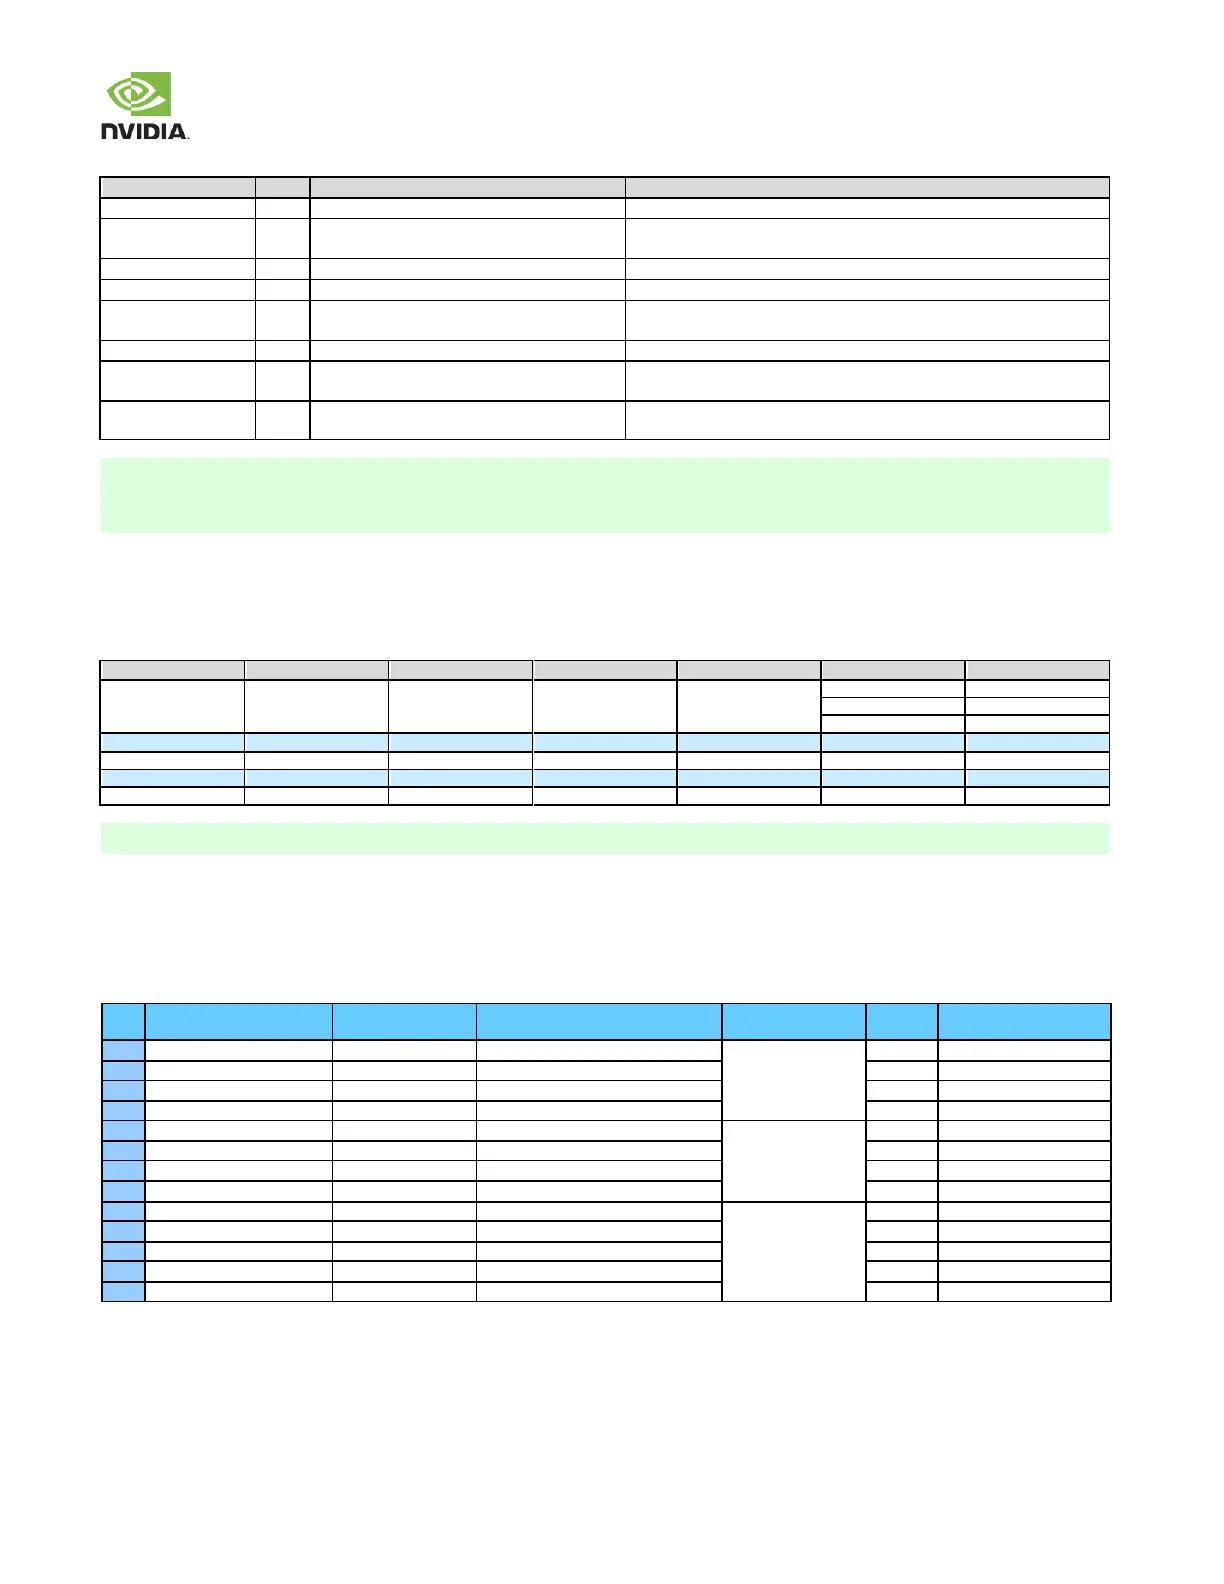
Table 69. I2C Signal Connections
1k pull-ups to VDD_1V8 on the module
General I2C 0 Clock\Data. Connect to CLK/Data pins of 1.8V devices
1k pull-ups to VDD_3V3_SYS on the
module
General I2C 1 Clock\Data. Connect to CLK/Data pins of 3.3V devices.
1k pull-ups to VDD_1V8 on the module
General I2C 2 Clock\Data. Connect to CLK/Data pins of 1.8V devices
1k pull-ups to VDD_1V8 on the module
General I2C 3 Clock\Data. Connect to CLK/Data pins of 1.8V devices.
1k pull-ups to VDD_1V8 on the module
Power Mon. I2C Clock\Data. Connect to CLK/Data pins of 1.8V
devices
1k pull-ups to VDD_1V8 on the module
Camera I2C Clock\Data. Connect to CLK/Data pins of any 1.8V devices
See eDP/HDMI/DP sections for correct
termination
DP_AUX Channel (eDP/DP) or DDC I2C 2 Clock & Data (HDMI).
Connect to AUX_CH+/– (DP) or SCL/SDA (HDMI)
See eDP/HDMI/DP sections for correct
termination
DP_AUX Channel (eDP/DP) or DDC I2C 2 Clock & Data (HDMI).
Connect to AUX_CH+/– (DP) or SCL/SDA (HDMI)
1. If some devices require a different voltage level than others connected to the same I2C bus, level shifters are required.
2. For I2C interfaces that are pulled up to 1.8V, disable the E_IO_HV option for these pads. For I2C interfaces that are
pulled up to 3.3V, enable the E_IO_HV option. The E_IO_HV option is selected in the Pinmux registers.
De -bounce
The tables below contain the allow able De-bounce settings for the various I2C Modes.
Table 70. De-bounce Settings (Fast Mode Plus, Fast Mode & Standard Mode)
12.2 SPI
Jetson TX2/TX2i brings out three of the Tegra SPI interfaces.
Table 71. SPI Pin Descriptions
Usage on the Carrier
Board
SPI 0 Master In / Slave Out
SPI 0 Master Out / Slave In
SPI 1 Master In / Slave Out
SPI 1 Master Out / Slave In
SPI 2 Master In / Slave Out
SPI 2 Master Out / Slave In
 Loading...