Paper handling > 26
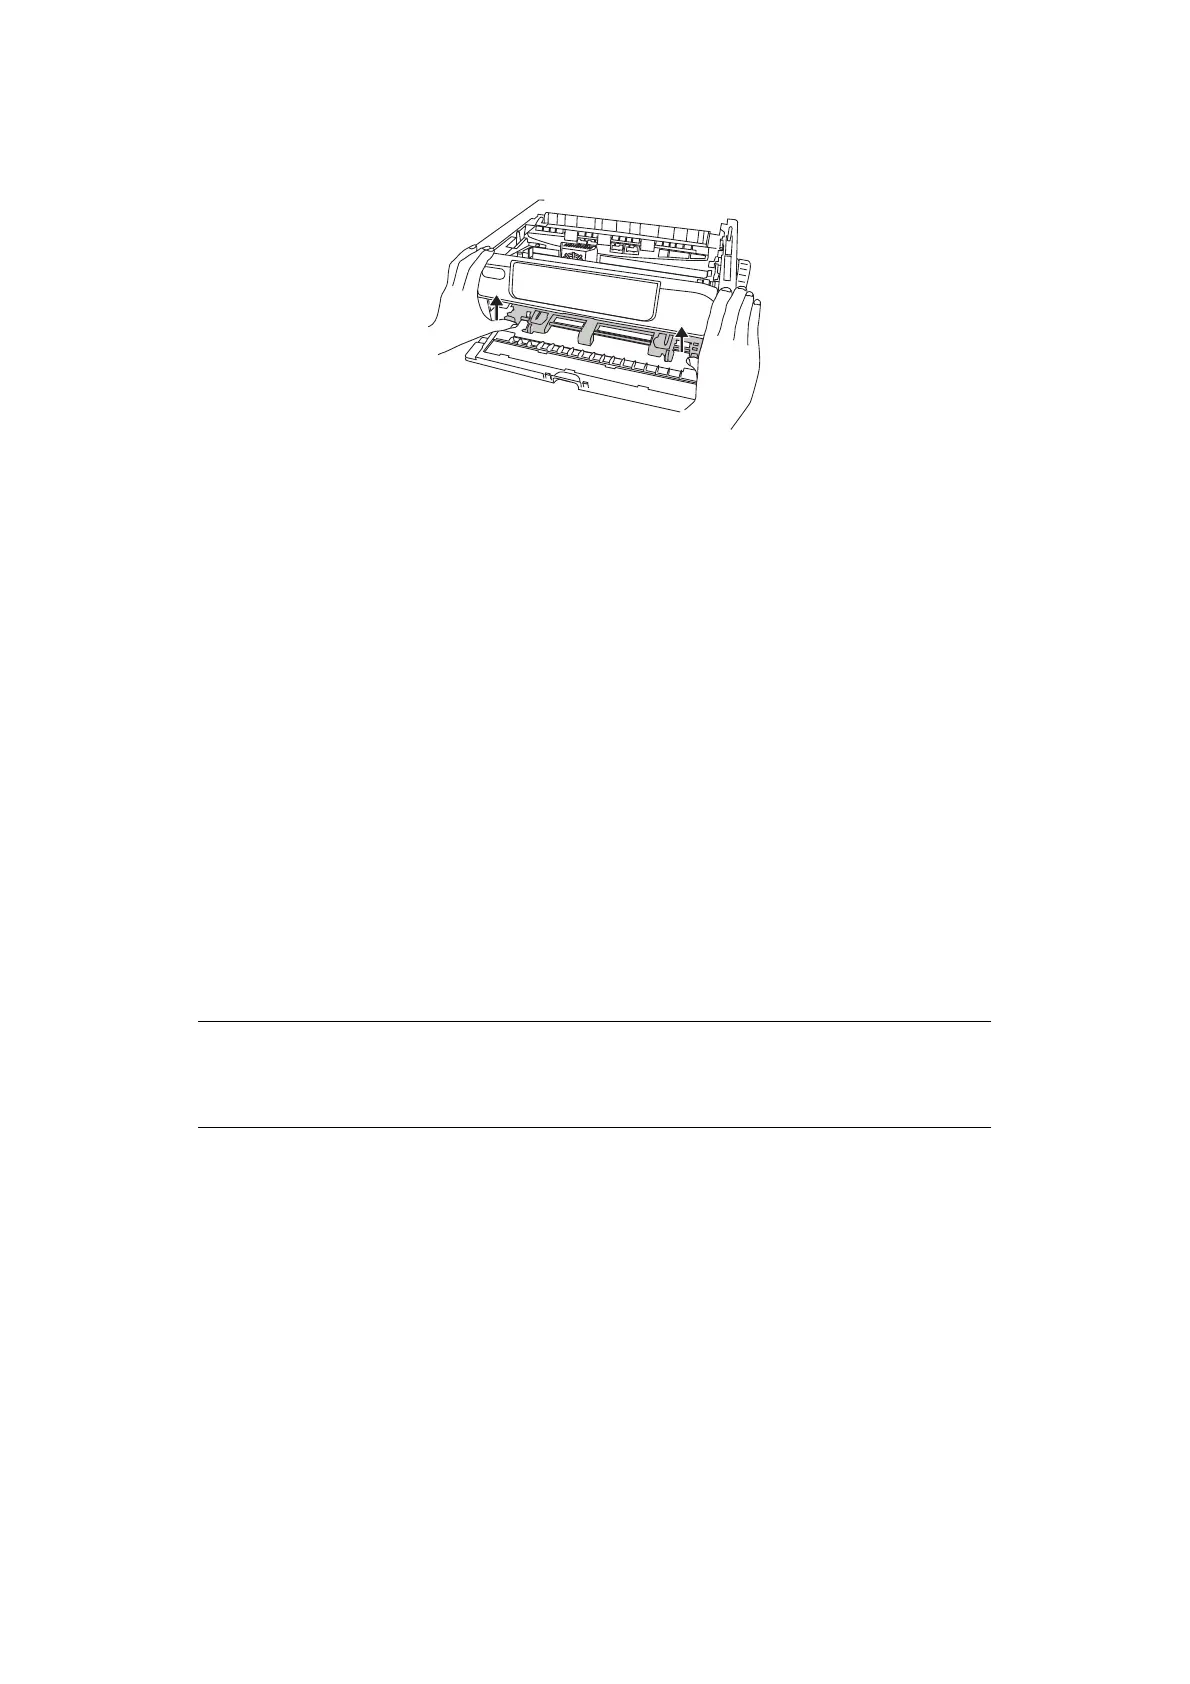
3. Push the tabs in the arrow direction and then pull the Pin Tractor in your direction to
release it.
T
EARING
OFF
CONTINUOUS
FORMS
1. With the SEL indicator illuminated, press the TEAR button to feed the continuous
forms to the tear-off position.
2. Carefully tear off the forms along the tear-off perforations in the direction shown.
Using excessive force may result in tearing at a position other than the tear-off
perforations.
3. When data is received by the printer or when the SEL button is pressed to select the
printer, the continuous forms is repositioned to the first line print position.
A
LIGNING
THE
TEAR
-
OFF
PERFORATIONS
If the tear-off perforations are not aligned with the paper cutter on the Top Cover, align
them as follows:
1. With the SEL indicator illuminated, press the TEAR button to move the tear-off
perforations to the paper cutter on the Top Cover.
2. Check the position of the tear-off perforations relative to the paper cutter. Adjust to
the desired tear-off position using Line Feeds (LF):
(a) To move the form forward, press the TEAR and the SEL buttons together.
(b) To move the form backward, press the TEAR and the LF/FF buttons together.
3. Release the buttons after the tear-off perforations have been aligned with the paper
cutter.
When data is received by the printer or when the SEL button is pressed to select the
printer, the paper will retract to the new position.
NOTE
ML5720/ML5721: Line Feeds are at 1/144 in.
ML5790/ML5791: Line Feeds are at 1/180 in.
 Loading...


