Getting started > 9
G
ETTING
STARTED
R
ETAINING
PACKING
MATERIALS
After setting up your printer according to the instructions in the Set-up Guide, retain your
packing materials and container in case you ever need to ship or transport your printer.
I
DENTIFYING
COMPONENT
PARTS
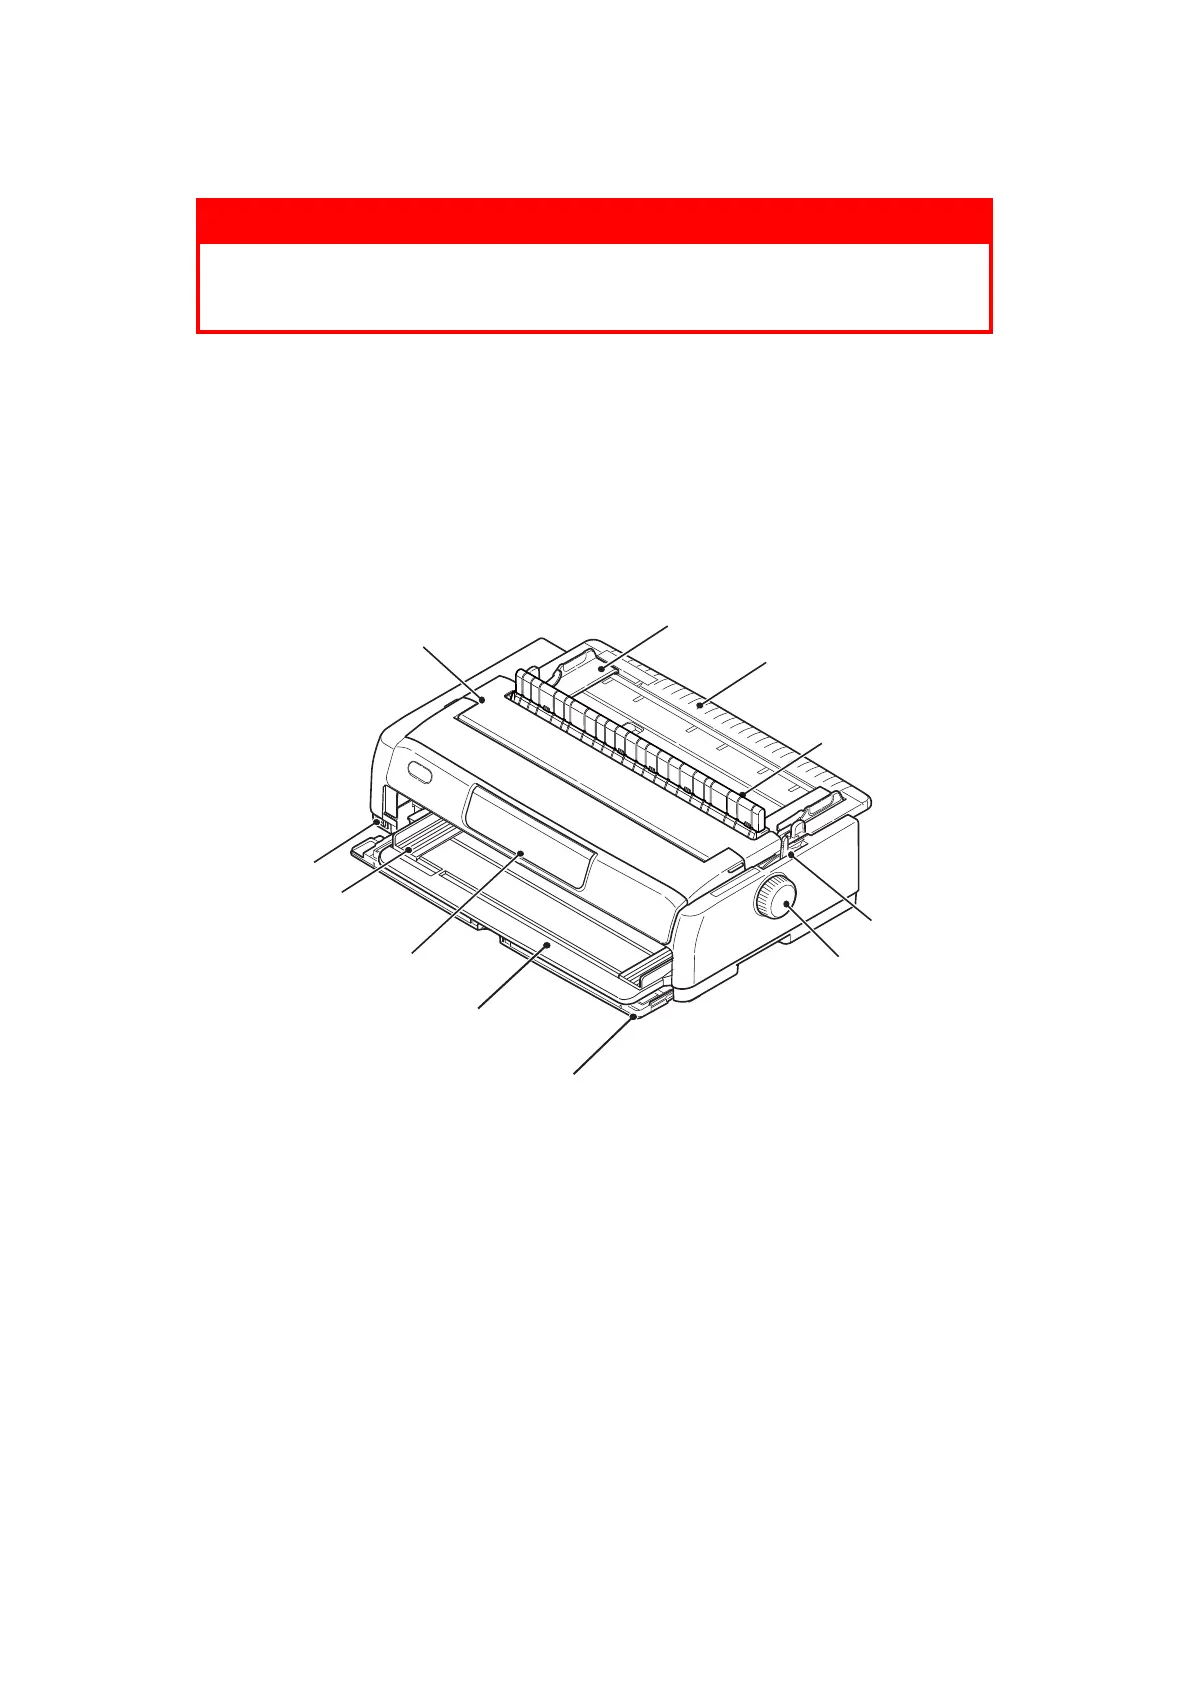
The main parts of your printer are identified and briefly explained below.
F
RONT
VIEW
1. Power Switch: to turn the printer power ON/OFF.
2. Operator Panel: contains button switches and indicators (described in detail later see
“Operator panel” on page 36) that allow you to operate the printer.
3. Front Feed Paper Tray: to feed cut sheet from the front.
4. Front Cover: open to fit the front feed paper tray or to fit the tractor.
5. Platen Knob
6. Paper Type Lever: set according to the type of paper feed - front feed (cut sheet),
continuous rear feed, continuous front feed or continuous bottom pull.
7. Pull-up Guide Assembly support
8. Top Feed Paper Tray: raise to feed cut sheet paper from the top.
9. Paper Guide: can be adjusted as required to locate the left edge of cut sheet paper.
10. Top Cover: open and close for access, for example when changing a ribbon
cartridge. Keep closed for noise reduction.
WARNING!
If you have not already done so, familiarise yourself with the
content of the Installation Safety booklet supplied with your
printer.
1
2
4
5
6
8
9
7
10
3
9
 Loading...


