4.Advanced User Guidebook
4. In the right menu, select type, select the desired filter type.
5. In the right menu, select window, select the desired window.
6. When low-pass or high-pass type is selected, select cut-off fre in the
right menu.
When band-pass or band-reject type is selected, select upper or down
in the right menu. Click or to adjust the frequency.
7. In the right menu, select Vertical (div), click or to adjust the
vertical position of Math waveform. The voltage division of Math waveform
is the same as the selected channel.
Note: On the Scan format, digital filter is disabled.
Use Autoscale function
This is a very useful function for first time users to carry out a simple and quick
test on the input signal. The function is applied to follow-up signals
automatically even if the signals change at any time. Autoscale enables the
instrument to set up trigger mode, voltage division and time scale automatically
according to the type, amplitude and frequency of the signals.
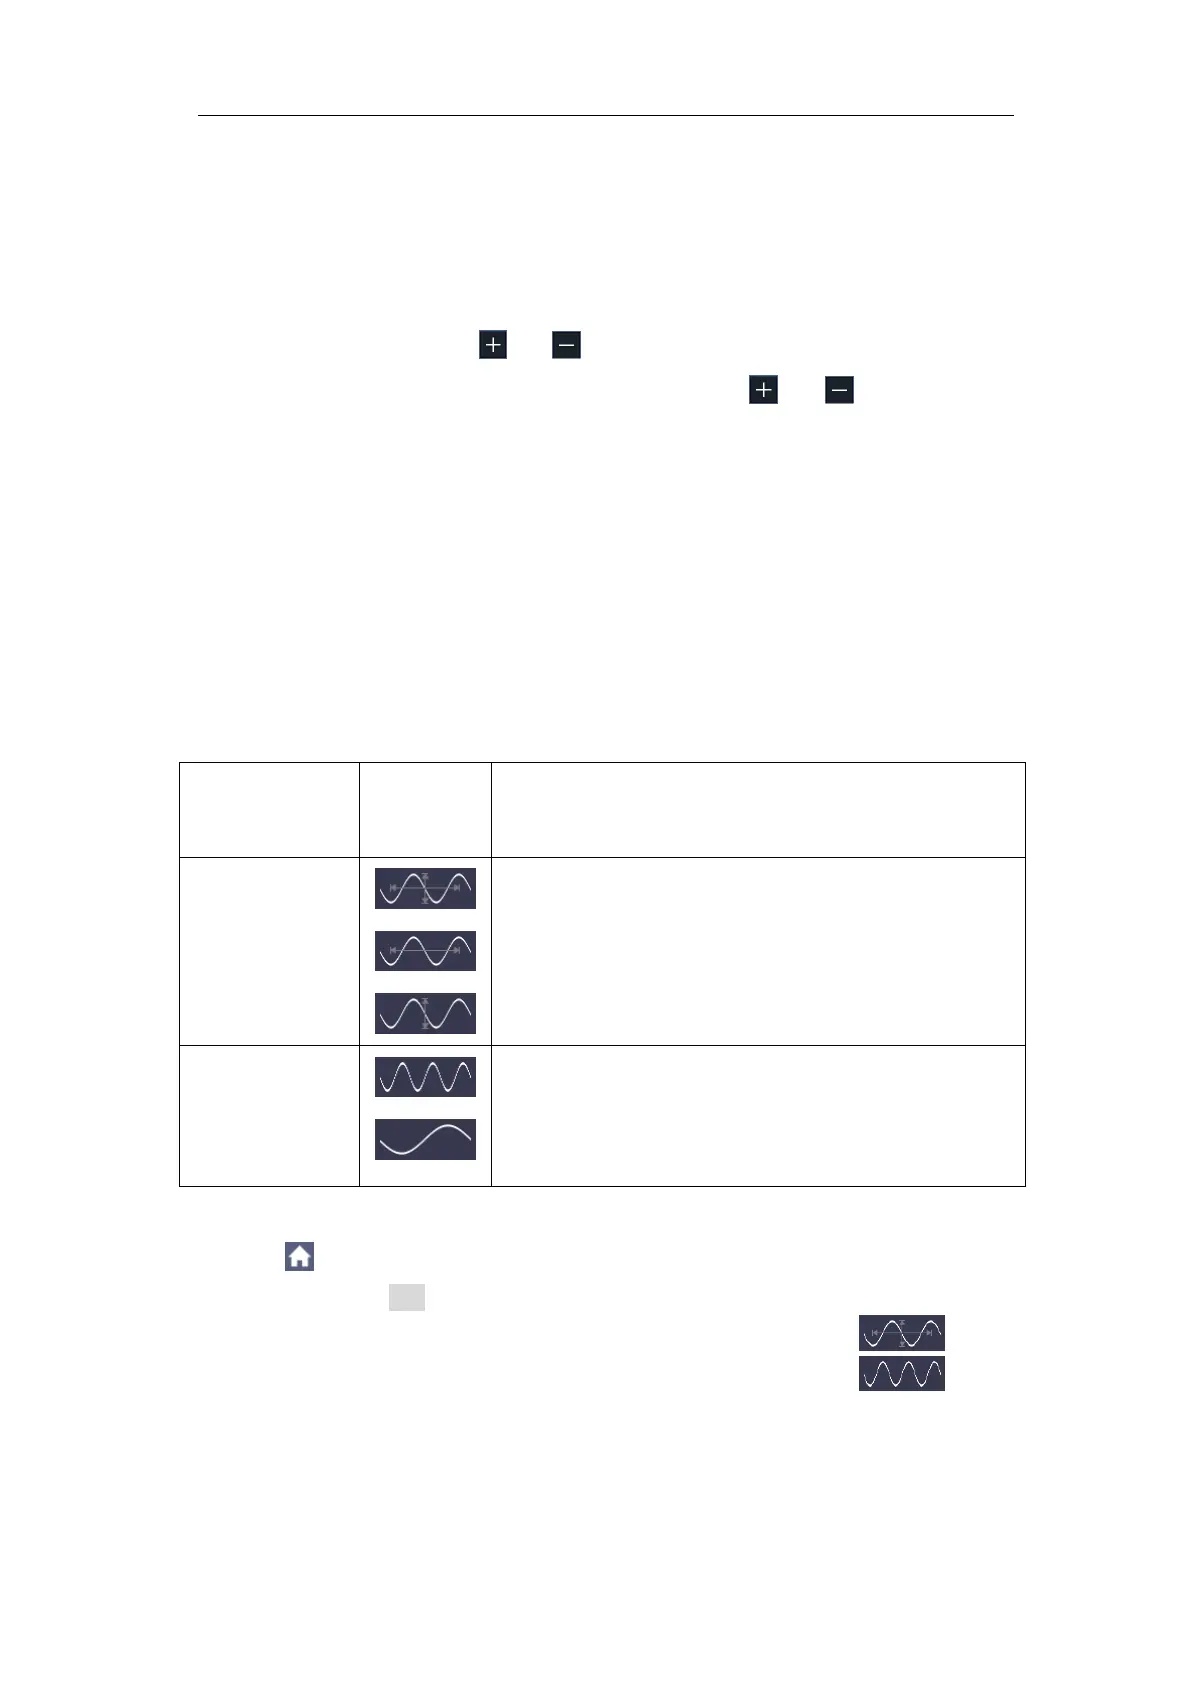
The menu is as follows:
Follow-up and adjust both vertical and horizontal
settings.
Follow-up and only adjust horizontal scale.
Follow-up and only adjust vertical scale.
Show Multi-period waveforms.
Only show one or two periods.
To measure the signal using autoscale, you can do as the follows:
1. Click to call up the menu panel. Click the Autoscale softkey on panel
to switch to the ON state. The function menu will appear.
2. In the bottom menu, Select Mode. In the right menu, select
.
3. In the bottom menu, Select Wave. In the right menu, select
.
Then the wave is displayed in the screen, shown as Figure 4-23.
 Loading...