5 sec.
DVB Preferred Subtitles
Choose the subtitle language for digital broadcast.
If the selected subtitle is not available, then the available subtitle
will be shown.
[English] [Welsh] [Gaelic] [English for hearing impaired]
[Welsh for hearing impaired] [Gaelic for hearing impaired]
On-Screen Messages
Choose the approximate time until the digital channel information
screen (➔ 52) disappears automatically.
The length of time the control panel (➔ 51) is displayed can also
be changed, but “Off” does not work.
[Off] The digital channel information is not displayed.
[3 sec.] [5 sec.] [7 sec.] [10 sec.]
FL Display
Changes the brightness of the unit’s display.
Regardless of the setting, when “Power Save” (➔ 84) is “On” and
this unit is turned off, the unit’s display is turned off.
[Bright]
[Dim]
New Service Message
When a new DVB channel is added this unit will be informed automatically.
Then the confirmation message appears. If you select “Yes” on the display,
Auto-Setup starts (All channel settings and all created profiles are deleted.
The timer recording programmes are also cancelled.).
[Automatic]
[Off] The Service Messages are not shown.
Screen Saver
[On] When this unit is not operated for approximately
5 minutes, the screen saver is displayed. To return to
the previous screen, press [OK].
[Off]
Connection
e
,
r
select “Connection” ➔
q
➔
e
,
r
select item ➔
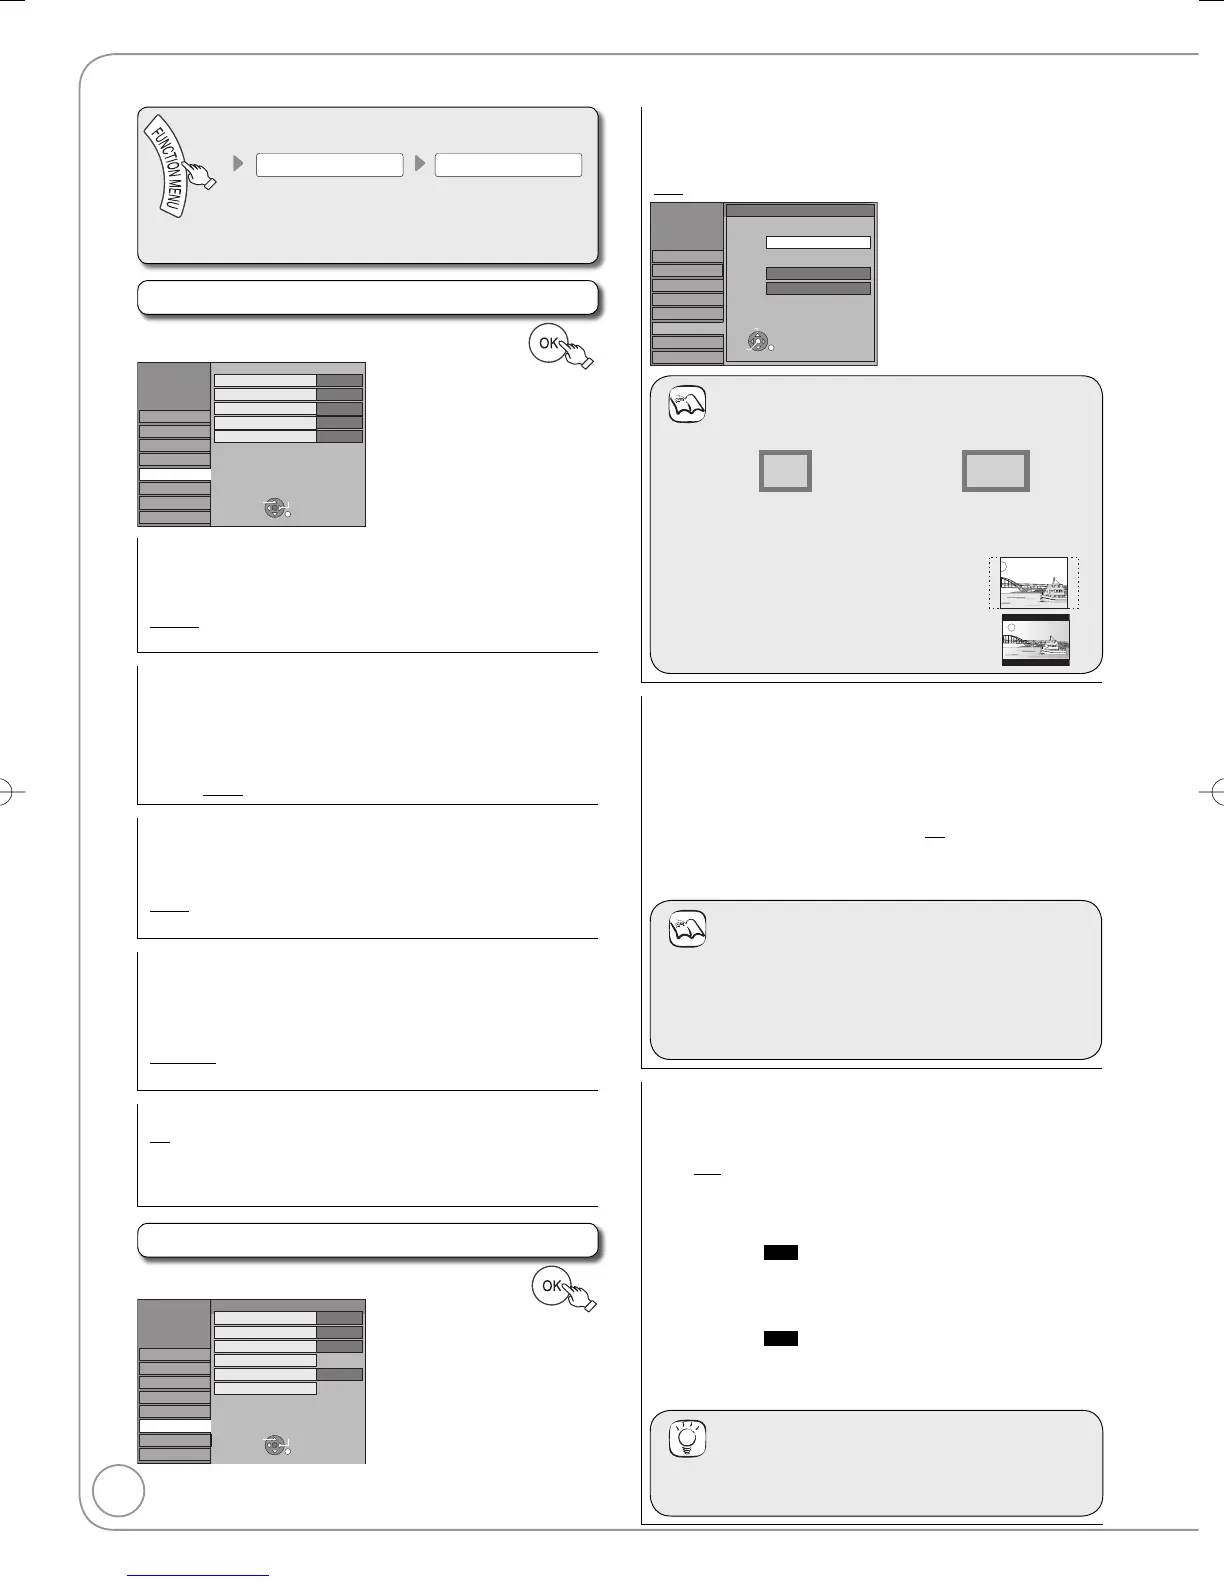
4:3 standard aspect television
16:9 widescreen television
• 16:9:
When connected to a 16:9 widescreen television. However,
the 4:3 aspect ratio picture expands left and right.
• 4:3: When connected to a 4:3 aspect
television,
side picture is trimmed for
16:9 picture (➔ 104, Pan & Scan).
Letterbox: When connected to a 4:3 aspect
television,
widescreen picture is
shown in the letterbox style (➔ 104).
•
•
Progressive
You can enjoy progressive video by connecting this unit’s
COMPONENT VIDEO OUT terminals to an LCD/plasma television
or LCD projector compatible with progressive scan (➔ 105).
Before this setting, set “AV1 Output” to “Video (with component)” or
“S Video (with component)” (➔ 83).
Press [
e
,
r
] to select “On”, then press [OK].
[On] Output becomes progressive. [Off]
This setting is fixed with “Off” and there is no output from the
COMPONENT VIDEO OUT terminals if you set “AV1 Output” to “RGB
1 (without component)” or “RGB 2 (without component)”
(➔ 83).
Notes
When connected to a regular television (CRT: cathode ray
tube) or a multi-system television using PAL mode, even if it is
progressive compatible, progressive output can cause some
flickering. Turn off “Progressive” if this occurs
(➔ 75).
Picture will not be displayed correctly if connected to an
incompatible television.
•
•
TV System
Change this setting if you connect an NTSC television or to record
NTSC video from another source.
1.
Press [
e
,
r
] to select the TV System, then press [OK].
[PAL] Select when connecting to a PAL or Multi-system
television. Programmes recorded using NTSC are
played as PAL 60.
Select to record television programmes and PAL
input from other equipment.
HDD
Select when playing a PAL input title
recorded on the HDD.
–
–
–
[NTSC]
Select when connecting to an NTSC television.
Television programmes cannot be recorded properly.
Select to record NTSC input from other equipment.
HDD
Select when playing an NTSC input title
recorded on the HDD.
–
–
–
The confi rmation screen appears.
2. Press [
w
] to select “Yes”, then press [OK].
Tips
To change the setting all at once (PAL ↔ NTSC)
While stopped, press and hold [
g
] and [
;
OPEN/CLOSE] on
the main unit simultaneously for about 5 seconds.
 Loading...