28
WARRANTY
CENTER
C
E
R
T
I
F
I
E
D
SECTION 2.1 – Hydraulic Systems
INSTALLATION:
STEP 1 Remove the four Pan-Head Screws from the top of the Reservoir Kit using a Phillips Screwdriver.
NOTE: For CM1 Pump Replacements, use a 1/4” Wrench to unscrew the Hex Bolt in the upper right corner
(you will reuse this bolt when re-installing reservoir tank).
STEP 2 Check the Filter Screens on bottom of Pump Suction Tubes for damage. If they are not damaged,
move to STEP 4. If the Filter Screens are damaged, remove them by grabbing onto the Aluminum
Ring with Pliers and pulling the them off of the Pump Suction Tubes. FIG 1
NOTE: To avoid damaging Pump Suction Tubes,
gently
squeeze the Aluminum Ring when removing.
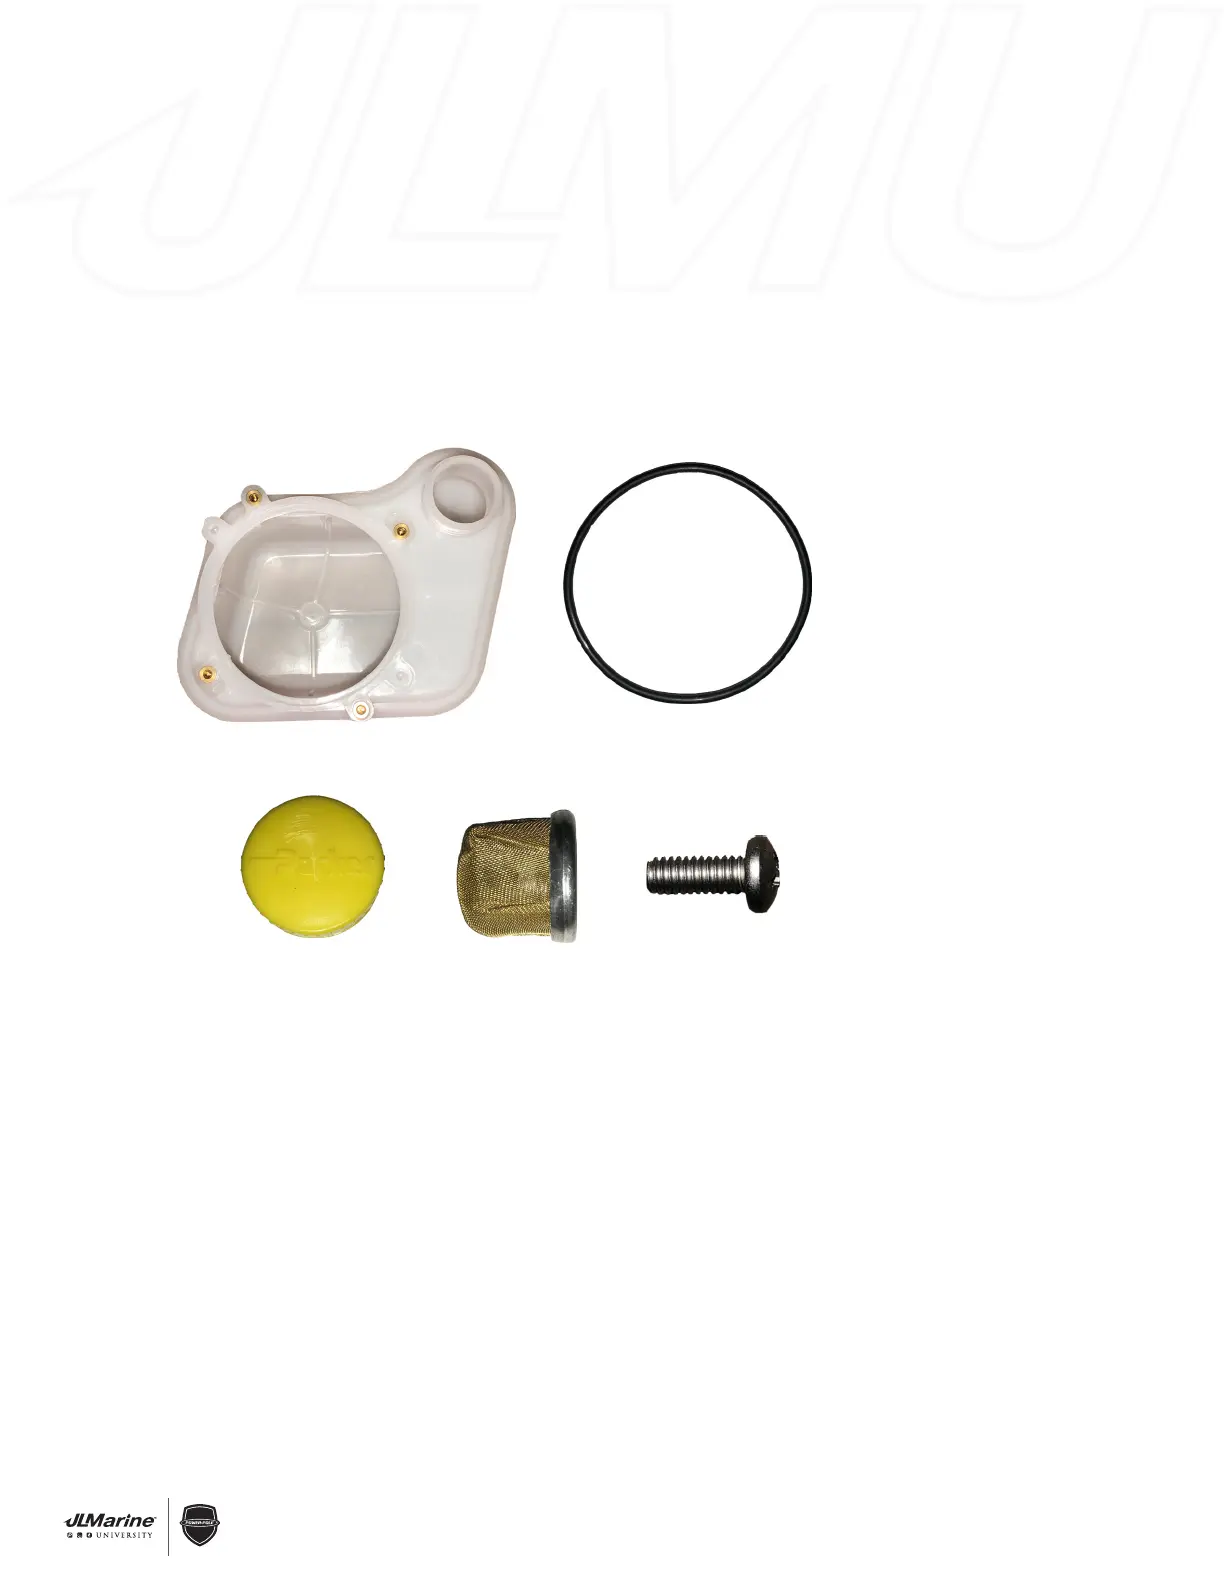
INLCUDED HARDWARE:
A. (1) Reservoir Tank
B. (1) Reservoir Cap
C. (1) Black O-ring
D. (2) Filter Screens
E. (4) Pan-Head Screws
INSTALLATION TOOLS:
• Rubber Mallet
• Phillips Screwdriver
• Paint Filter
• 6 Point Deep Socket (5/8”)
• 1/4” Wrench (CM1 Pumps ONLY)
• Funnel
A C
B D E
HPU Reservoir Replacement
 Loading...