MOVE ZR Installation & Owner’s Guide | 41
STEP 1 Cover the area that will be drilled with blue painter's tape.
STEP 2 Mark holes on masking tape with a fine-tip marker.
STEP 3 Drill a pilot hole with a drill bit that is 1/8" or less. Then, drill the hole again using a drill bit that is 1/16" larger.
Repeat this process, increasing drill bit size by 1/16" until holes are the desired diameter.
APPENDIX B Wire Connection/Termination Procedure
Always follow this procedure when drilling into the gel-coat of a boat. Failure to follow this procedure may
result in chipping or cracking of your boat's gel-coat.
TOOLS:
• Nitrile Gloves
• Wire Stripper
• Crimping Tool
• Heat Gun
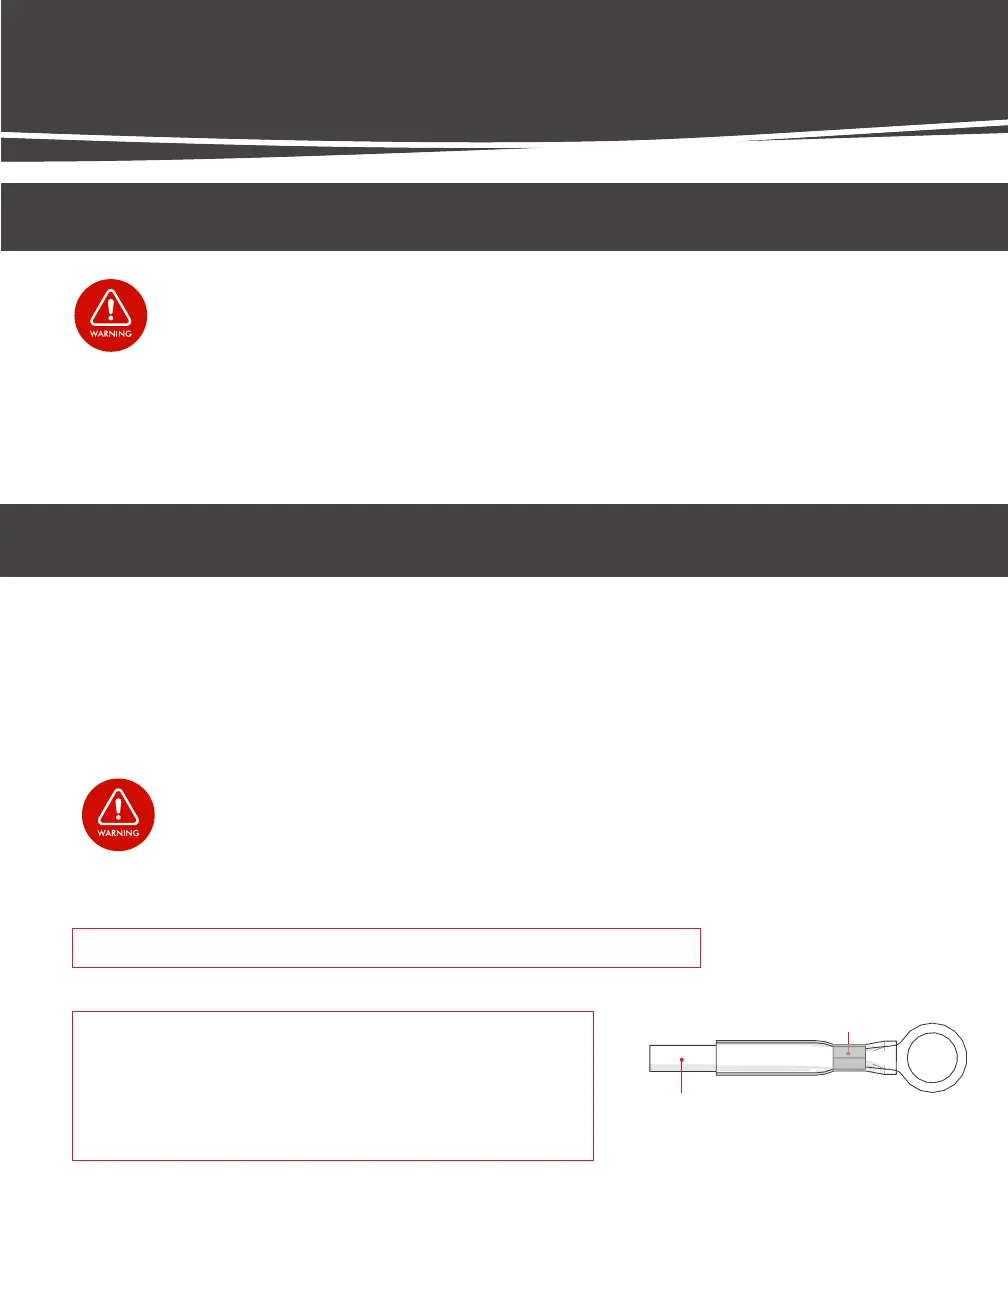
STEP 1 Strip back the insulation on the wire(s) you will be connecting so around 1/4" of wire is exposed.
STEP 2 Twist all of the exposed wire ends and insert them into the Butt Connector or Ring Terminal.
IMPORTANT! Ensure no uninsulated wire is exposed past the end of the Heat Shrink.
STEP 3 Crimp the Butt Connector onto the wire using the Crimping Tool.
IMPORTANT! Check Ring Terminal or Butt Connector for any cuts from
crimping and give the cables a slight tug to ensure they
are properly crimped. Poorly crimped or damaged
connectors will not provide a water-tight seal. This will
lead to corrosion and wire failure.
STEP 4 Use a Heat Gun to "shrink" the Heat Shrink of the Connector to the wire. Ensure no bubbles are present and the
Connector has shrunk tightly to the insulation on the wire.
Always make sure power is shut off to the wires you are working with. NEVER attempt to attach a ring terminal
or butt connector to a live wire.
Wire Lead
(No Exposed Wire)
Crimp Here
APPENDICES
APPENDIX A Gel-Coat Drilling Procedure
 Loading...