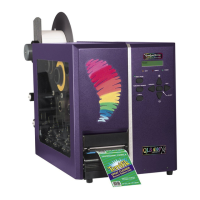
QLS-4100 Xe 7-11
Changing the Fuse or Line Voltage
Your QLS-4100 Xe has been configured for your line voltage at the factory.
Should you need to replace the fuse(s) or reconfigure the printer for a
different line voltage, follow the procedure outlined below.
Tools Needed:
Small, flat-blade screwdriver
1 Turn the printer off and unplug the AC power cord.
2 Insert a small, flat-blade screwdriver into the slot at the top of the AC
Power Input.
3 Gently twist the screwdriver to pry open the plastic door. The door will
swing down when fully opened.
4 Insert the screwdriver between the AC Power Input and the red Fuse
Holder module.
5 Gently twist the screwdriver until the Fuse Holder begins to slide out.
Grasp the Fuse holder and slide it completely out of the AC Power Input.
6 Install the appropriate fuse(s) as follows:
110 VAC Operation 1 each - 6.3A fuse (P/N 24034-002)
Install the metal shorting clip on fuse holder.
220 VAC Operation 2 each - 4.0A fuse (P/N 24034-004)
Remove the metal shorting clip on fuse holder.
7 Orient the Fuse Holder such that the desired line voltage is near the top
of the Fuse Holder.
8 Slide the Fuse Holder into the AC Power Input until it is fully seated.
9 Swing the plastic door up and push firmly until a snap is heard
indicating that the door is fully closed.
10 Reconnect the AC Power Cord.

 Loading...