7
.1Toolsrequired
Thefollowingtoolsarerecommendedforinstallation:
1.P owerdrill.
2.Holecutter(appropriatesizeforcornerdiametersoftheCutoutline
identifiedonthesuppliedmountingtemplate):
•15.40mm(0.61in)—Axiom®2XL16,19and24.
•13.5mm(0.53in)—Axiom®2XL22.
3.Jigsaw.
4.Halfroundfile(orsandpaper).
5.Masking/selfadhesivetape.
6.Handrouterwitharouterbitanappropriatesizeforthe14.00mm
(0.55in)cornerdiameterrequiredfortheflushmountrebate.
7.Marinegradesealant.
8.8mm(
5
/
16
”)wrenchorsmalladjustablewrench.
9.4mmHexwrench(Allenkey).
Note:
*Itemsareonlyrequiredwhenflushmountingthedisplay .
7
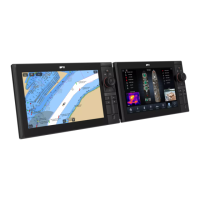
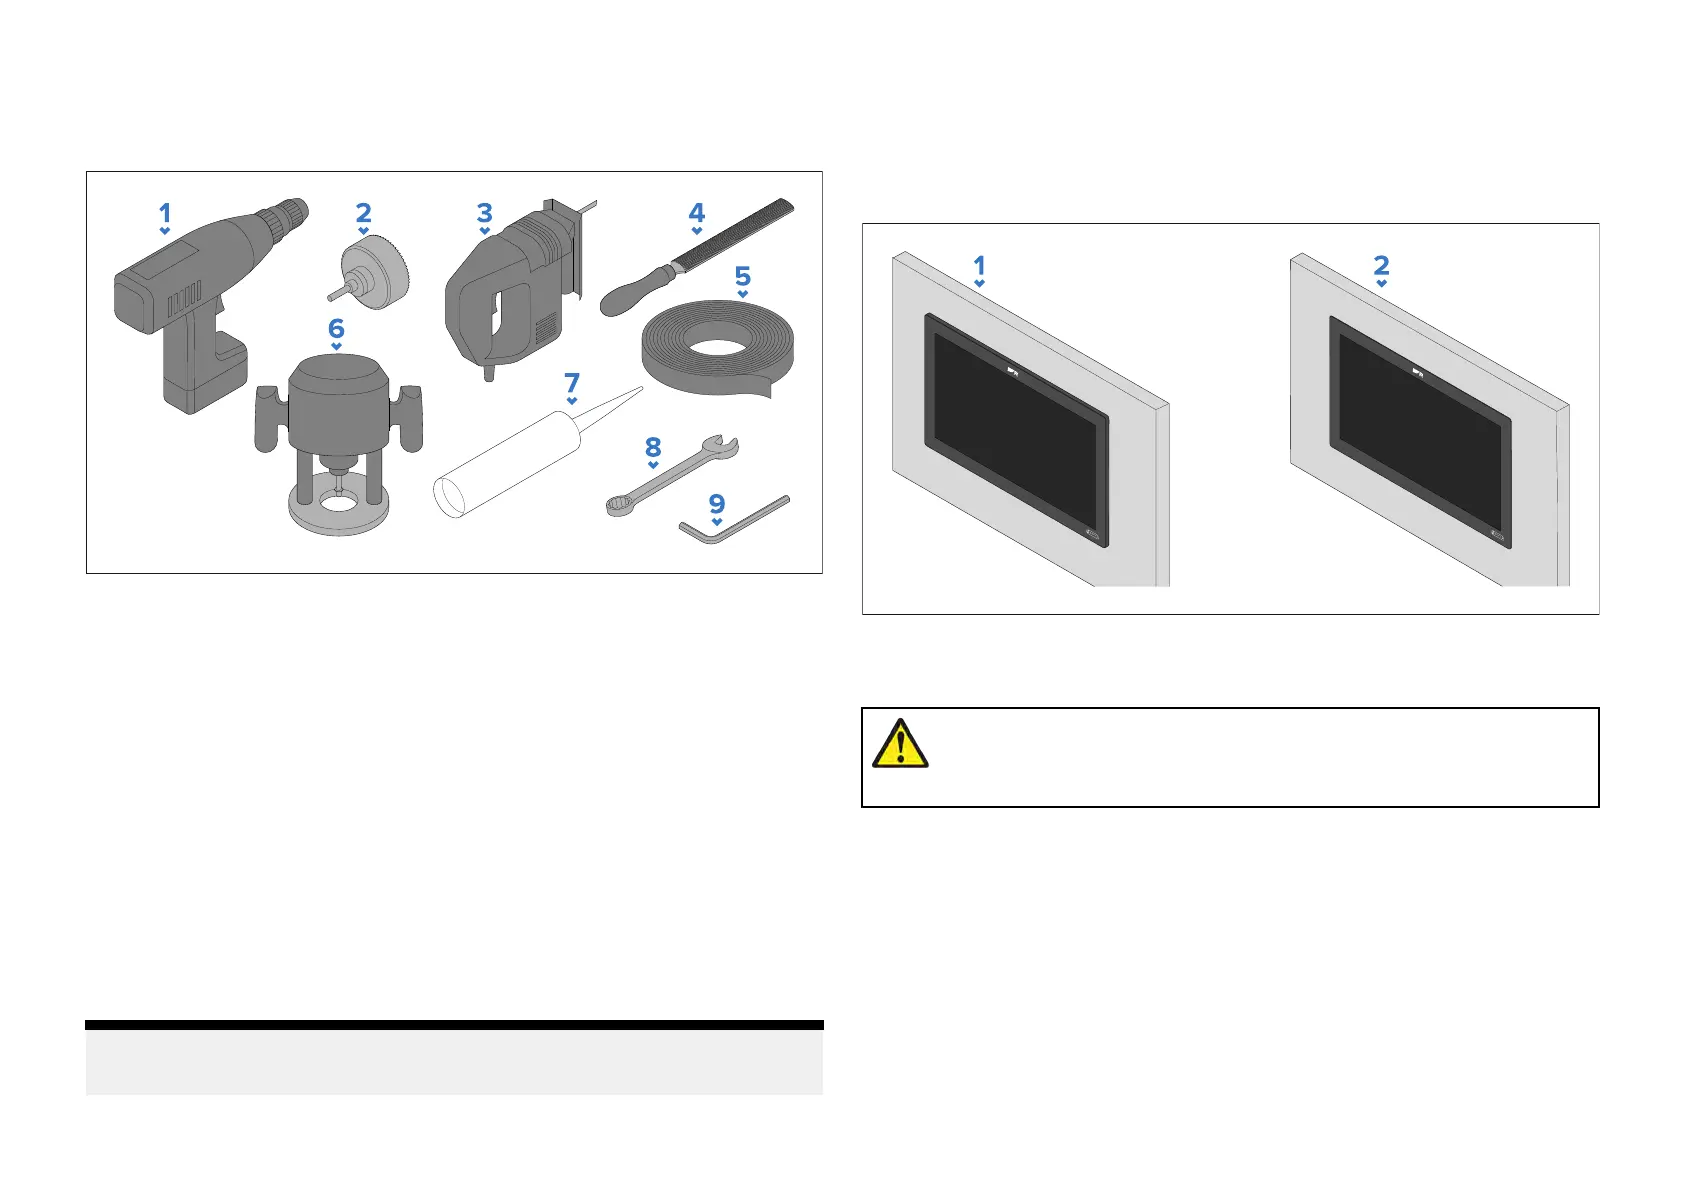
.2Mountingoptions
Axiom®2XLdisplayscanbemountedflushwiththemountingsurface(flush
mount)orwiththeglassprotrudingfromthemountingsurface(surface
mount).
1.Surfacemount
2.Flushmount
Warning:2personinstallationrequired
Topreventpotentialproductdamage,vesseldamageand
personalinjury2-personinstallationisrecommended.
7.3Rearaccessrequirements
Accesstotherearofthedisplayandmountingsurfaceisrequiredtosurface
andflushmountthedisplay.
Ensurethereissufficientaccessandspacebehindthemountingsurfaceto
attachandtightenthefixingsandalsotoconnectthecables.
30
 Loading...