16 Rockwell Automation Publication 6300P-UM001B-EN-P - March 2021
Chapter 2 Install the Panel PC
Mount the Computer in the
Panel
Before you mount the computer in the panel, confirm that the cutout:
• Has been prepared according to the guidelines in Prepare the Panel
Cutout on page 15.
• Surface is clean and free of debris.
Required Tools
These tools are required for computer installation:
• Panel cut out tools
• 1.5 mm hex key (supplied with the mounting clips)
• Adjustable torque driver with 1.5 mm hex key bit
• Safety glasses
• Mounting clips (supplied); for the needed quantity, see Figure 3 on
page 17
Mount the Computer
Perform the following steps to install the computer in the panel cutout.
1. Cut an opening in the panel area to the dimensions needed for your
computer that are found on page 11
.
2. After the cutout is completed, clean the panel area of all debris and
metal fragments.
3. Make sure that the sealing gasket is positioned properly on the
computer.
4. From the front of the panel, insert the
computer into the cutout.
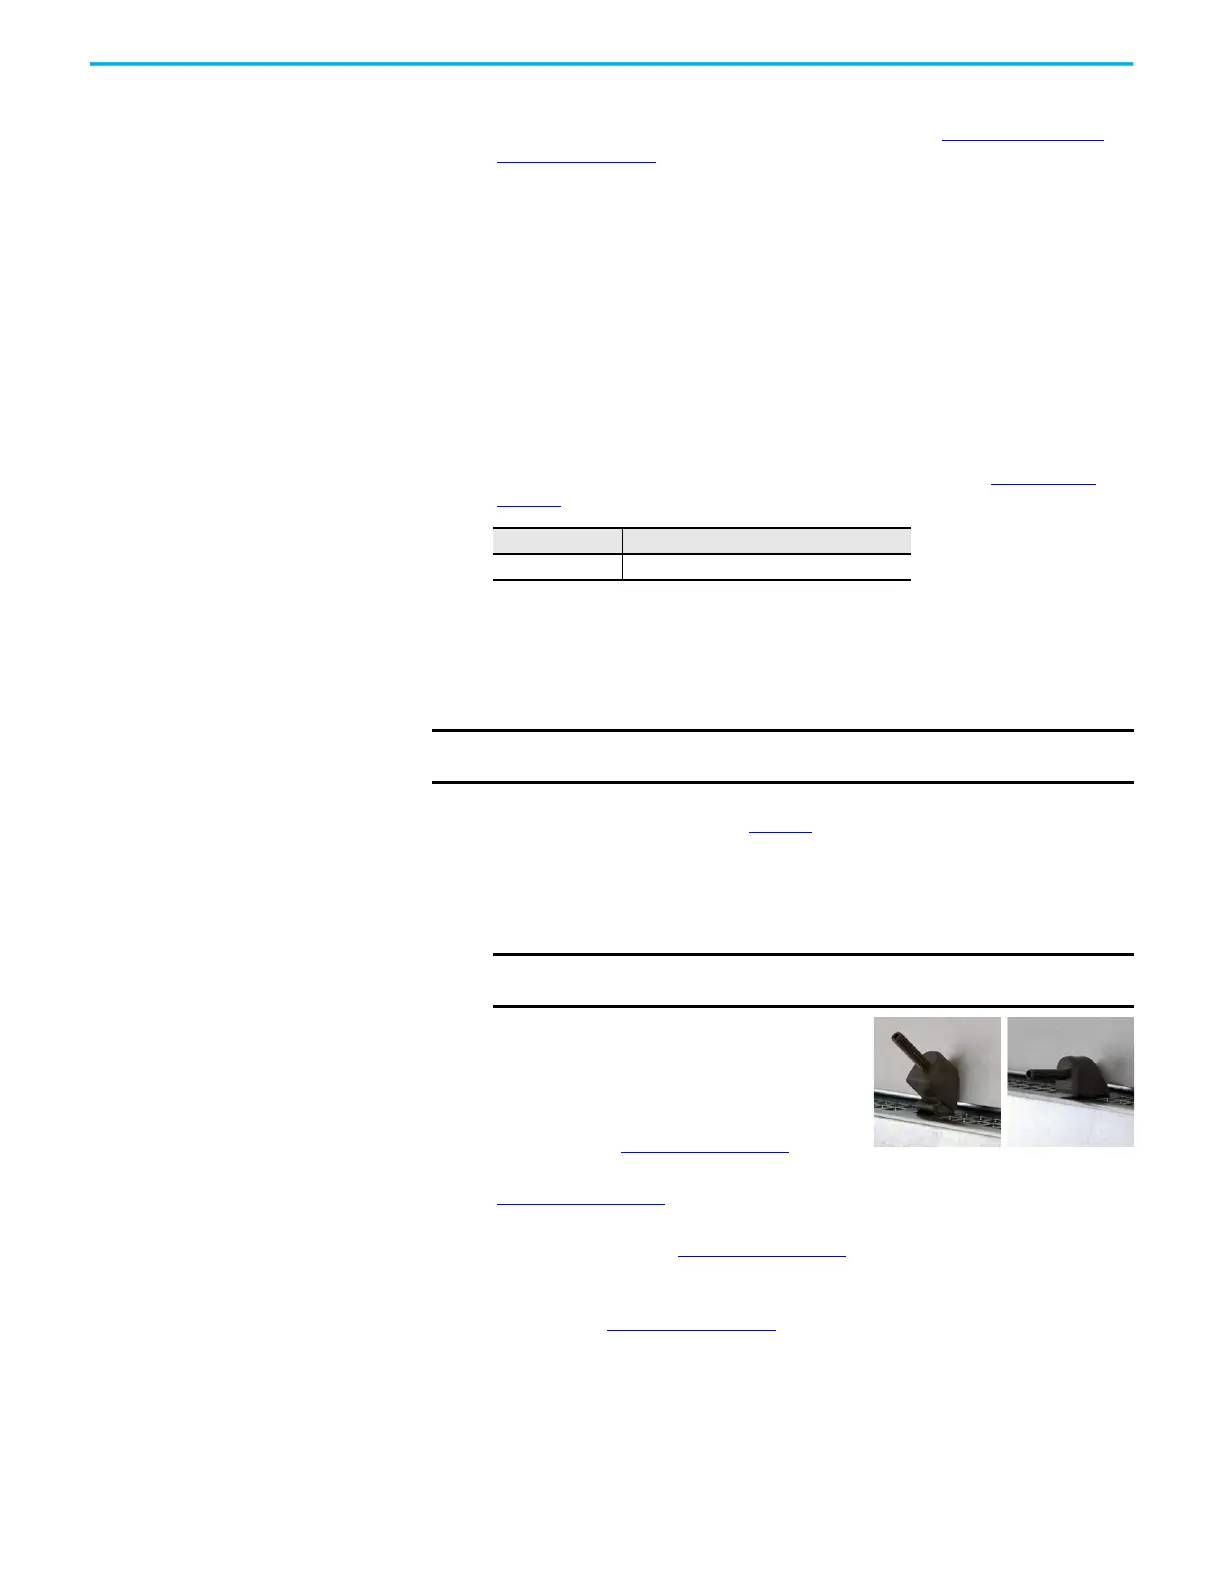
5. Slide the mounting clips into the holes
on all four sides of the computer as
shown at right. For the various hole
locations, see Figure 3 on page 17
.
6. Hand-tighten the mounting clips according to the tighten sequence in
Figure 3 on page 17
.
7. With the supplied 1.5 mm hex key, tighten the mounting clips to the
tighten sequence in Figure 3 on page 17
.
8. With the adjustable torque driver and 1.5 mm hex key bit, tighten the
mounting clips to a torque of 0.2 N•m (1.8 lb•in) by the tighten
sequence in Figure 3 on page 17
.
9. Repeat this process at least three times until the clips are torqued
properly to 0.2 N•m (1.8 lb•in).
Cat. No. Description
6300V-MCLIP16 Replacement mounting clips (qty. 16)
IMPORTANT You need two people to install the computer; one person to hold the
computer in place while another person installs the mounting clips.
IMPORTANT The gasket that is provided with the computer forms a
compression-type seal. Therefore, do not use sealing compounds.
 Loading...