10
2 Part Names and Functions
2 Part Names and Functions
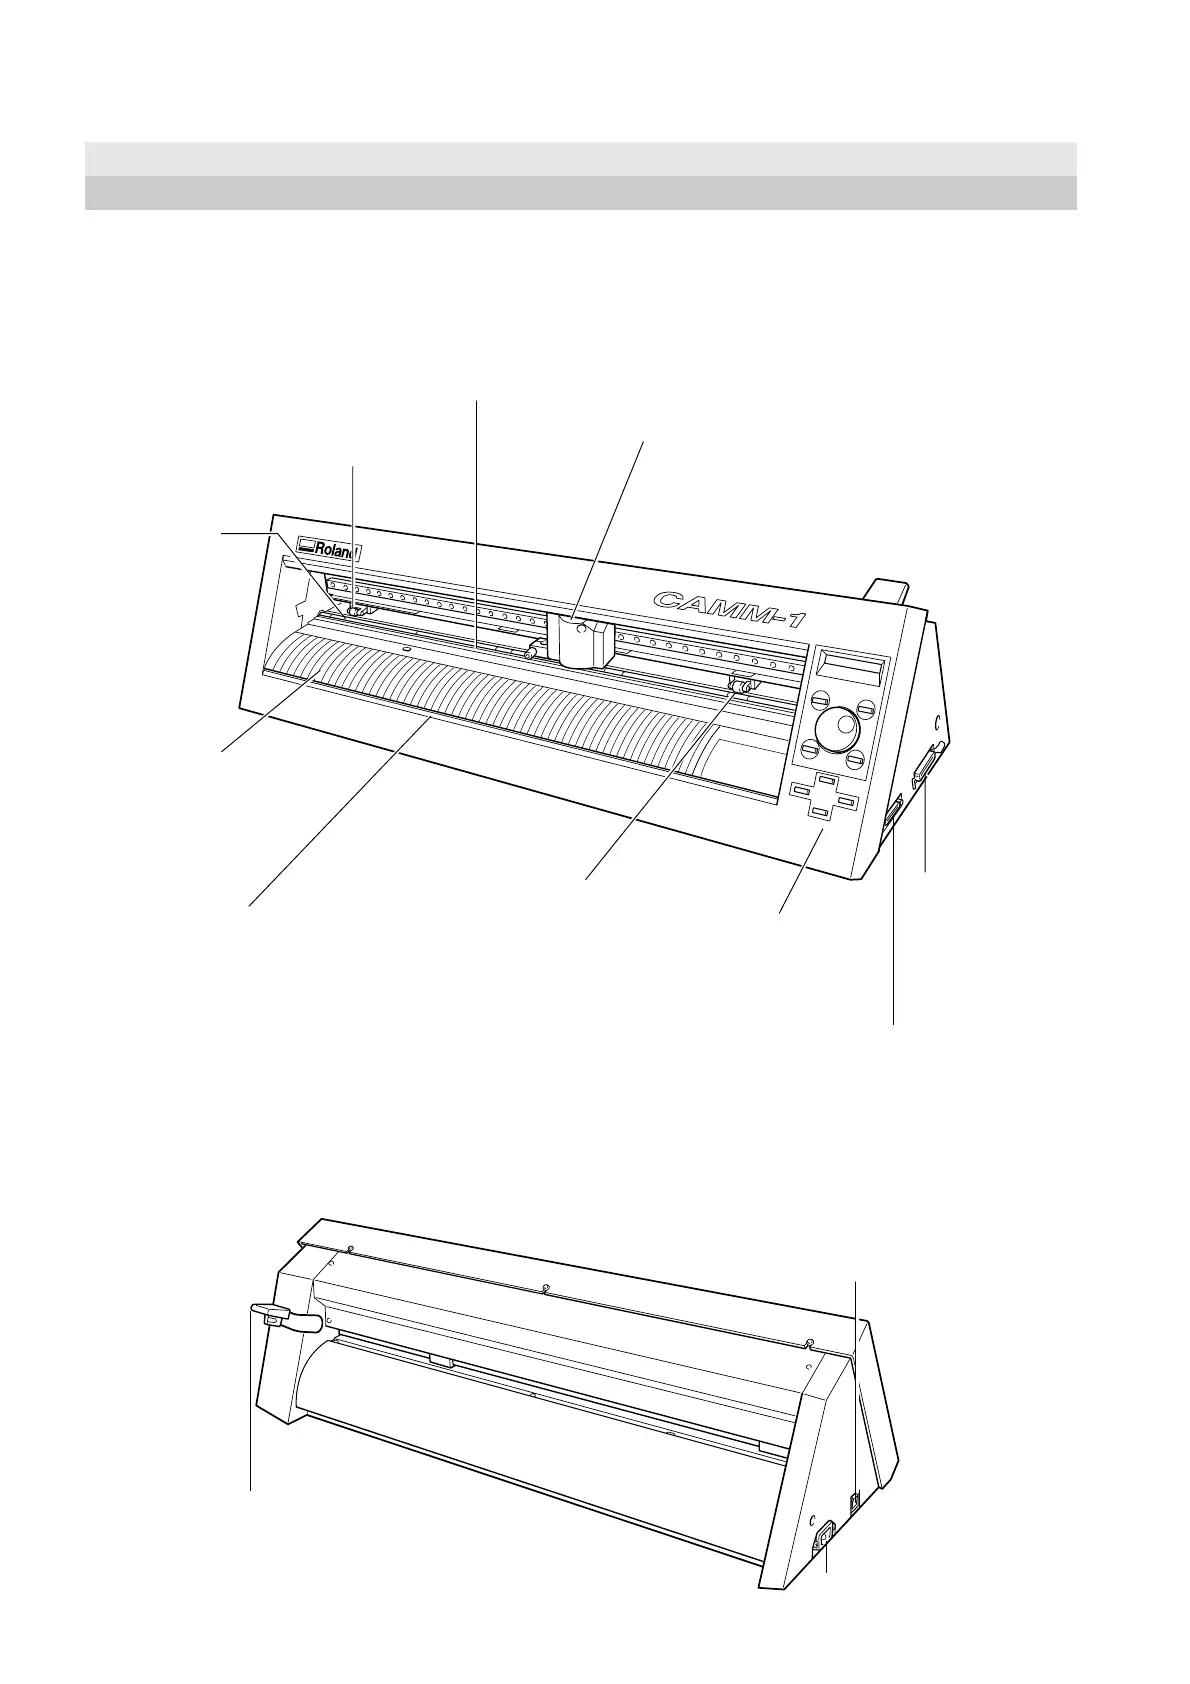
In explanations that are common for both the CX-24 and the CX-12, figures depicting the CX-24 are used.
Serial (RS-232C) Input Connector
This is for connecting a crossover serial (RS-
232C) cable (sold separately).
Pinch roller (Left)
This presses down on the ma-
terial to hold it in place.
Set this at the left-hand edge
of the material.
Cutting carriage
The blade holder (or
pen) is installed here.
Grit roller
This rotates to
feed the material
forward and
backward.
Guide line marks
The edges of the
material is aligned with
the lines when loading.
Knife guide
The separating blade (included
with the CX-24 only) is inserted
and slid across this.
This makes it possible to sepa-
rate a piece of material from the
roll while still loaded in place.
Pinch roller (Right)
This presses down on the
material to hold it in place.
Set this at the right-hand
edge of the material.
Parallel (Centronics)
Input Connector
This is for connecting a
printer cable (sold
separately).
Power switch
Pressing the "|" side turns on the power.
Pressing the "O" side turns off the power.
Sheet loading lever
This is for loading and unloading
material.
Blade protector
Operation panel
Power connector (AC IN)
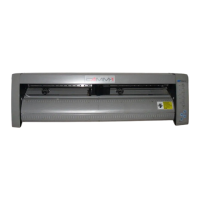
2-1 Front View
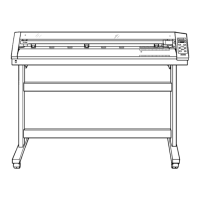
2-2 Rear View
 Loading...