35
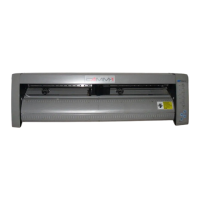
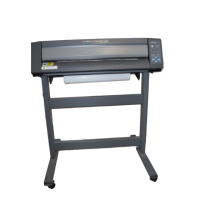
6 Plotting on Paper Media
1
2
3
5
4
Refer to "4-1 Installing a Blade" and install the pen
by following the same steps as for installing a blade.
Refer to "4-2 Loading the Material" and load the
paper by following the same steps as for loading
material.
If you're using the CX-24, then when the menu for
selecting the type of material appears, choose
[PIECE].
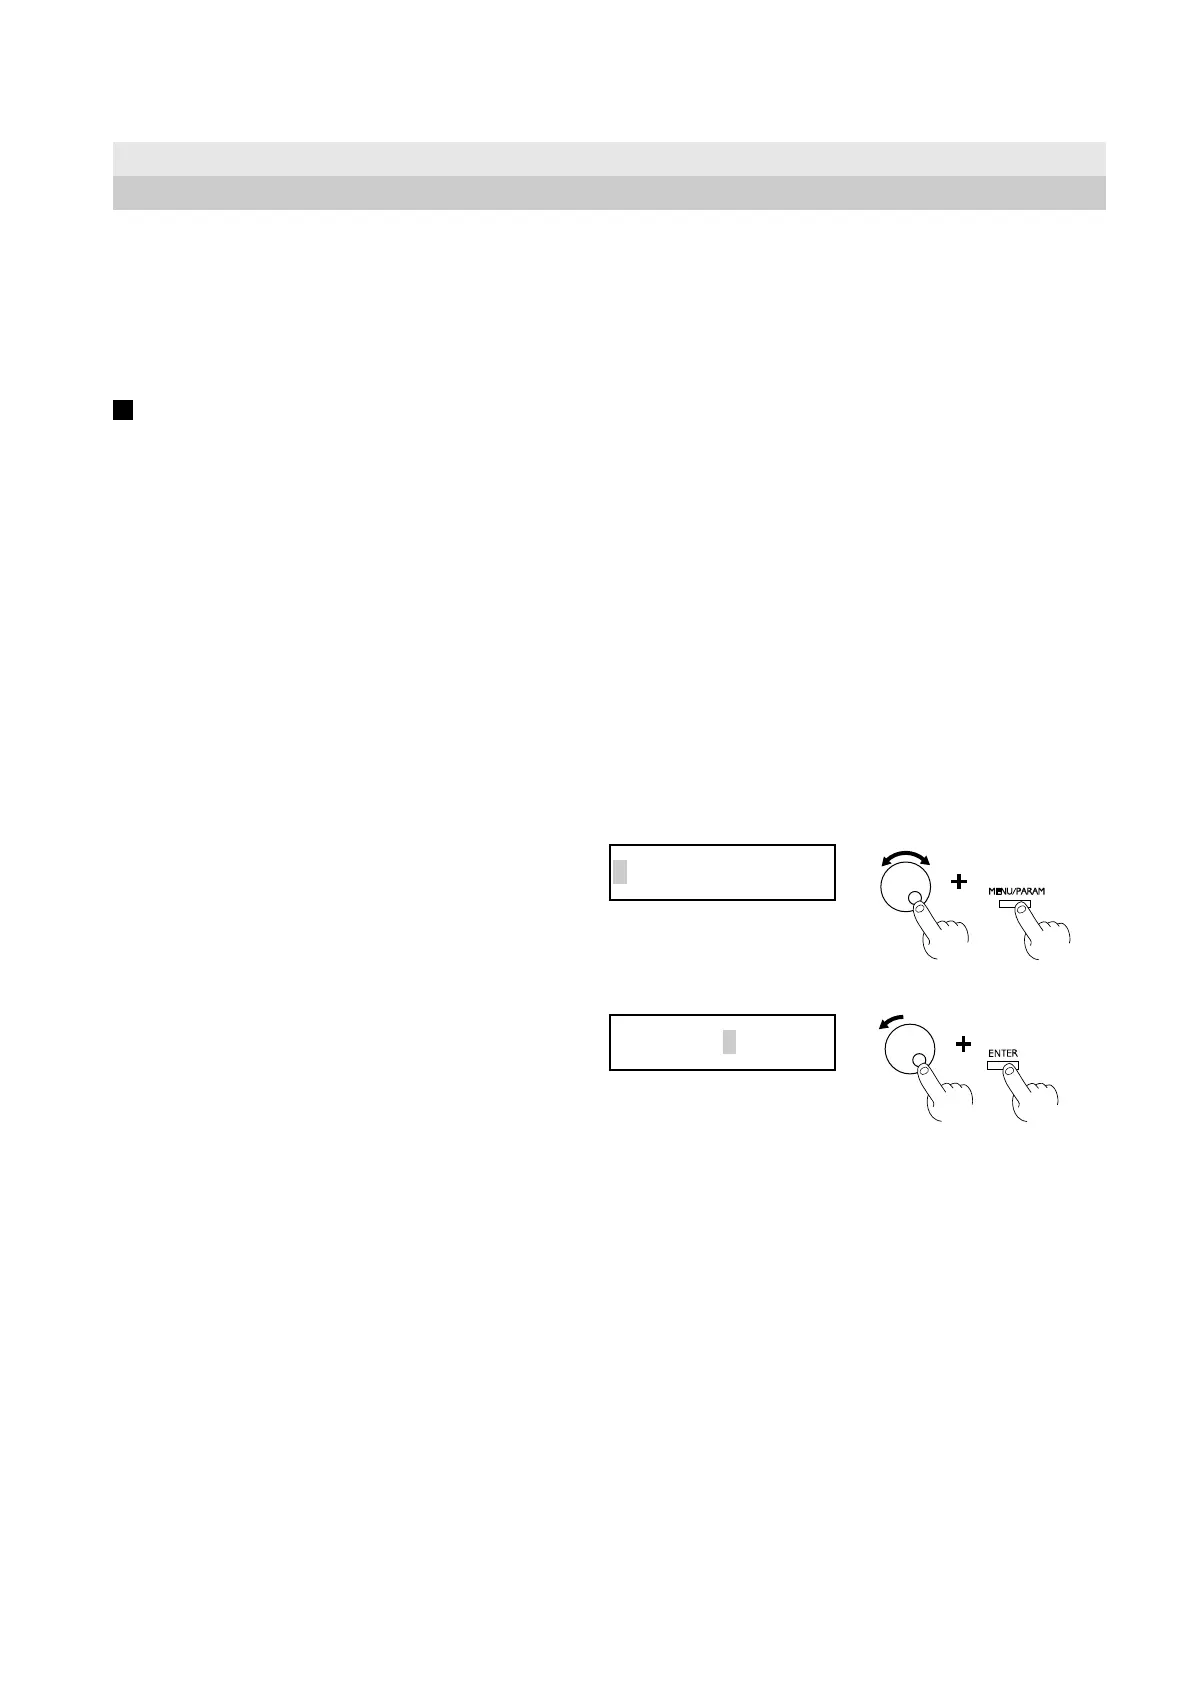
Turn the dial to display <0 (PEN)>, then press the
[ENTER] key.
When the plot data is sent from the computer, plotting
starts.
6 Plotting on Paper Media
Before cutting, plotting using pen and paper can ensure that your design is correct without wasting materials.
This feature can also be used to plot template designs on thick materials that may not be able to cut.
* Since the design of the CX-24/12 differs inherently from that of dedicated plotters, it does not accommodate functions
such as high-speed plotting, automatic pen changes, pen dry protection, or the like.
Acceptable pens and paper media
Acceptable paper : High-quality paper
Acceptable pens : Water-based fiber-tipped pens
Thick water-based fiber-tipped pens
Acceptable paper widths :
CX-24 50 to 700 mm (1-15/16 to 27-3/4 in.)
CX-12 50 to 395 mm (1-15/16 to 15-1/2 in.)
Turn the dial to display the screen shown at right.
Press the [MENU/PARAM] key.
OFFSET| <0.250>
OFFSET| <0(PEN)>
 Loading...