8
8-18. RCS-TRP80BG.WL
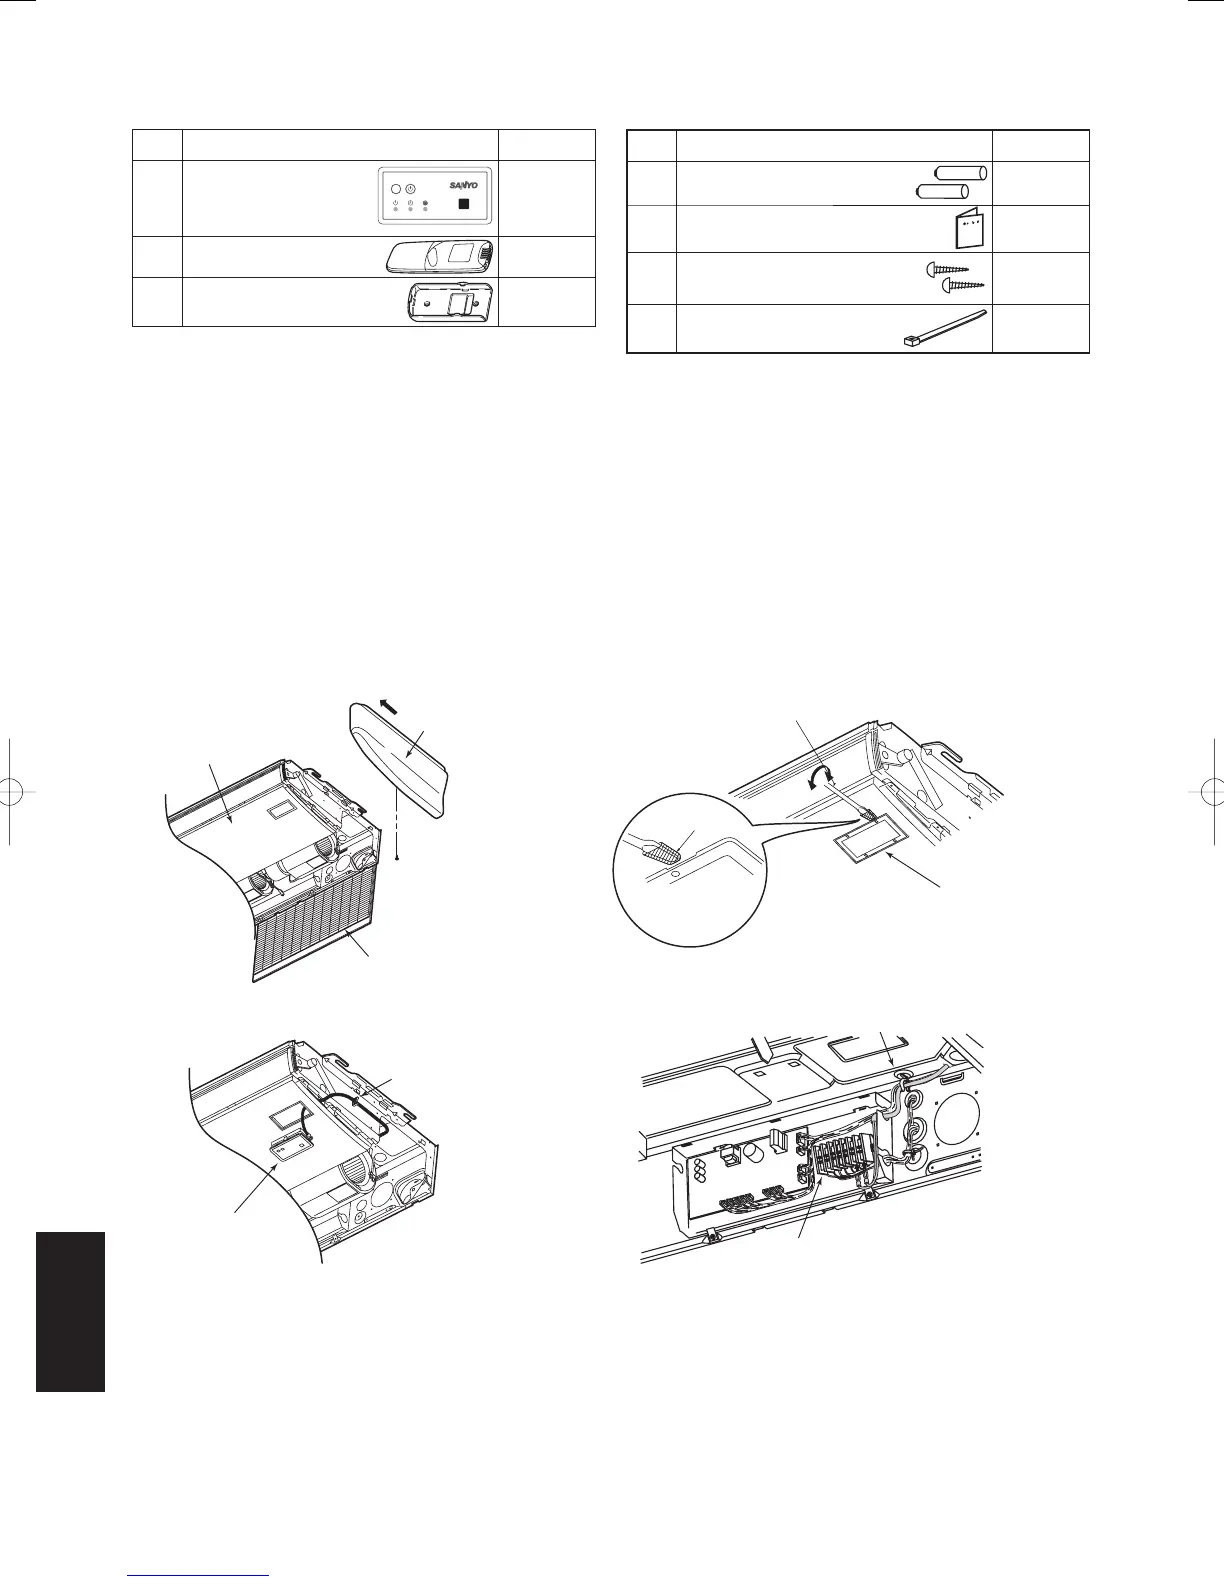
1. Accessories
No. Accessories Quantity
1
Receiver
1
2
Remote controller
1
3
Remote control holder
1
No. Accessories Quantity
4
AAA alkaline batteries
2
5
Users Manual
1
6 Truss self-tapping screws
4 X 16
2
7
Cable tie
1
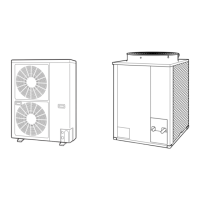
2. Installing the Receiver Unit
• Ceiling Suspended Model
(1) Open the air inlet grille on the side panel, remove the 1 screw and then move it toward the front (direction of the
arrow) and remove it. (Fig. 8-6)
(2) Wrap the tip of a at head screwdriver with vinyl tape and then slip it into the side of and under where " O "
marking is printed on the lid, wiggling the lid free. (Fig. 8-7) (Be careful not to scratch the panel.)
(3) After passing the lead wire through the panel, install the receiver in the hole of the panel. (The projecting parts
of the receiver is held in the hole of the panel.)
(4) Fasten the receiver’s lead wire to the clamp that is holding the wire from the louver motor. (Fig. 8-8)
(5) Attach the side panel.
(6) Put the receiver’s lead wire together with other wires such as the louver motor wire and fasten them to the
clamp. (Fig. 8-9)
• Use the hole in the upper part of the wiring box to lead it in.
Fig. 8-6
Fig. 8-8
Fig. 8-7
Fig. 8-9
Panel
Side panel
Air inlet grille
Clamp
Receiver
Flathead screwdriver
(Wrapped with vinyl tape)
Lid
Vinyl tape
Insert into groove
on side below
" O " mark.
Clamp
Terminal board
8-14
SM830160-03ClassicPAC-iA4.ind1414SM830160-03ClassicPAC-iA4.ind1414 2010/02/1610:31:192010/02/1610:31:19
 Loading...