Assembly
5.5 Installing the machine
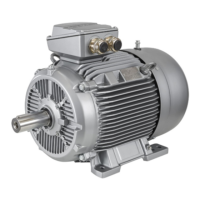
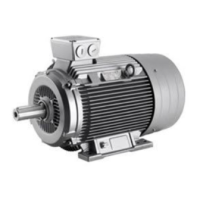
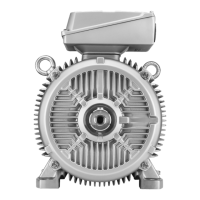
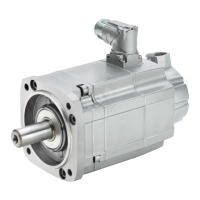
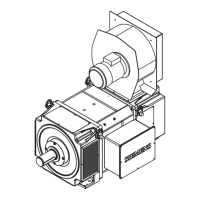
1MB..1/2/3/4 - shaft heights 63 ... 355
64 Operating Instructions, 06/2020, A5E44455710A
5.5.2.2 Horizontal types of construction with flange
The standard flange is provided with a centering. The choice of fit for the mating flange on
the driven machine is the system manufacturer's or the plant operator's responsibility.
If the machine is not fitted with a standard flange, align the machine to suit the driven
machine.
Procedure
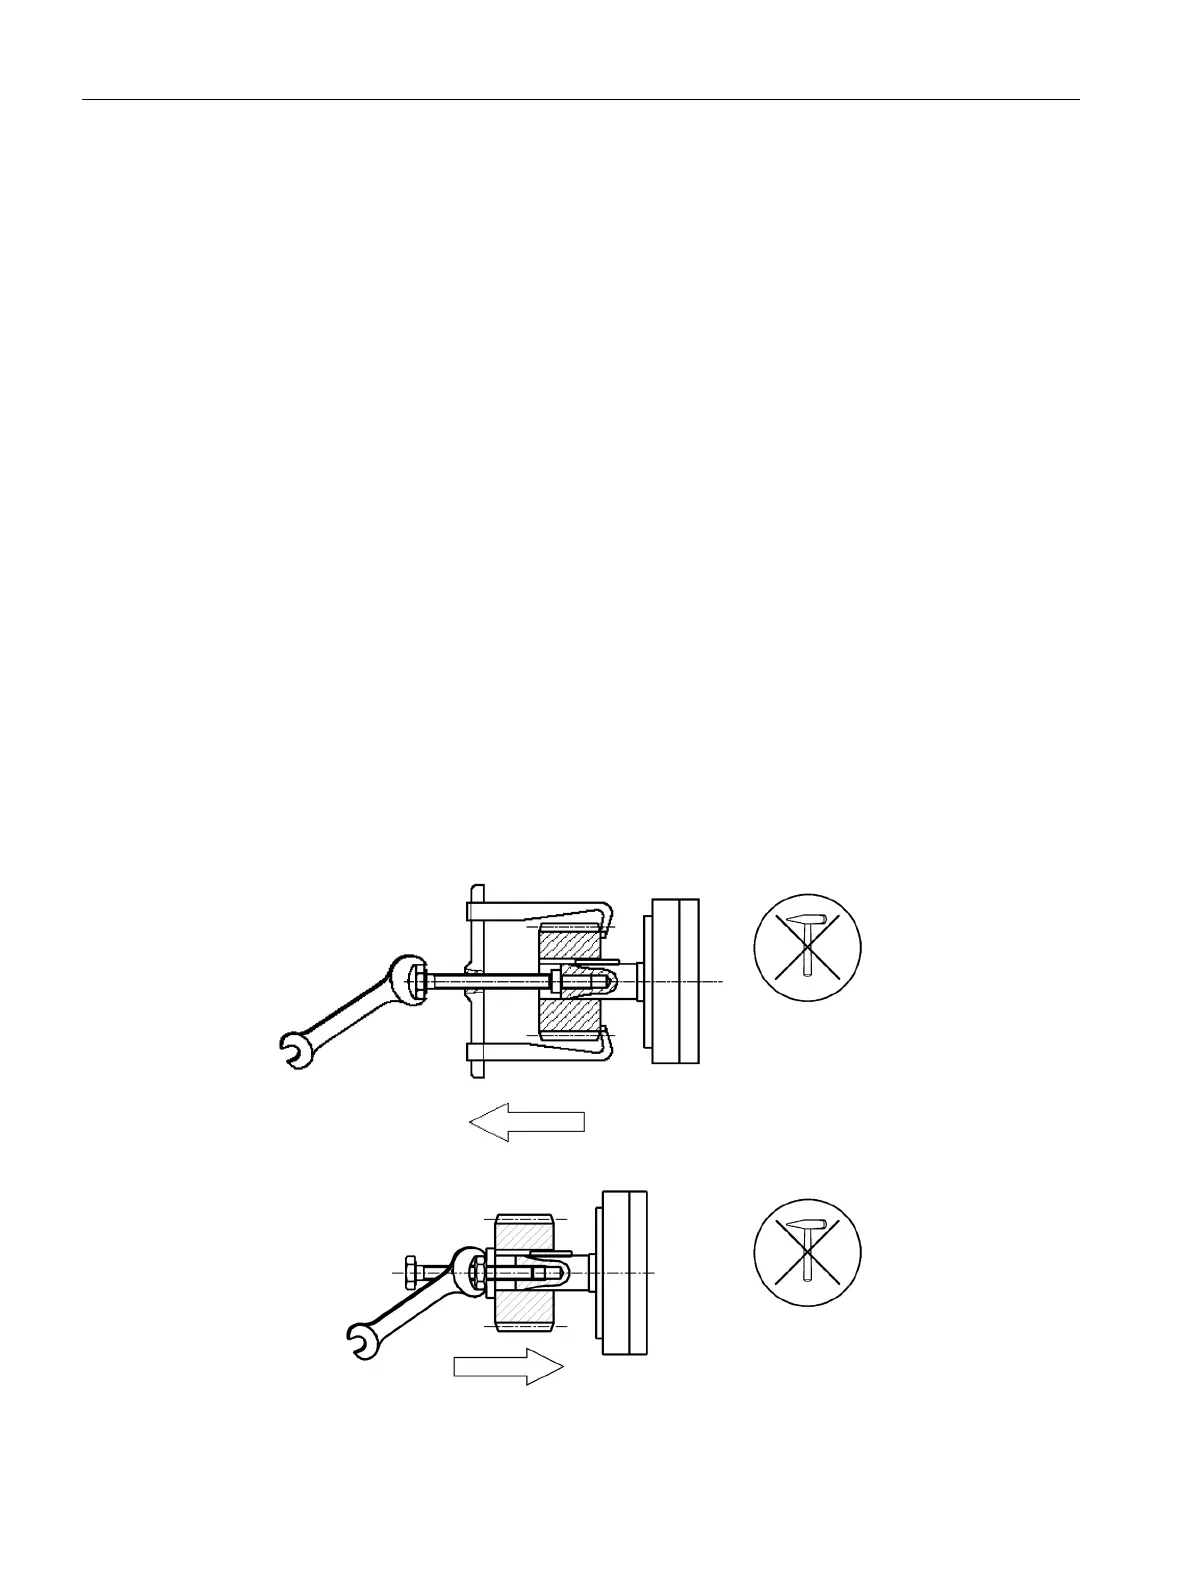
The machine axis must be horizontal when it is lifted and the flange must be parallel to the
mating flange, so as to avoid seizing and stressing. Otherwise damage to the centering will
result.
1. Grease the centering flange with assembly paste to make the process easier.
2. Screw three studs into tapped holes spaced about 120° apart around the driven machine
flange. The studs act as positioning aids.
3. Position the machine so that its axis is aligned with that of the driven machine, but not yet
quite touching. Advance the machine slowly towards the driven machine; advancing too
quickly risks damaging the centering.
4. If necessary, rotate the machine into the right position so that the clearance holes in the
flange are central to the tapped holes.
5. Move the machine fully up against the mating flange so that it is fully in contact.
6. Fix the machine using the flange fixing bolts, finishing by replacing the studs.
See also
Tightening torques for screw and bolt connections (Page 161)
5.5.2.3 Vertical types of construction with flange
The standard flange is provided with a centering. The choice of fit for the mating flange on
the driven machine is the system manufacturer's or the plant operator's responsibility.
If the machine is not fitted with a standard flange, align the machine to suit the driven
machine.
Procedure
The machine axis must be vertical when it is lifted and the flange must be parallel to the
mating flange, so as to avoid seizing and stressing. Otherwise damage to the centering will
result.
1. Grease the centering flange with assembly paste to make the process easier.
2. Screw in two studs into tapped holes on opposite sides of the driven machine flange. The
studs act as positioning aids.
3. Lower the machine slowly toward the driven machine and into the centering, so that the
flanges do not quite touch. Lowering too quickly risks damaging the centering.
 Loading...