24
GB
11.2 Preparation of the
steamer inserts
1. Place the blender jug5 into the sock-
et9.
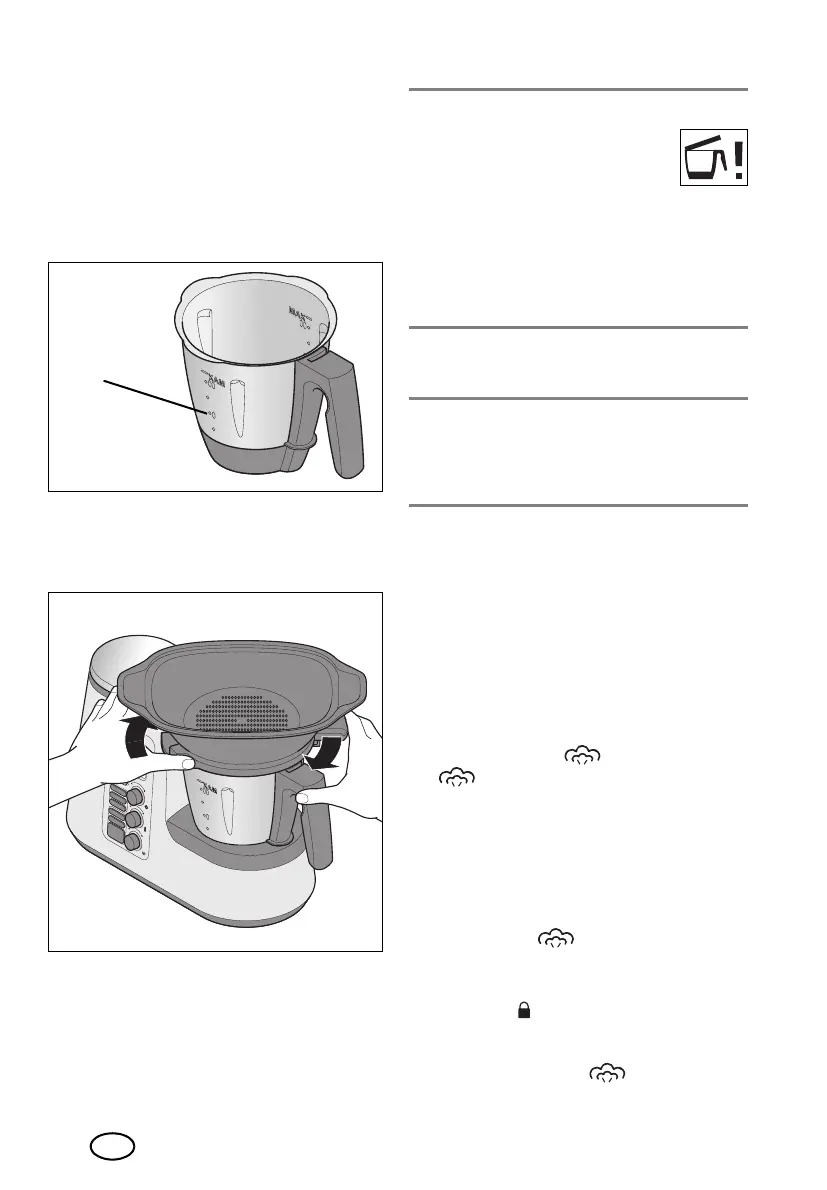
2. Fill 1 litre of water into the blender
jug5. This corresponds with the second
marking from the bottom (I).
3. Check that the seal4 of the deep steam-
er basket3 has been placed correctly.
4. Put the deep steamer basket3 slightly
twisted onto the blender jug5.
5. Turn the deep steamer basket3 so that
it locks clearly into place.
The device can only be started when the
steamer basket3 is put on correctly.
NOTES:
• If the steamer basket3 has
not been put on correctly, the
symbol shown here on the
right will appear on the dis-
play27.
• In order to facilitate the attaching of the
steamer attachment3 somewhat, put a
few drops of oil on a cloth and rub it on
the seal4.
6. Fill food into the steamer baskets3 and
(if required)2.
NOTE: even if you only need the shallow
steamer basket2, always both steamer bas-
kets3 and2 must be inserted, so that no
steam can escape to the side.
7. Place the filled steamer basket2 on
steamer basket3.
8. Close the steamer baskets with the lid
for the steamer baskets1.
11.3 Starting the steaming
process
1. Use the main switch6 to switch on the
device.
2. Press the button 23
.
The button
23 lights up and the programme
values are shown on the display27.
3. Press the button START/STOP19. A
heat-up time of 10 minutes is started.
During this time
- there is no countdown of the time on
the display27;
- the button 23 flashes;
- the timer26 can be used to change
the preset time;
-the LED 15 is lit, and the automatic
lock is activated.
4. After 10 minutes elapsed, a short signal
sounds. The button 23 lights up.
__317553_MC_plus_GR_CY.book Seite 24 Freitag, 12. April 2019 10:00 10

 Loading...