91
Viewing/dubbing discs/ editing the recordings on your computer
Connecting your camcorder to your computer – Introduction
3 Move the cursor to [USB Driver] and
click.
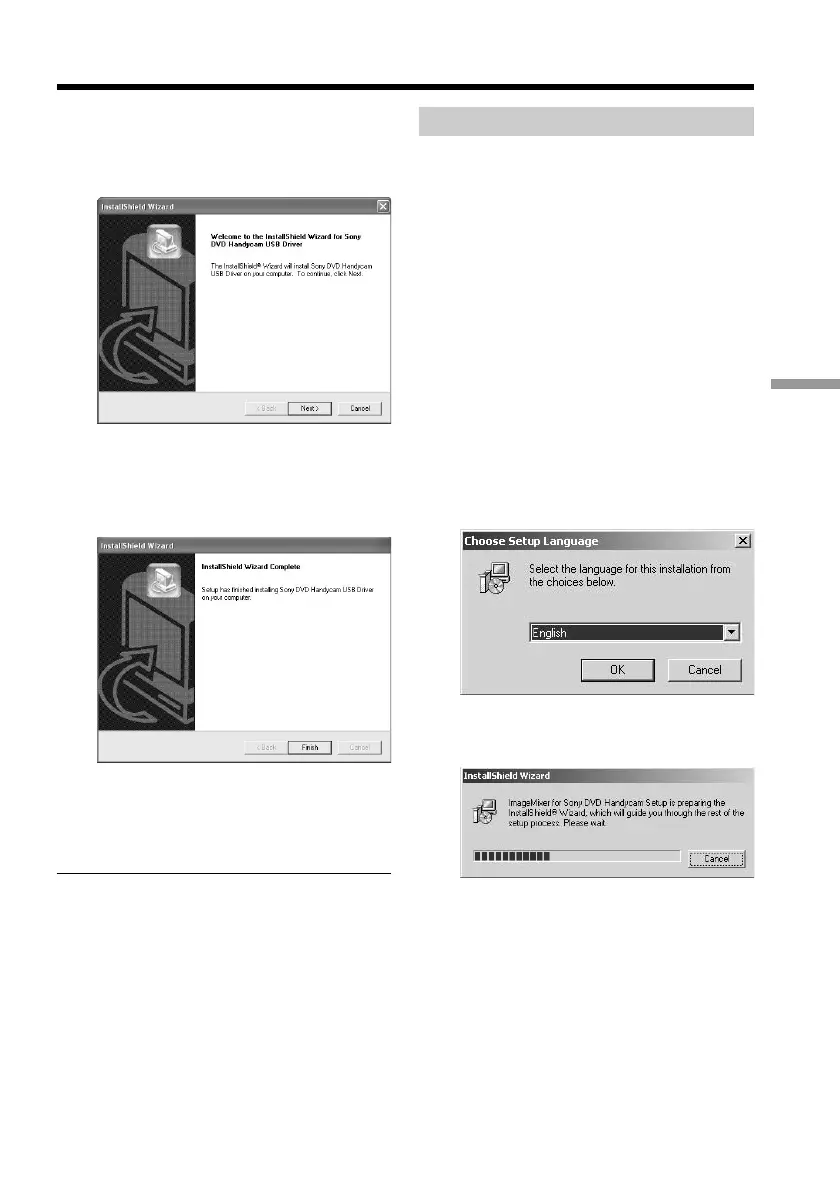
InstallShield Wizard program starts up.
4 Click [Next].
The USB driver installation starts.
“InstallShield Wizard Complete ” screen
appears after a while.
5 Click [Finish].
The USB driver installation is
completed.
Note
If you connect the USB cable before USB driver
installation is complete, the USB driver will not
be properly registered. Install the USB driver
again following the steps in “If you cannot
install the USB driver” (page 97).
Installing software
Install the ImageMixer Ver.1.5 for Sony DVD
Handycam (hereinafter referred to as
ImageMixer) software that manages movies
and still images transferred from your
camcorder on your computer, and the
WinASPI software that manages writing data
on CD-Rs/CD-RWs.
1 When the USB driver installation is
completed, click [ImageMixer] on the
menu screen.
Install Wizard program starts up and
the “Choose Setup Language” screen
appears.
If the menu screen does not appear,
double-click [My Computer], then
[ImageMixer] (CD-ROM Drive). The
menu screen appears after a while.
2 Select the language to be used and click
[OK].
 Loading...