15
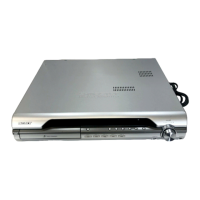
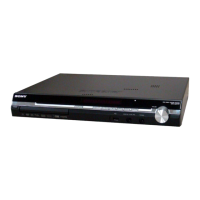
HCD-DX375
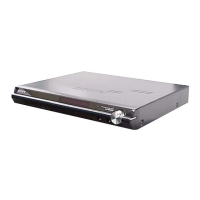
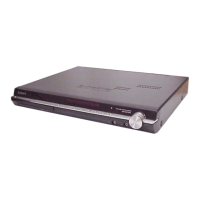
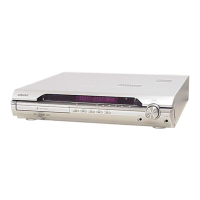
3-2. CASE, FRONT PANEL ASSY
Note: Follow the disassembly procedure in the numerical order given.
3
loading panel
4
two
screws
(CASE3 TP2)
5
two
screws
(CASE3 TP2)
7
case
qs
four screws (+BV3)
q;
connector (CN3001)
6
five
screws
(+BVTP 3
×
8
gear
tweezers
1
Insert tip of tweezers through the hole
of bottom plate, and roate the gear in
the counter-clockwise direction.
DVD lid
tape
2
Attach an adhesive tape on the DVD LID and draw it out.
8
sheet
9
w
ire (flat type)
23core (CN501)
qa
connector (CN312)
qd
claw
qf
claw
qg
front panel assy
When re-assembling, leave 30 mm
between harnesses A and B for safety.
harnesses A
harnesses B
clamp
30mm
 Loading...