Edition
2016
Workshop Manual
PARK 120 - PARK 220
Chapter
7 Electrical system
Page
62
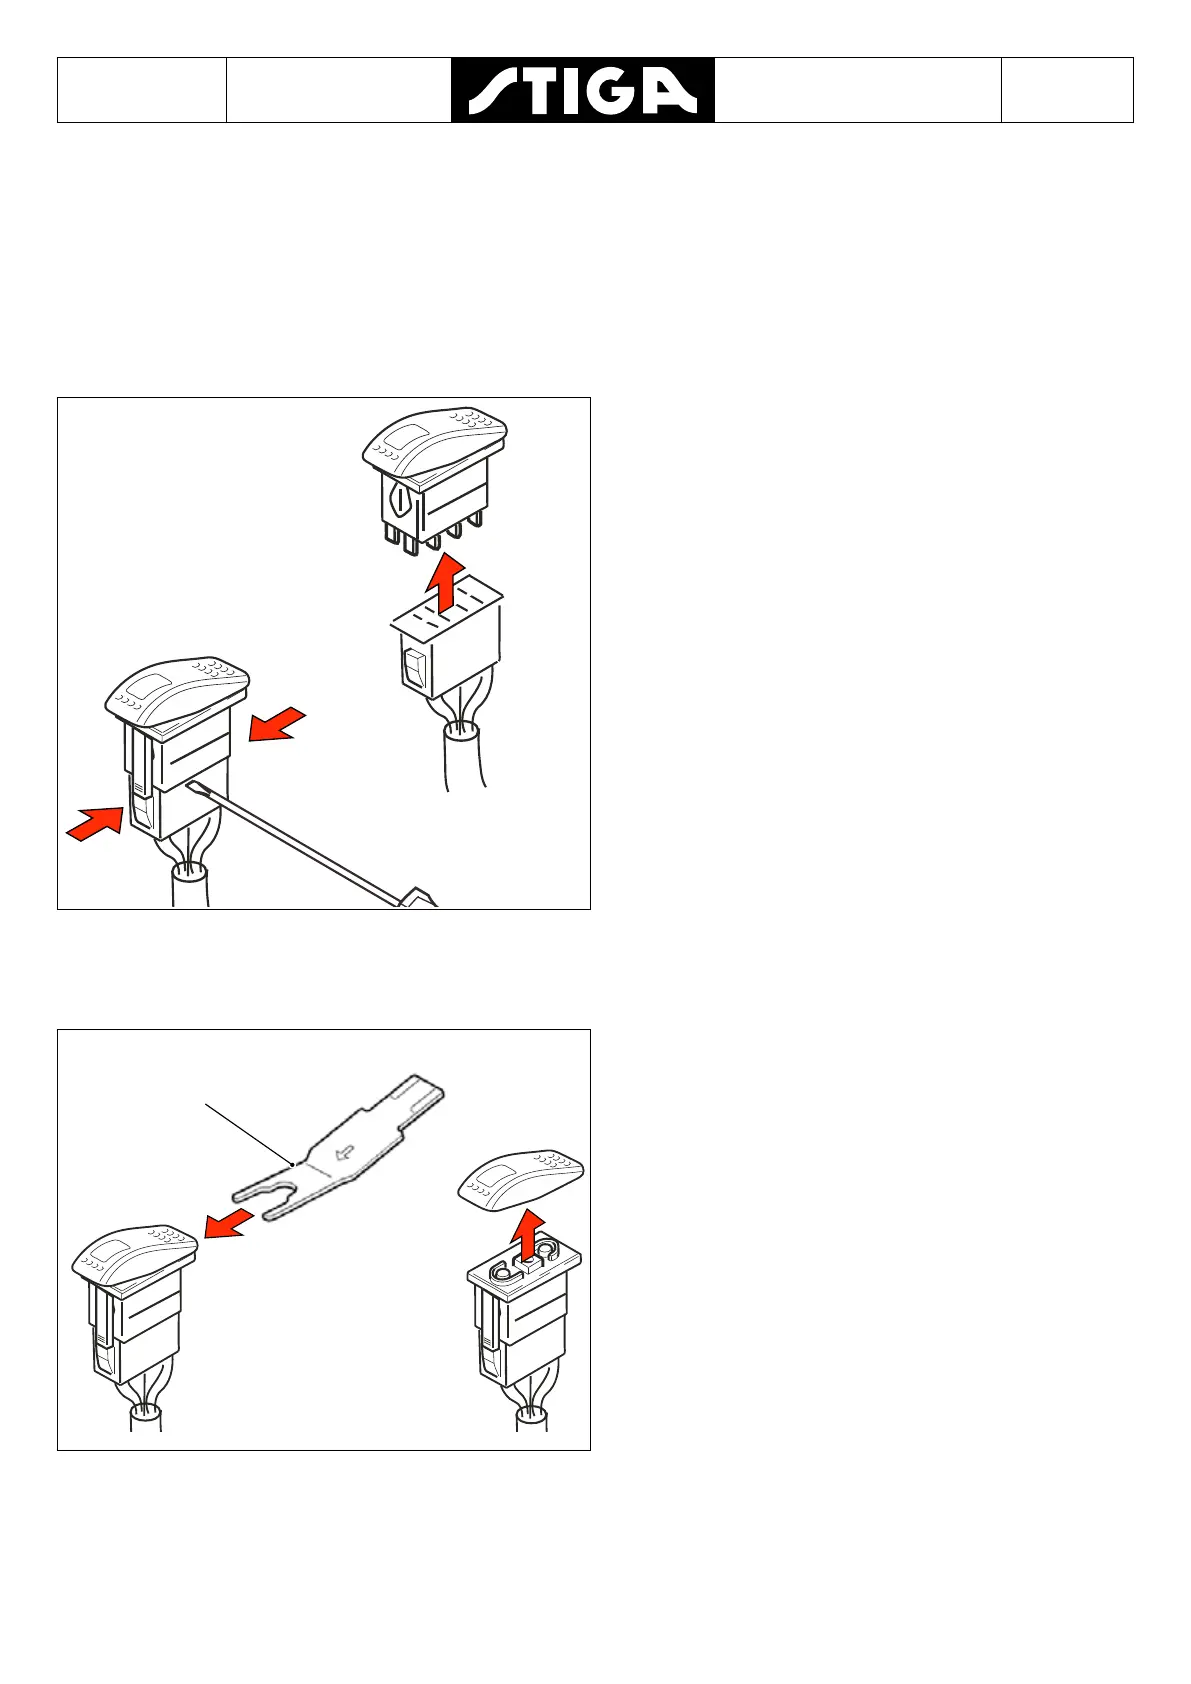
7.4.3 Replacing switches
The switches are pressed into place in their respective rectangular holes in the control
panel. To change a switch, follow the procedure below:
1. Remove the relevant protection to make the switch accessible.
2. Press in the xing hook in the connection and pull the connection from the switch. See
gure. Certain connections have 2 xing hooks.
3. Press the xing tabs, on both sides of the switch, against the switch. Use a screwdriver or
similar to slide the switch up.See gure.
The switches are pressed into place in their
respective rectangular holes in the control panel.
To change a switch, follow the procedure below:
1. Remove the relevant protection to make the
switch accessible.
2. Press in the xing hook in the connection and
pull the connection from the switch. See gure.
Certain connections have 2 xing hooks.
3. Press the xing tabs, on both sides of the
switch, against the switch. Use a screwdriver
or similar to slide the switch up.See gure.
7.4.4 Replacing switch controls
9400-0290-01
To remove the switch use a special tool. The tool
reference number is in the replacement parts list.
Remove the button by pressing in the tool from
behind. Press until the button hops up.
The button is easily installed by pushing down
into the switch hole.
 Loading...