DMM4040/4050
Users Manual
2-6
1. Turn the Meter off, unplug the power cord from the Meter, and remove all test
leads.
2. Turn the Meter on its back.
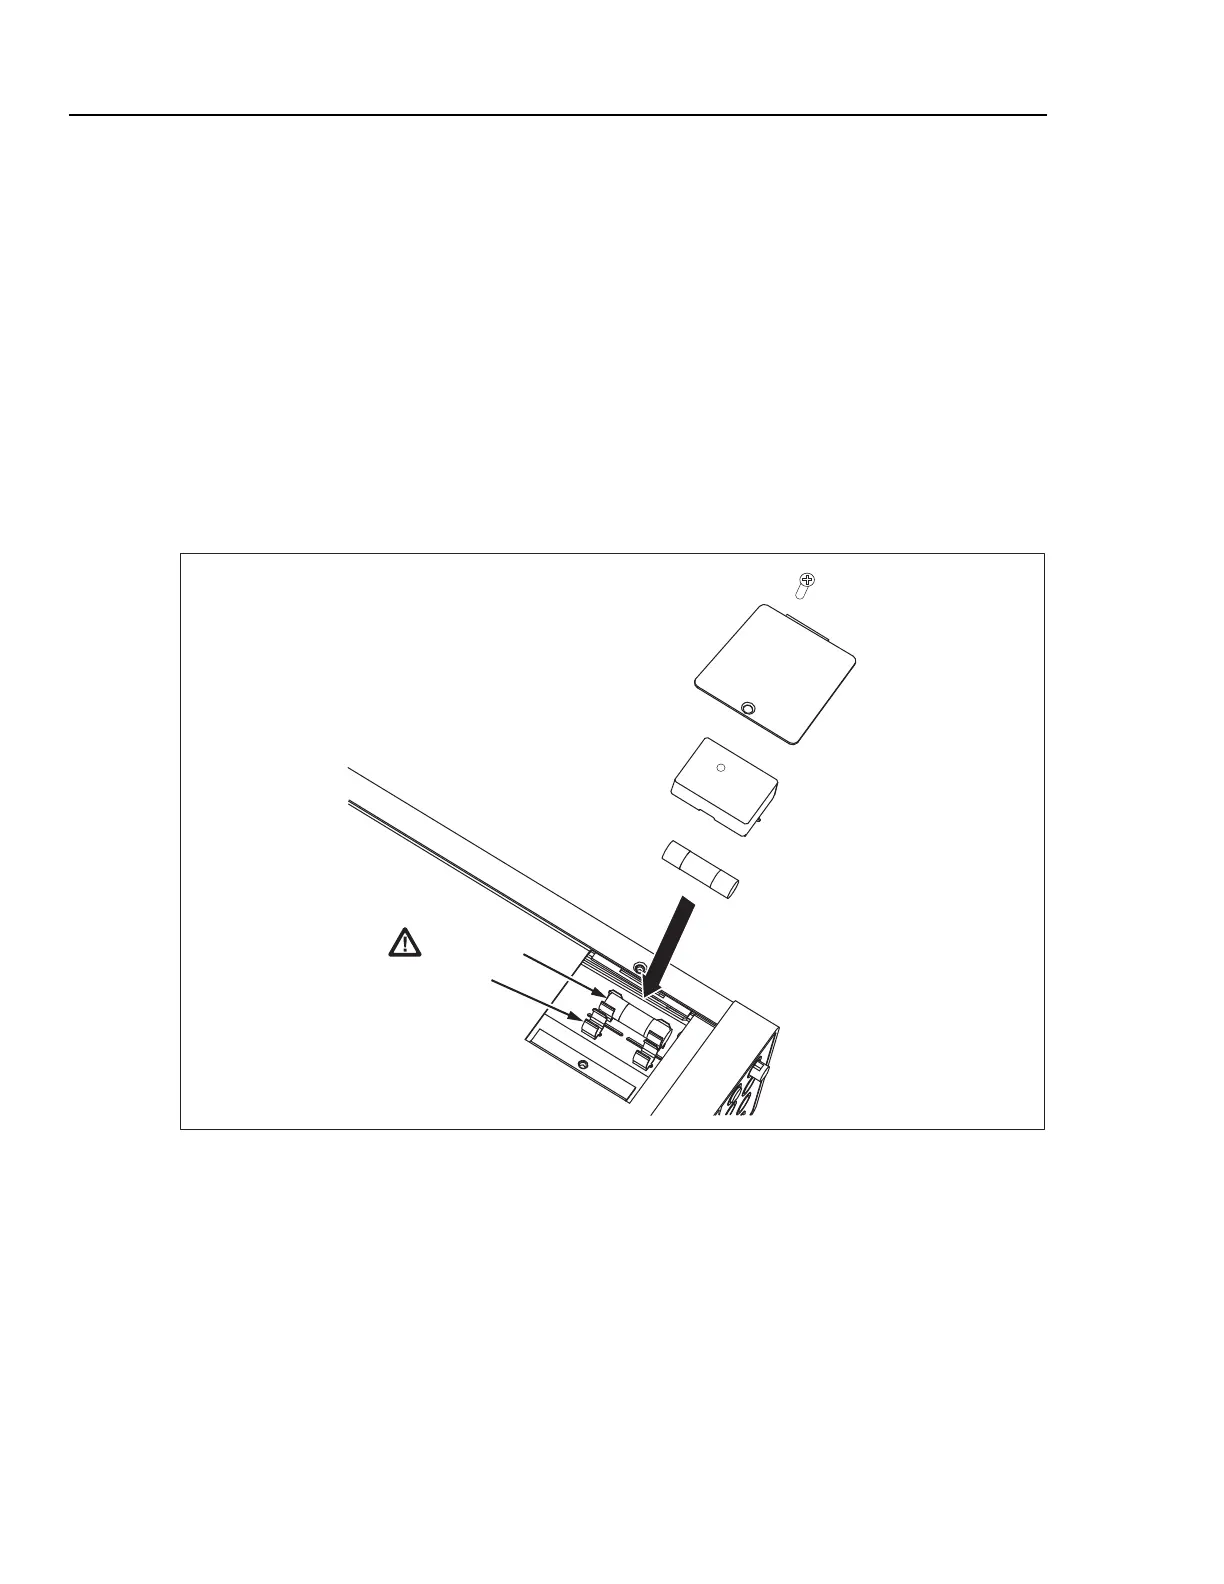
3. Unscrew the retaining screw on the fuse access door as depicted in Figure 2-2.
4. Remove the protective cover from the fuse holders by slightly depressing the
back edge of the cover to unlatch it from the printed circuit board. Pull up on the
back edge of the cover and remove it from the fuse compartment.
5. Remove the defective fuse, and replace with one having the appropriate rating.
6. Replace the protective cover by pushing it over the fuses while aligning the
catches with the holes in the printed circuit board. Press the cover down until the
catches engage the printed circuit board.
7. Replace the fuse door and secure it by tightening the retaining screw.
Fuses
F2
F1
Bottom front
left corner
caw020.eps
Figure 2-2. Replacing the Current Input Fuses
Connecting to Line Power
XW Warning
To avoid shock hazard, connect the factory supplied three-
conductor line power cord to a properly grounded power outlet.
Do not use a two-conductor adapter or extension cord; this will
break the protective ground connection. If a two-conductor
power cord must be used, a protective grounding wire must be
connected between the ground terminal and earth ground
before connecting the power cord or operating the instrument.

 Loading...