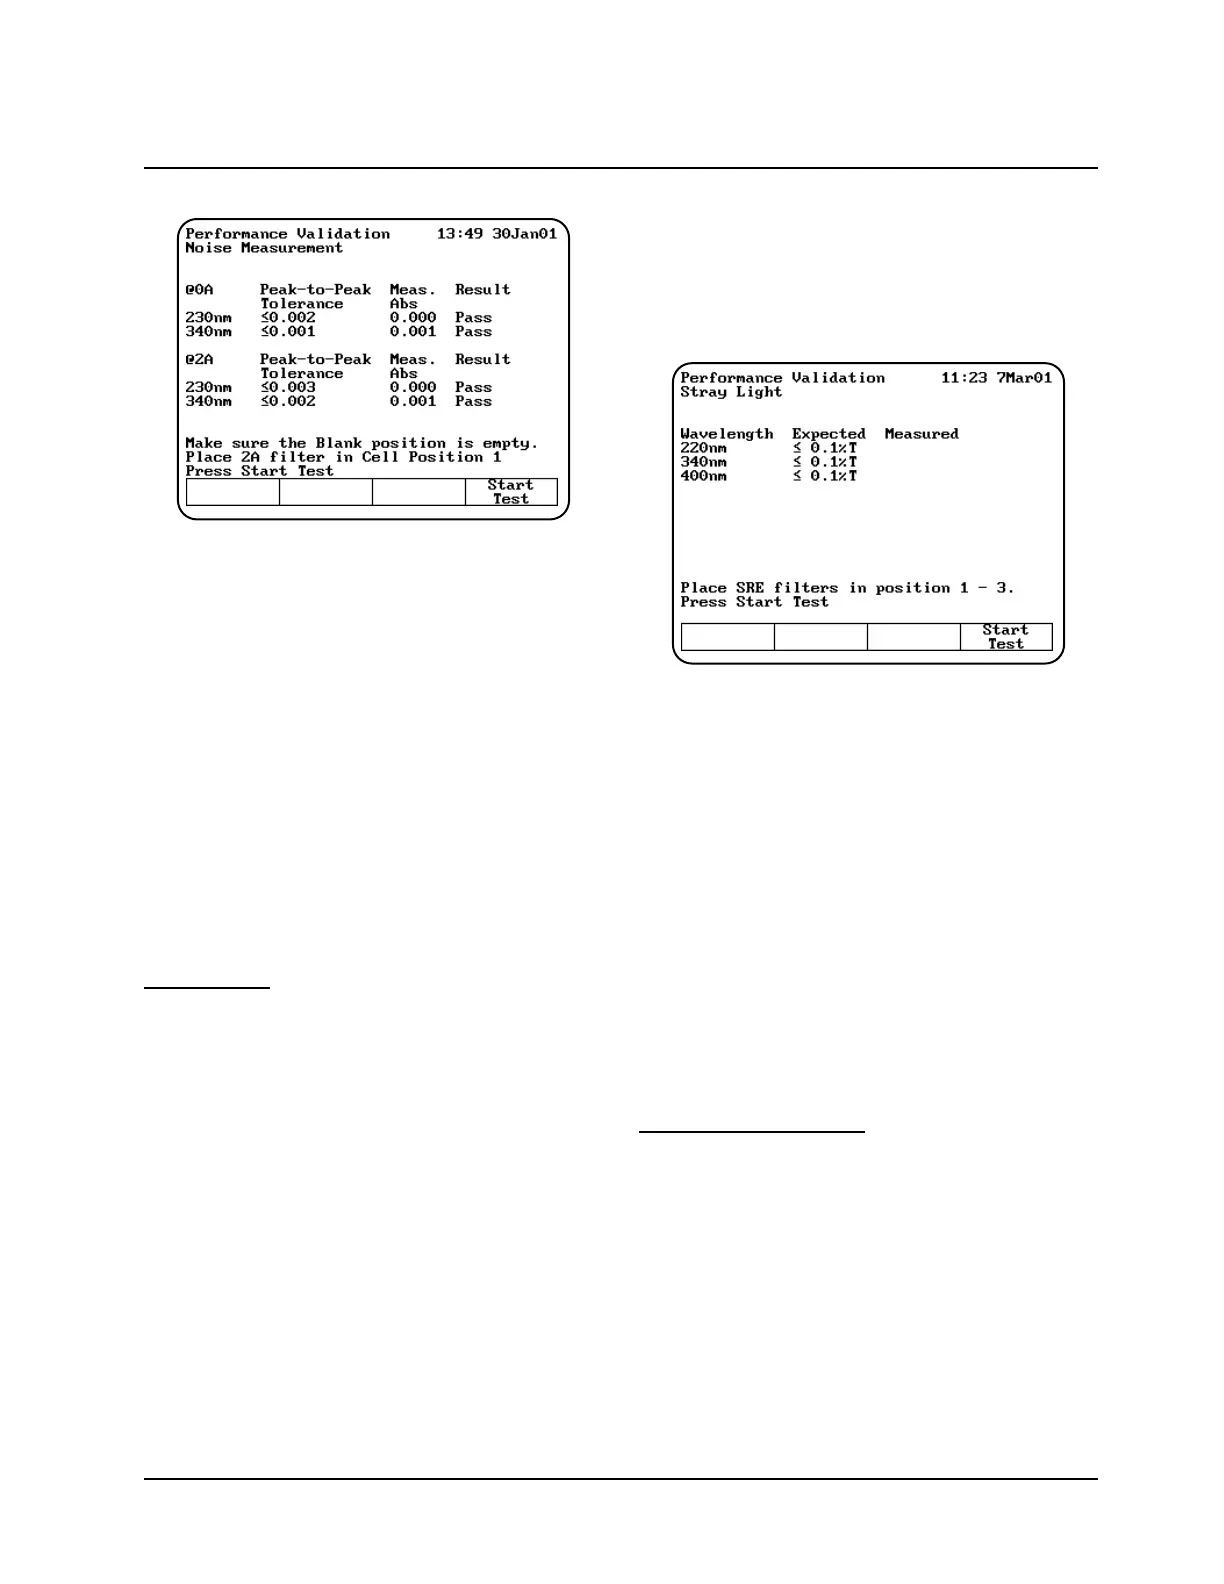
3. Make sure that the Blank position is empty and
insert the 2A filter in position #1 if you are
measuring at 2A.
4. Press Start Test to run the test. The results of
the test appear on the screen, indicating pass
or fail for each wavelength.
If the test fails, follow these guidelines:
• Repeat the test several times to verify that the
test is failing consistently.
• Make sure the instrument is warmed up for at
least 30 minutes, standby mode = OFF.
• Make sure the instrument is plugged into a
stable power supply.
• Contact technical support for more
troubleshooting advice.
Stray Light
This test measures the amount of stray light at
selected wavelengths and compares them to
specified tolerances. The wavelengths are preset
and cannot be changed. You should change the
tolerances for the desired wavelengths. Running the
stray light test takes approximately thirty seconds.
When running the stray light test, remember that:
• You will need the SPECTRONIC Standards
Stray Radiant Energy filters or equivalent.
• Position B should be empty.
• Position #1 should be used for SRE 220.
• Position #2 should be used for SRE 340.
• Position #3 should be used for SRE 400.
You may use other filters, but they must have
<
–
0.1%T at the wavelength of interest.
1. With the Performance Validation screen
displayed, use the arrow keys to highlight
Stray Light.
2. Press ENTER. The Stray Light screen
appears.
Running the test
1. With the Stray Light screen displayed, make
sure that the wavelengths and tolerances are
set correctly.
2. Press Start Test to run the test. The results of
the test appear on the screen, indicating pass
or fail for each wavelength.
If the test fails, follow these guidelines:
• Repeat the test several times to verify that the
test is failing consistently.
• Make sure all the filters being used are
SPECTRONIC Standards Stray light filters, or
exact equivalents.
• Contact technical support for more
troubleshooting advice.
Internal Printer Test
The Internal Printer test allows you to verify that
the internal printer is functional. To run the test, you
will need to have the internal printer installed.
Running the internal printer test takes no more
than 20 seconds after you press Stop.
1. Verify that the internal printer is installed
properly and is selected. If necessary, press the
UTILITY key, then select the internal printer.
2. With the Performance Validation screen
displayed, use the arrow keys to highlight
Internal Printer Test.
Using the Performance Validation Program
4-5 BioMate 3 Operator’s Manual
 Loading...


