Servicing the Engine Oil
Service Interval : After the rst 25 hours
Every 100 hours (Change the oil twice as
often during special operating conditions; refer
to Maintaining the Machine under Special
Operating Conditions ( page 28 ) .
Note: Change the oil more frequently when operating
conditions are extremely dusty or sandy .
Note: Dispose of the used engine oil and oil lter at a
certied recycling center .
Engine-Oil Specications
Oil T ype: Detergent oil (API service SL or higher)
Crankcase Capacity: 1.4 L (1.5 US qt) when the
lter is changed
V iscosity: See the table below .
g002134
Figure 31
Checking the Engine-Oil Level
Service Interval : Before each use or daily
1. Park the machine on a level surface, shift the
transmission to the N EUTRAL position, engage
the parking brake, shut of f the engine, and
remove the key .
2. Raise the cargo bed.
3. Use a rag to clean around the oil dipstick and ll
cap ( Figure 32 ) so that dirt cannot fall into the
dipstick tube or oil-ller neck and damage the
engine.
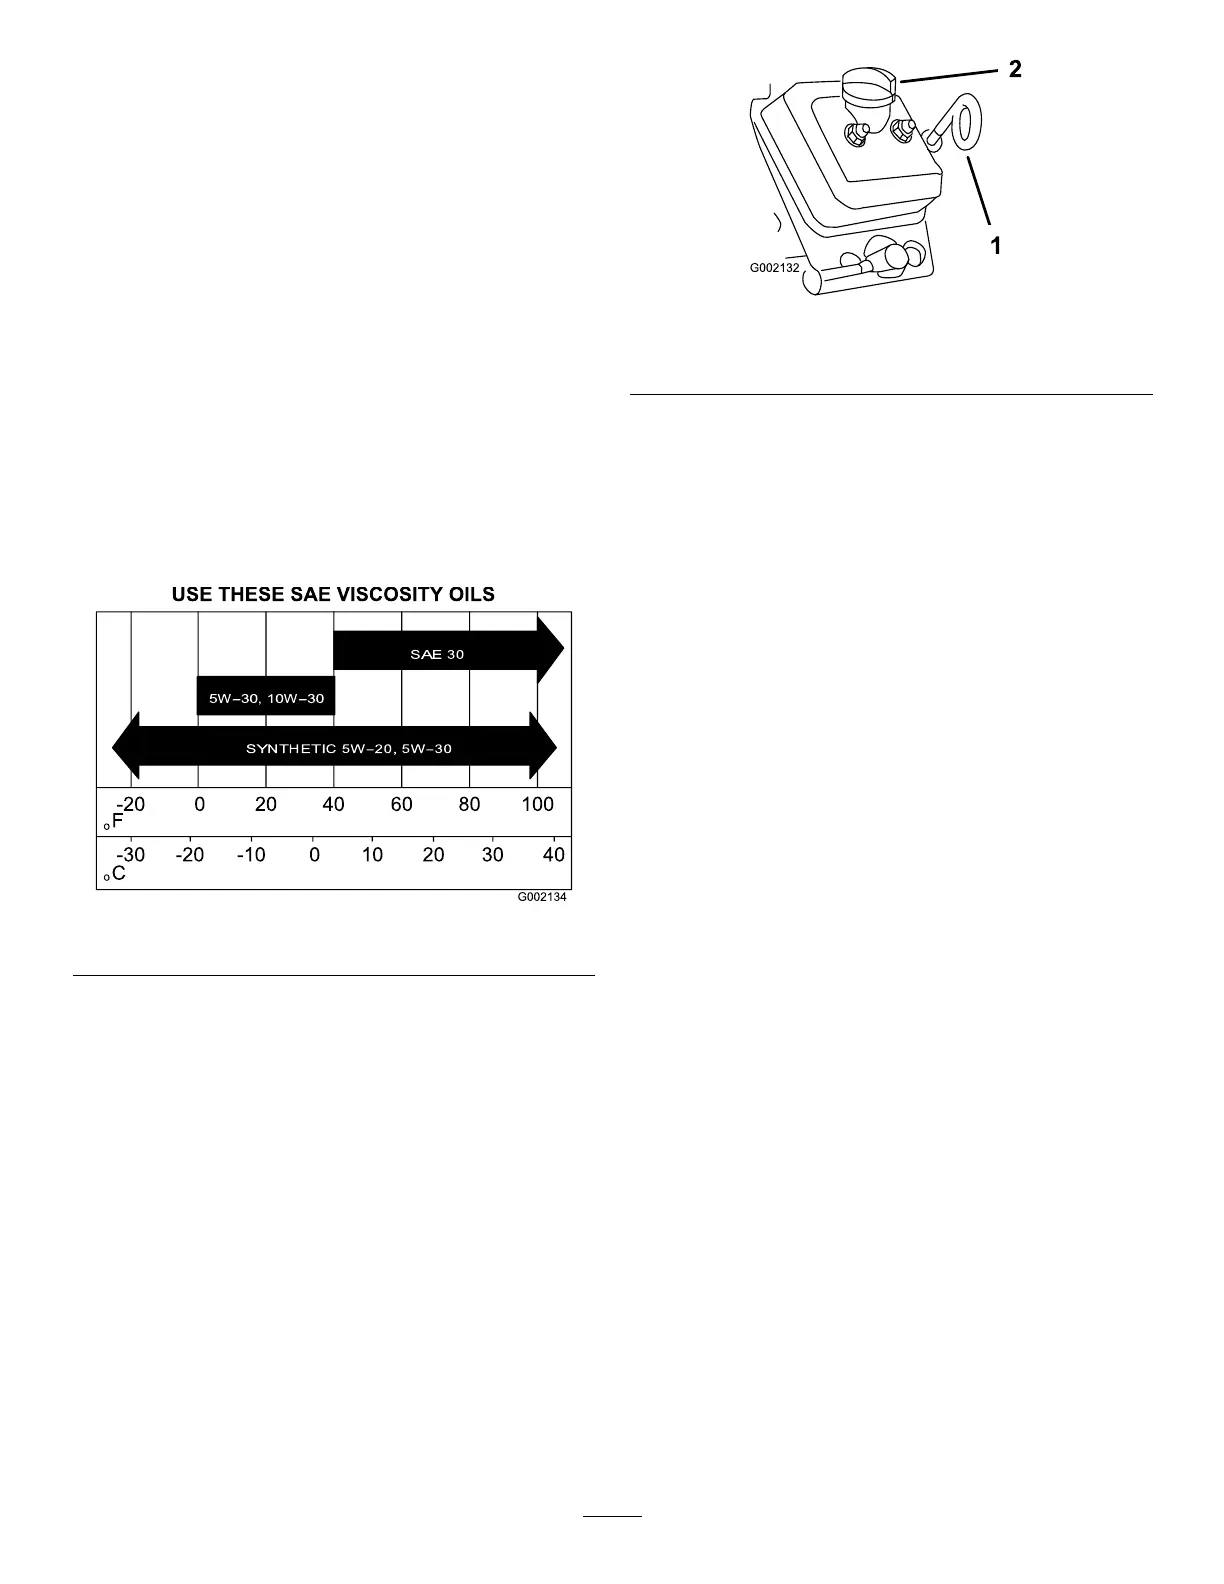
g002132
Figure 32
1. Oil dipstick (loop down) 2. Fill cap (ller neck)
4. Remove the dipstick and wipe it clean ( Figure
32 ).
5. Slide the dipstick into the dipstick tube and
ensure that fully seats ( Figure 32 ).
6. Pull the dipstick out and look at the end.
7. If the oil level is low , remove the ller cap and
add the specied oil into the ller neck to raise
the level up to Full mark on the dipstick.
Note: Add the oil slowly and check the oil level
often during this process. Do not overll the
engine with oil .
8. Install the ller cap ( Figure 32 ).
9. Install the oil dipstick and rmly seat it ( Figure
32 ).
Important: Make sure that the loop end of
the oil dipstick is pointing down.
10. Lower the cargo bed.
Changing the Engine Oil
1. Park the machine on a level surface, shift the
transmission to the N EUTRAL position, and
engage the parking brake.
2. Start the machine and let the engine run for a
few minutes.
3. Shut of f the engine and remove the key .
4. Raise the cargo bed and secure it with the prop
rod.
5. Disconnect the negative battery cable; refer to
Disconnecting the Battery ( page 42 ) .
6. Place a drain pan under the drain plug ( Figure
33 ).
35

 Loading...