UNT-SVX07B-EN 81
Pre-Start
Pre-Startup Checklist
Complete this checklist after installing the unit to verify all recommended installation procedures
are complete before unit startup. This does not replace the detailed instructions in the appropriate
sections of this manual. Disconnect electrical power before performing this checklist. Always read
the entire section carefully to become familiar with the procedures.
WARNING
Hazardous Voltage w/Capacitors!
Disconnect all electric power, including remote disconnects and discharge all motor start/run
capacitors before servicing. Follow proper lockout/tagout procedures to ensure the power
cannot be inadvertently energized. For variable frequency drives or other energy storing
components provided by Trane or others, refer to the appropriate manufacturer’s literature for
allowable waiting periods for discharge of capacitors. Verify with an appropriate voltmeter that
all capacitors have discharged. Failure to disconnect power and discharge capacitors before
servicing could result in death or serious injury.
Receiving
Unit Location
1. Ensure the unit location is adequate for unit dimensions, ductwork, piping, and electrical
connections.
2. Ensure access and maintenance clearances around the unit are adequate.
Unit Mounting
1. Ensure unit is installed level.
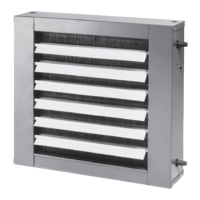
Component Overview
1. Ensure the fan rotates freely in the correct direction.
2. Ensure all unit access panels and air gr
illes are in place.
3. Verify that a clean air
filter is in place.
4. Properly set the damper position to me
et the fresh air requirement.
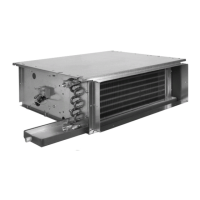
Unit Piping
1. Properly vent the hydronic coil to allow water flow through the unit.
2. Units with deluxe piping package: Tighten unions adequately.
3. Set water flow to the unit properly if unit piping has the circuit setter valve.
4. Check strainers (if supplied) for de
bris after apply system water.
5. Install the auxiliary drain pan and
route the main drain pan hoses to the auxiliary drain pan on
vertical fan-coil units.
6. Verify the condensate drain piping is co
mplete for the unit drain pan.
7. Ensure the drain pan and condensate line are not ob
structed. Remove any foreign matter that
may have fallen into the drain pan during installation.
Inspect unit and com
ponents for shipping damage. File damage claims immediately with the
delivering carrier.
Check unit for missing material. Look for ship-with options and sensors that may be packaged
separately from the main unit (see “Receiving and Handling,” p. 11).
Check nameplate unit data so that it matches the sales order requirements.
 Loading...