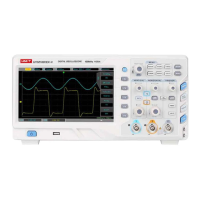
As in the previous illustration, set the
attenuation factor of the probe and Ch1.
Connect the signal to ensure stable display of
Improving trigger by setting trigger coupling
Reducing display noise by setting the
See the previous illustration for
operation instruction. See the previous chapter
for guidance on adjusting the horizontal time
Press [ ] in the trigger zone to display the
Set t rigg er couplin g to l ow frequen cy
suppression or high frequency suppression
By selecting low frequency suppression a
high pass filter is set up It filters low
frequency signal quantities under kHz and
allows high frequency signal quantities to
pass through If you select high frequency
suppression a low-pass filter is set up. It filters
high frequency signal quan
80kHz and allows low frequency signal quantities
to pass through. By setting low frequency
suppression or high frequency suppression
you can suppress low frequency or high
frequency noise respectively and achieve a
If the signal being measured is stacked with
random noise and the waveform is too coarse as
a result, you can use the average sampling mode
to eliminate random noise display and reduce the
size of waveform for easy observation and
measurement. After getting the mean, random
noise is reduced and details of the signal are
Press [ ] in the menu zone of the front
panel to display the sampling setup menu. Press
menu operation key [ ] then [ ] to set
sampling mode to AVERAGE, then press the
control knob to adjust the
average number of times in multiples of 2

 Loading...
