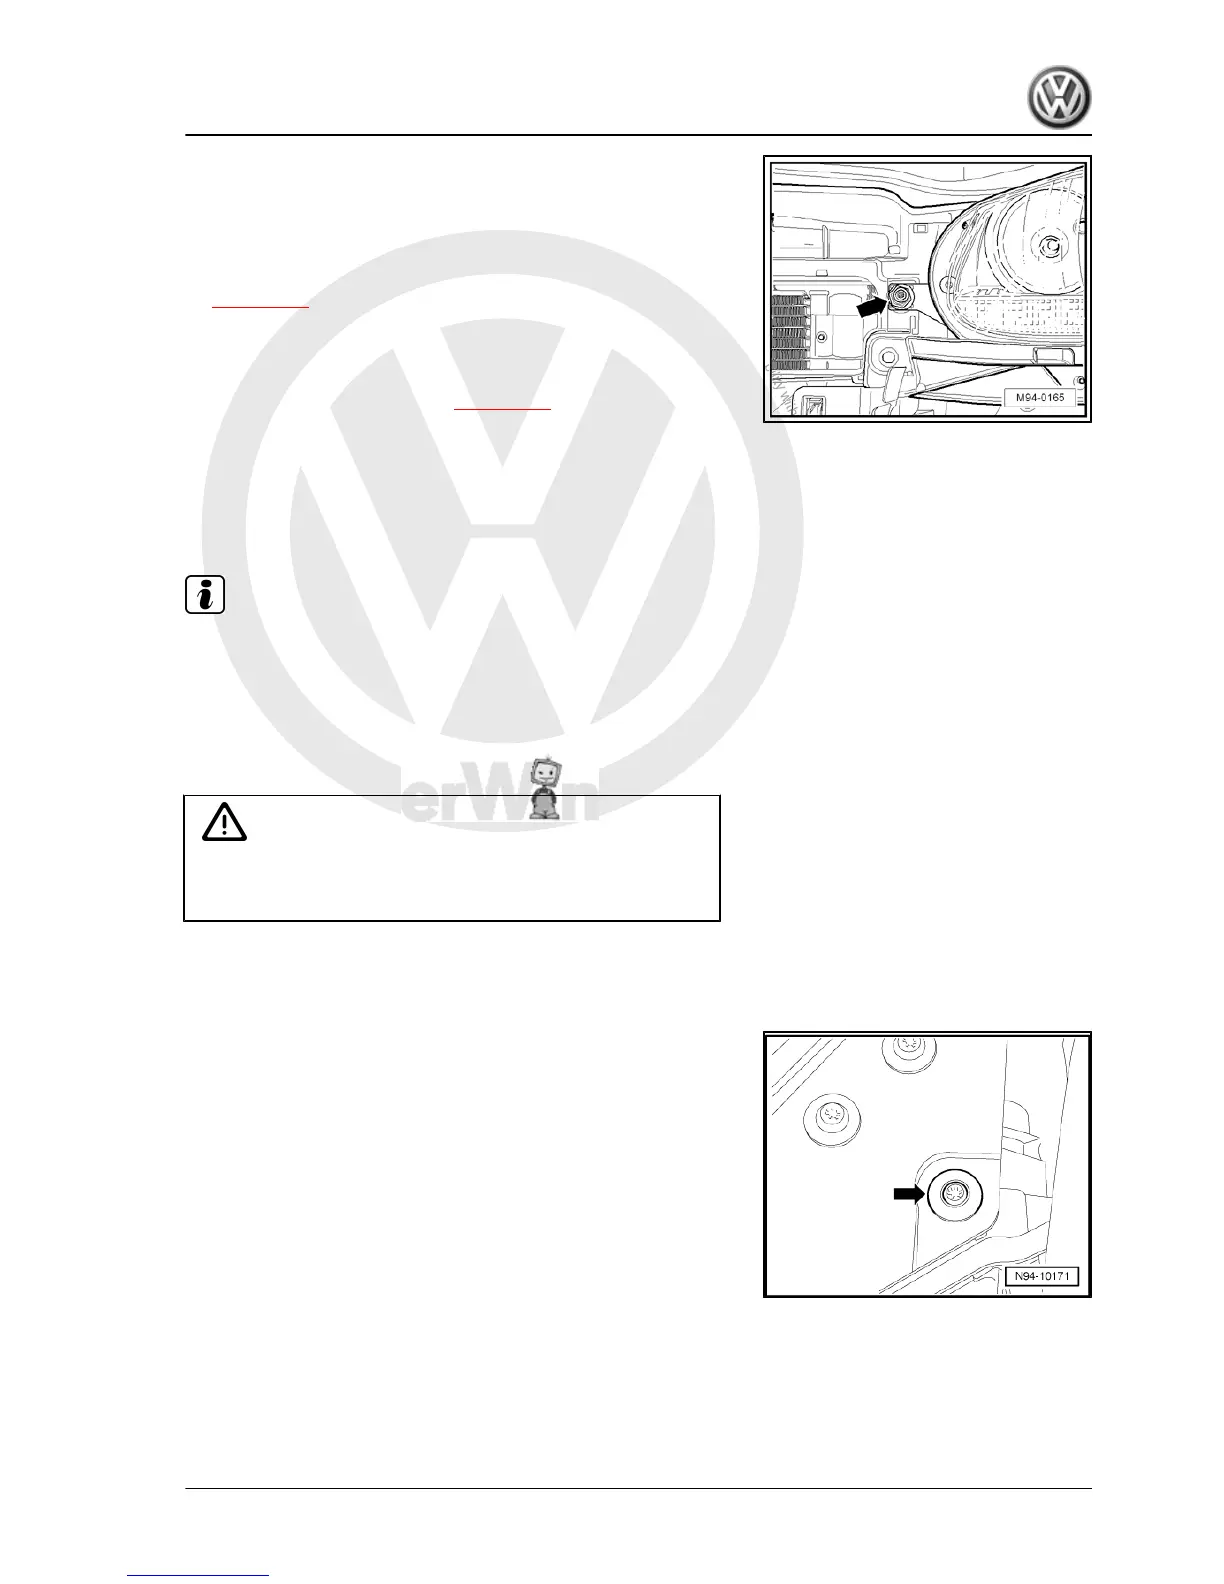
– Remove bolt -arrow- from bottom right of headlight.
Installing
Carry out installation in the reverse sequence, noting the follow‐
ing:
– Tighten all threaded connections to specified torques
⇒ page 214 .
– Check headlight installation position is central, i.e. shut lines/
gaps are equal around headlight.
If the shut lines/gaps around the headlight are uneven, the instal‐
lation position must be adjusted ⇒ page 217 .
– Check headlight functions.
– Check headlight settings and adjust headlights if necessary
⇒ Maintenance ; Booklet 20.1 ; Descriptions of work .
1.3 Adjusting headlight installation position
Note
♦
To adjust the installation position of the headlight, the front
bumper does not have to be removed.
♦
The illustrations show the left headlight.
If it transpires during checking of the installation position that the
shut lines/gaps between headlight and body are uneven, the in‐
stallation position must be adjusted.
Caution
♦ Switch off ignition and all electrical consumers.
♦ Remove the ignition key.
Procedure
– Remove the radiator grille ⇒ General body repairs, exterior;
Rep. gr. 66 .
– Loosen screw -arrow- at top of headlight.
Golf Variant 2007 ➤ , Golf Variant 2010 ➤ , Jetta 2005 ➤
Electrical system - Edition 07.2010
1. Headlights with halogen bulbs (up to MY2009) 217

 Loading...