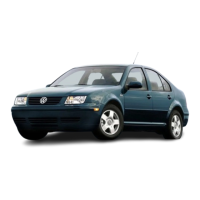
– Reconnect connector -2- on headlight range control motor
-1-.
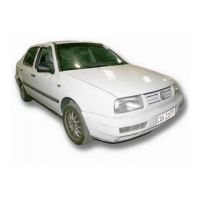
– Insert left headlight range control motor -V48- -1- in headlight
in position as shown in illustration.
– Lift dipped beam reflector in headlight slightly and turn the ball
head -2- of the left headlight range control motor -V48- so that
it can be pushed into the ball head mounting -3- in
-direction of arrow-.
– Screw in both bolts for left headlight range control motor -
V48- .
Caution
When installing cap, ensure that it seats properly. The ingress
of water will lead to permanent damage to the headlight.
– Tighten all threaded connections to specified torques
⇒ page 261 .
– Install gas discharge light starter unit -N195- and screw on the
cap.
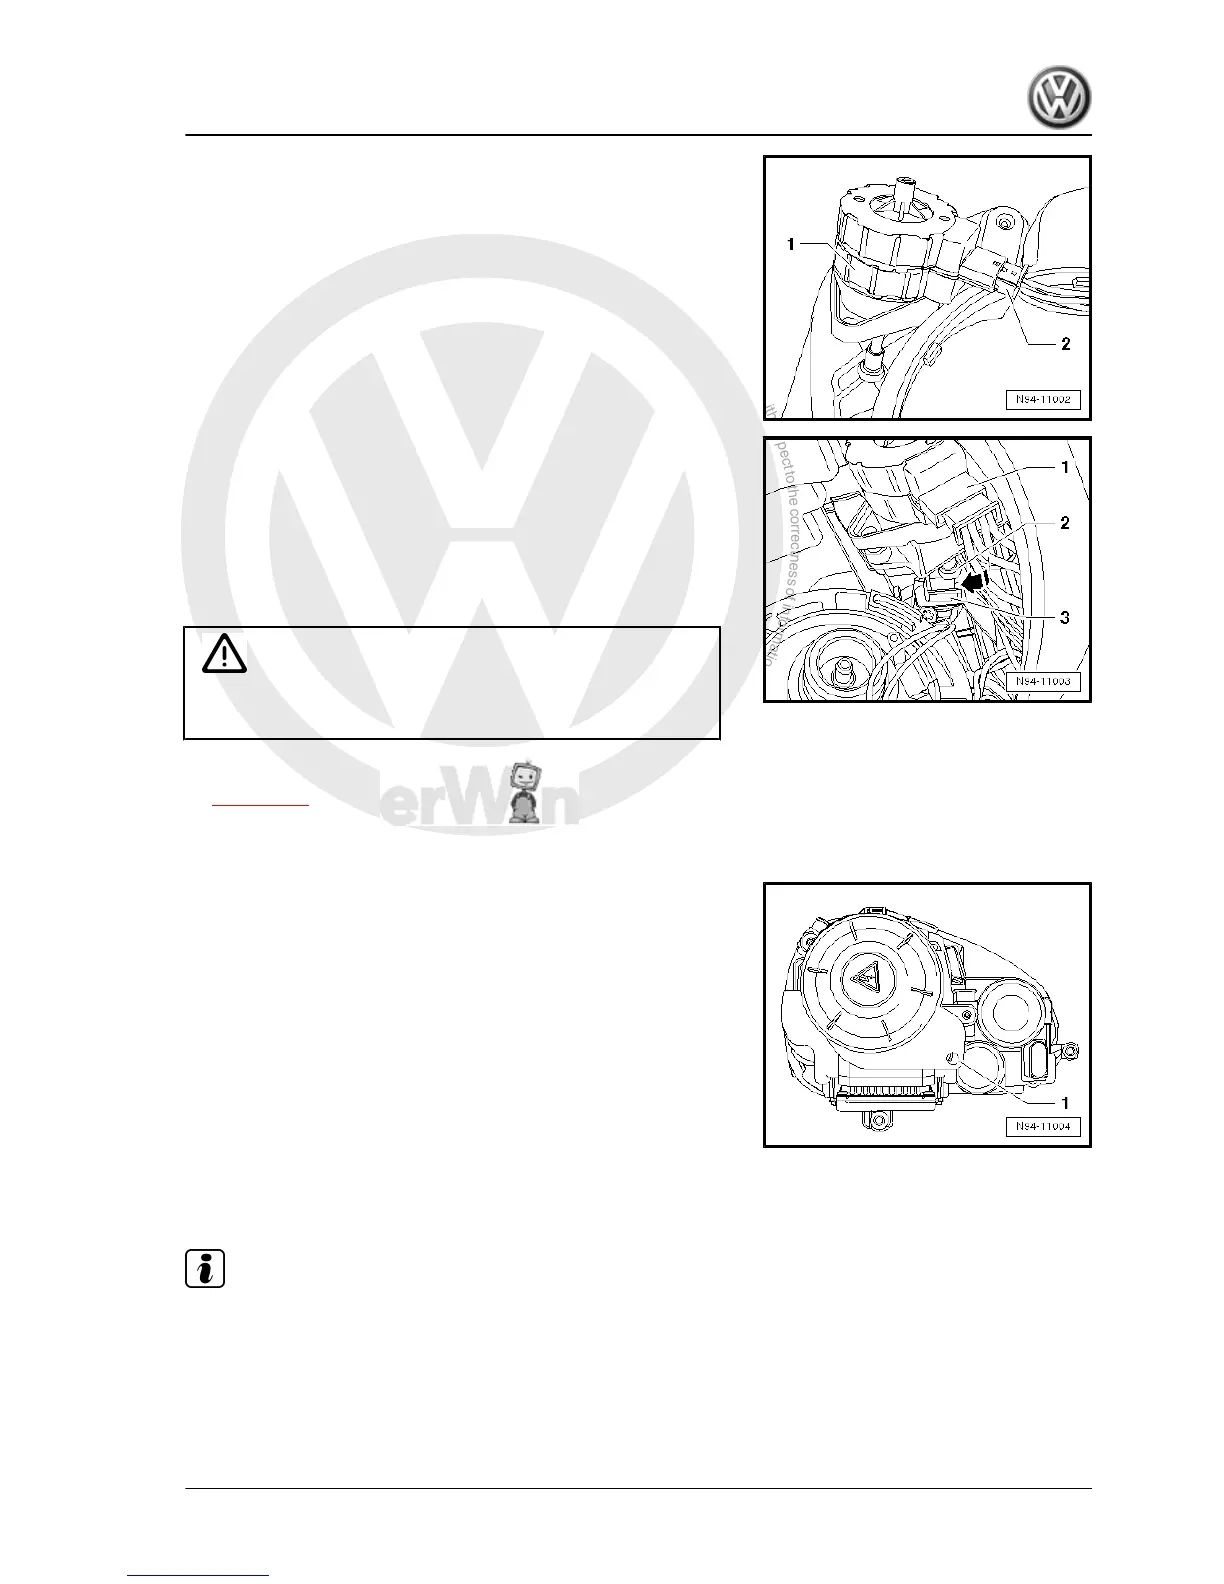
– Seal the broken-open assembly openings -1- using a sepa‐
rately ordered sealing plug ⇒ ETKA (electronic parts cata‐
logue) .
– Check headlight functions.
– Check headlight settings and adjust headlights if necessary
⇒ Maintenance ; Booklet 20.1 ; Descriptions of work .
3.7 Removing and installing gas discharge
light control unit
Note
♦
Left gas discharge bulb control unit -J343- / right gas discharge
bulb control unit -J344- is not capable of self-diagnosis.
♦
The illustrations show renewal of the left gas discharge bulb
control unit -J343- on the left-hand headlight.
Golf Variant 2007 ➤ , Golf Variant 2010 ➤ , Jetta 2005 ➤
Electrical system - Edition 07.2010
3. Headlights with gas discharge bulbs (up to MY2009) 271

 Loading...