5
Installation setup
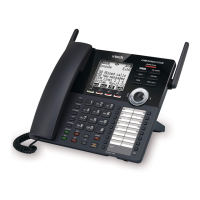
Connect your new console
NOTES:
Use only the power adapter supplied with this product. To order a replacement power adapter,
visit our website at www.vtechphones.com or call 1 (800) 595-9511. In Canada, please dial
1 (800) 267-7377.
A 2-line wall jack supports two telephone numbers in one wall jack. Contact your telephone
service provider for details.
The spared L2 and L4 jacks can be connected to non-system telephones, sharing those
particular telephone lines. Do not connect a fifth or sixth telephone line to the L2 and L4 jacks as
it is not the intended purpose of those jacks.
•
•
•
One end of the coiled telephone line cord has already been plugged into the
handset. Make sure it is plugged in firmly. Plug the other end of the coiled
handset cord into the left side of the console.
Open the line jack covers and plug one end of the telephone line cords into
the L1/2 and L3/4 jacks on the back of the console.
Plug the other end of the telephone line cords into the 2-line telephone wall jacks.
Insert the connector of the power adapter to the power jack on the back of
the console.
Connect the plug head of the power adapter to the power outlet that is not
controlled by a wall switch.
Once the installation is successful, you can make and receive calls on the
console. Now, you can also register your cordless devices or start to configure
your console.
1.
2.
3.
4.
5.
Option 2: If you have two 2-line wall jacks, install your console, as shown below.
Line 1/2Line 3/4
 Loading...