Figure 2-6: S3 DIP Switch setting for Auto Discovering Devices
2.4.3 Manually Selecting Your Equipment
A laptop or PC is required to do this. This cannot be done for BST or WHM. Note, this is the only
way to configure the Protonode for the MFC boilers.
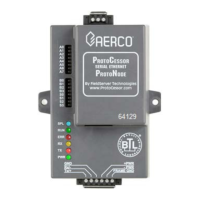
The ProtoNode’s device port can be pre-configured for your equipment. Leave the S3 dip switch
in the OFF position and follow the instructions below:
1. Be sure the ProtoNode is already configured as outlined in Section 2.3.
2. Select the desired field protocol as outlined in Section 2.4.1.
3. Follow Section 4.1 to connect your PC or laptop to the Ethernet port.
4. Open a web browser on your PC
5. Enter the IP Address of the ProtoNode – the default address is: 192.168.1.24. The
“Configuration Parameters” page appears.
6. Go to the bottom of the page and find the “Active Profiles” section. This is where you can
add equipment profiles. Be sure the desired field protocol is already selected, as in Step 2;
if the field protocol is changed after the equipment profiles are selected, they become
invalid and must be cleared and re-selected again.
7. If any profiles are present and not desired, select them and click Remove.
8. Select your desired profiles and click Add.
9. Enter the Node ID or equipment address.
10. Select the “Current Profile” of the equipment from the drop-down box.
11. Once your information is correct, click on Submit, or click Cancel and enter your
information again.
12. Repeat steps 8 to 11 to add more equipment profiles, as needed.
13. After selecting all your equipment profiles, click the System Restart tab on the bottom to
update the ProtoNode.
2.5 BAS Network Settings: MAC Address, Device Instance and Baud
Rate
2.5.1 BACnet MS/TP (FPC-N34): Setting the MAC Address for BAS Network
• Only 1 MAC address is set for ProtoNode regardless of how many devices are
connected to ProtoNode.
 Loading...