Disassembly
Service Manual 5-15
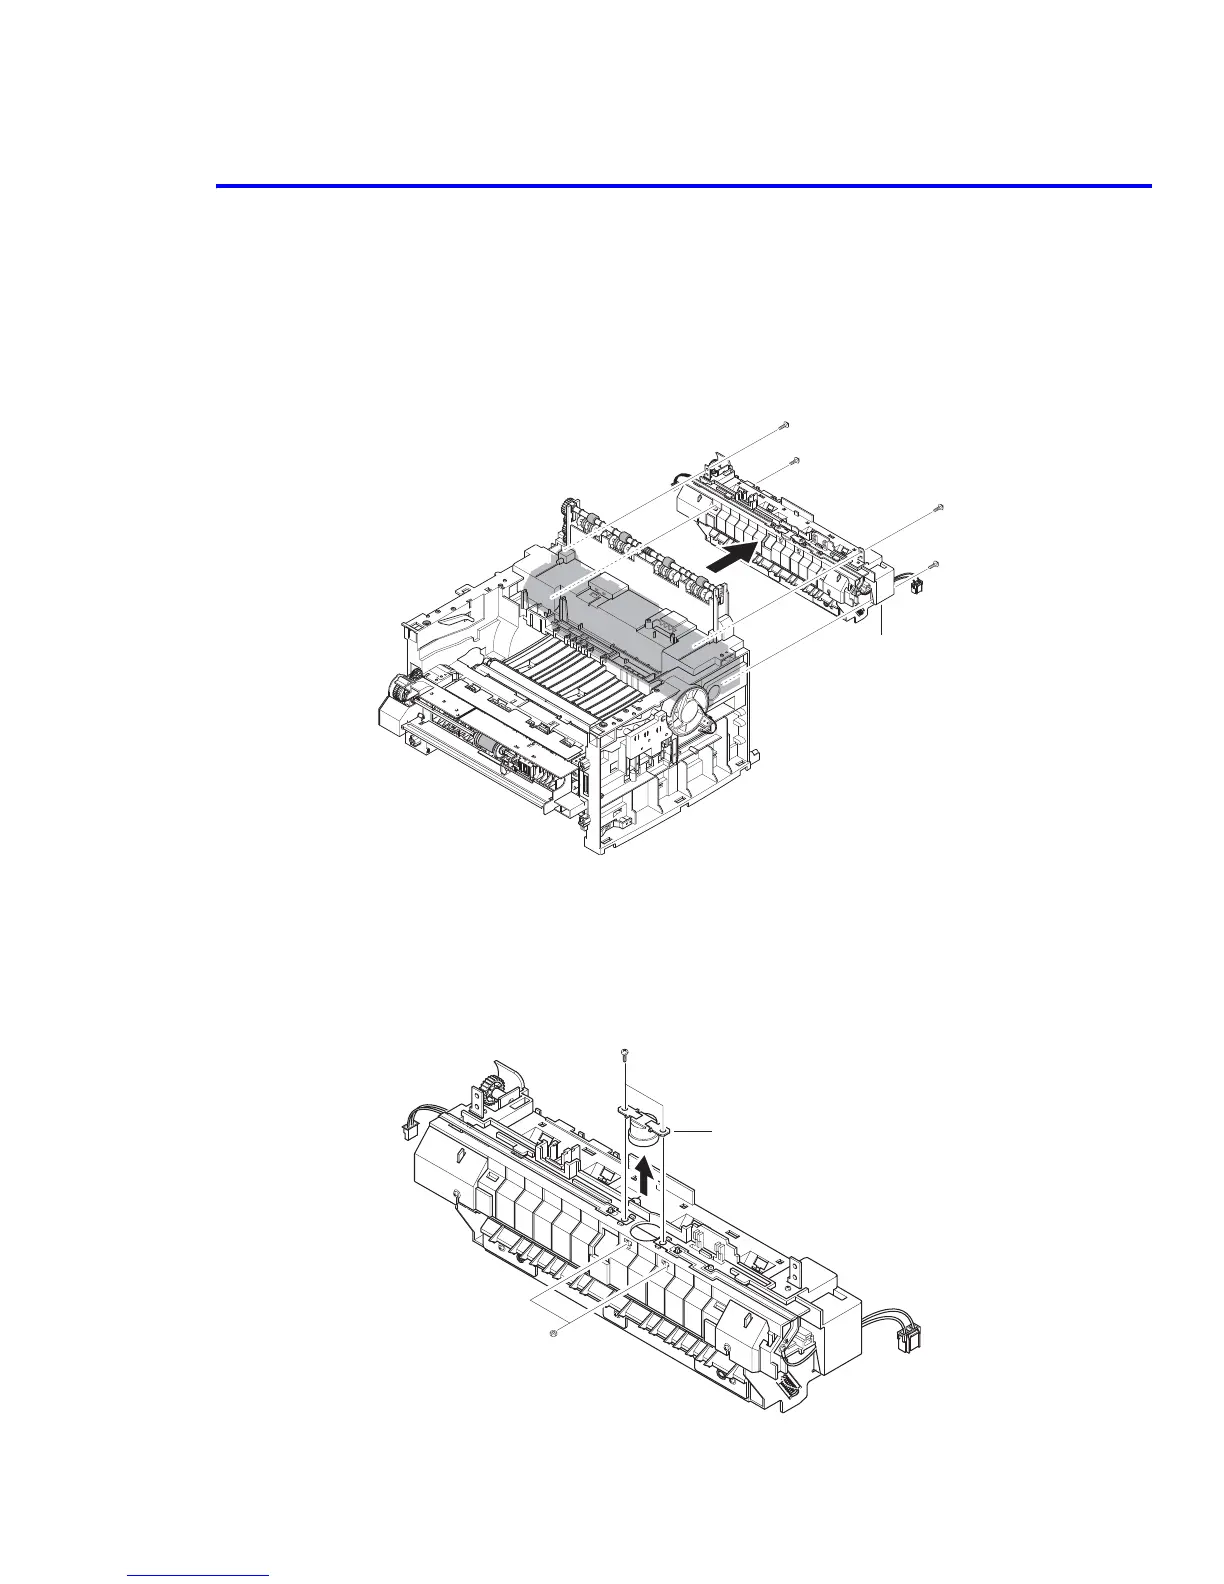
5.11 Fuser Assembly
Warning
The fuser assembly is HOT. Let the fuser cool before removing.
1. Remove the rear cover, see "5.4 Rear Cover" on page 5-5.
2. Unplug 2 connectors, one from the main board and one from the SMPS.
3. Remove 4 screws securing the fuser assembly.
Caution
When removing the thermostat, the 2 screws are secured by nuts that are not captured. These can
fall out and get lost if you tip the fuser assembly.
4. Remove the 2 screws securing the thermostat and lift the thermostat out.
Fuser Ass'y
Thermostat
 Loading...