Disassembly
Service Manual 5-19
5.13 Laser Scanner Unit (LSU)
1. Remove the front cover, see "5.2 Front Cover" on page 5-3.
2. Remove the rear cover, see "5.4 Rear Cover" on page 5-5.
3. Remove the top cover, see "5.5 Top Cover" on page 5-6.
4. Remove the left and right covers, see "5.7 Side Cover (Left and Right)" on page 5-8.
5. Remove 1 screw to the control panel board and remove the board.
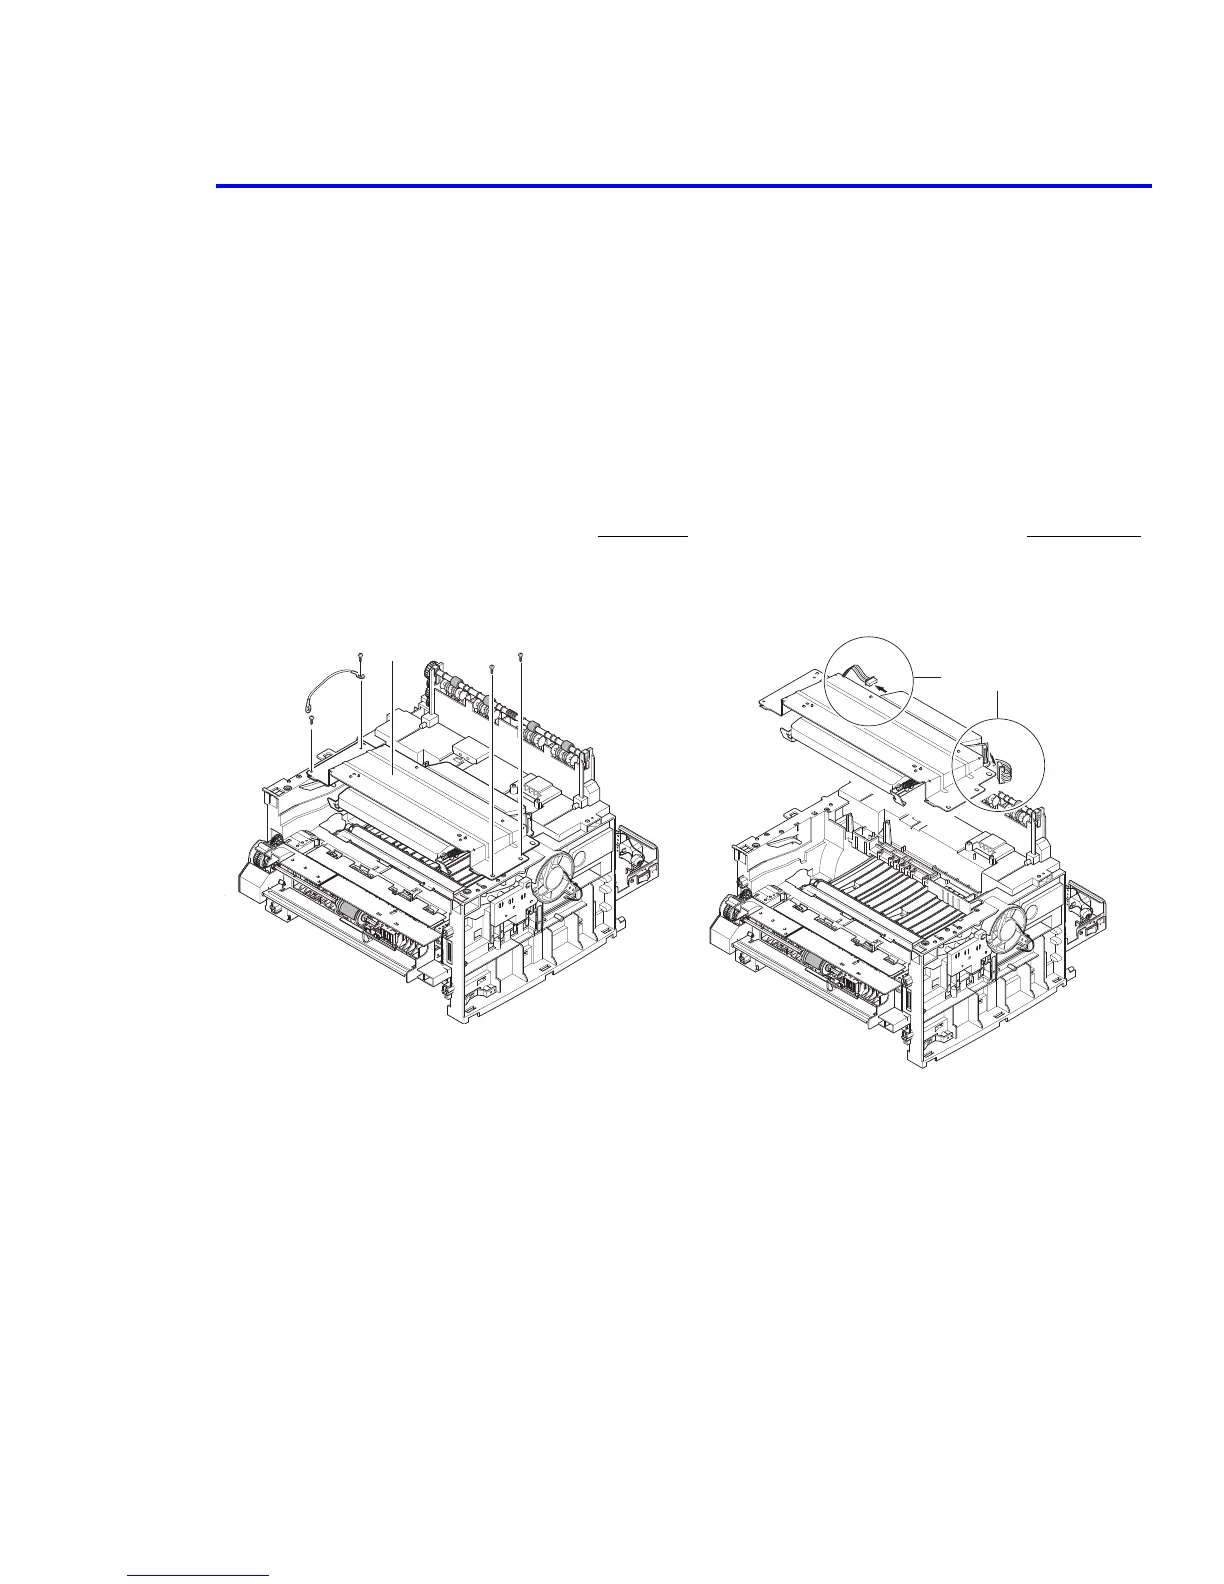
6. Remove the 4 screws securing the LSU.
Caution
Be careful not to get fingerprints on the window of the laser unit (bottom of assembly).
Note
The laser unit securing screws are numbered and need to be tightened down in the correct order
when reassembling.
7. Disconnect the two connectors to the LSU, and remove the laser unit
LSU
Connector
 Loading...