8-17
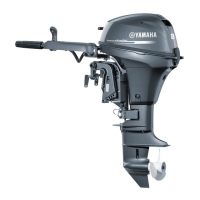
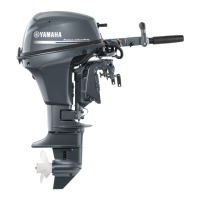
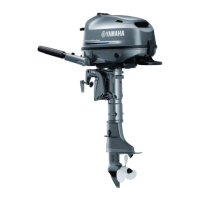
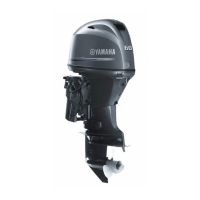
Lower unit
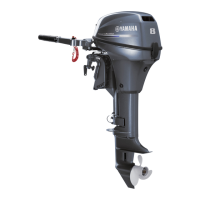
10. Place a block of wood between the anti-
cavitation plate and the propeller to keep
the propeller from turning, and then
tighten the propeller nut.
11. Install a new cotter pin o. NOTICE: Do
not reuse a cotter pin, always replace
it with a new one.
12. Fill the lower unit with gear oil up to the
proper level. See steps 5–8 in “Changing
the gear oil” (10-9).
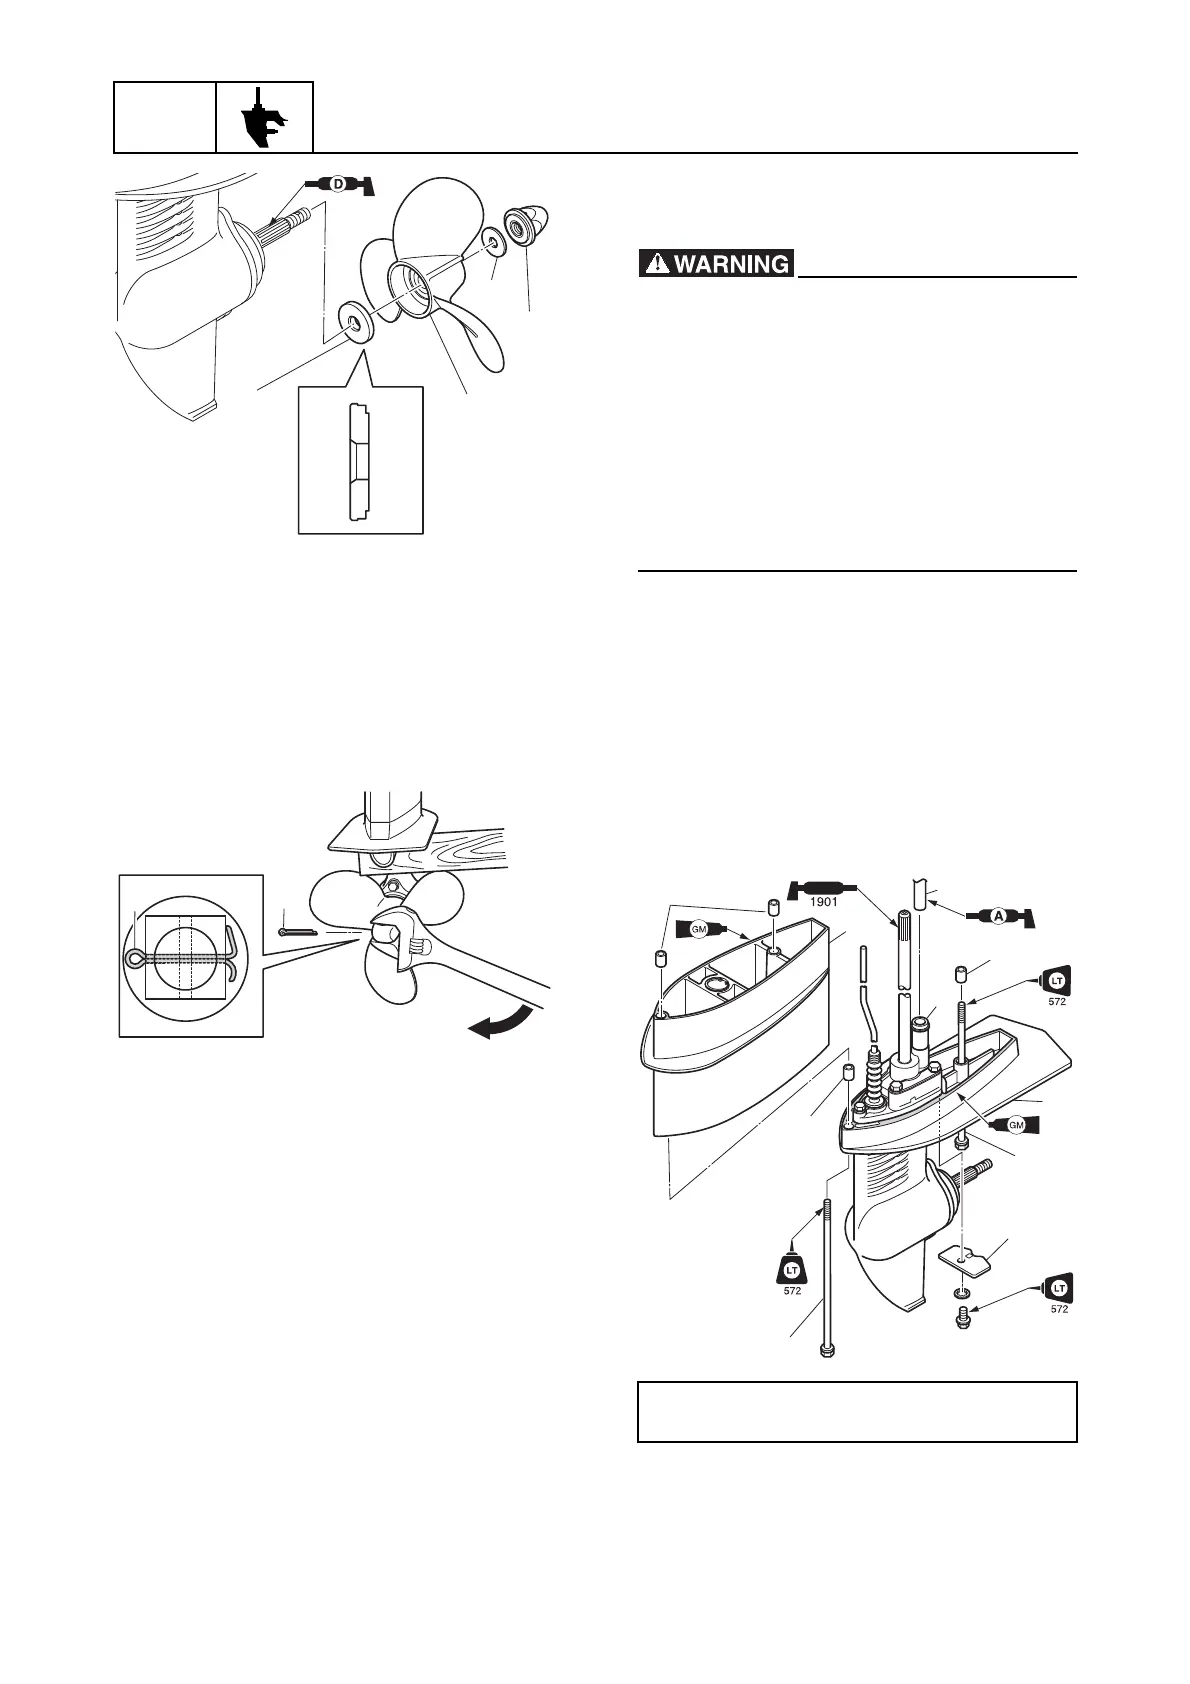
Installing the lower unit (L-transom
model)
• Make sure to remove the clip from the
engine shut-off switch.
• Do not hold the propeller with your
hands when loosening or tightening the
propeller nut.
• When installing the lower unit with the
power unit installed, make sure to sus-
pend the outboard motor. If the outboard
motor is not suspended, it can fall sud-
denly and result in severe injuries.
See steps 1 and 2 in “Installing the lower unit
(S-transom model)” (8-16).
1. Install the dowels a and extension b.
2. Install the lower unit c to the upper case,
and then tighten the lower case mounting
bolts d to the specified torque.
3. Install the anode e.
o
o
Lower case mounting bolt d:
15 N·m (1.5 kgf·m, 11.1 ft·lb)
 Loading...