130 PSR-A3000 Owner’s Manual
Step Recording (EDIT)
This section applies to step 4 of the Basic Procedure on page 125. After selecting a Section and make other settings
on the BASIC page, call up the STEP RECORD display via the instructions below, then carry out Step Recording.
1) From the BASIC page, while holding down the [F] (REC CHANNEL) button, press one of the [1 ]–[8 ]
buttons to select the desired channel as the recording target.
2) Use the TAB [F] button to call up the EDIT page.
3) If “SYS/EX.” is shown at the position corresponding to the [F] button, press the [F] button to call up the Channel
Edit display.
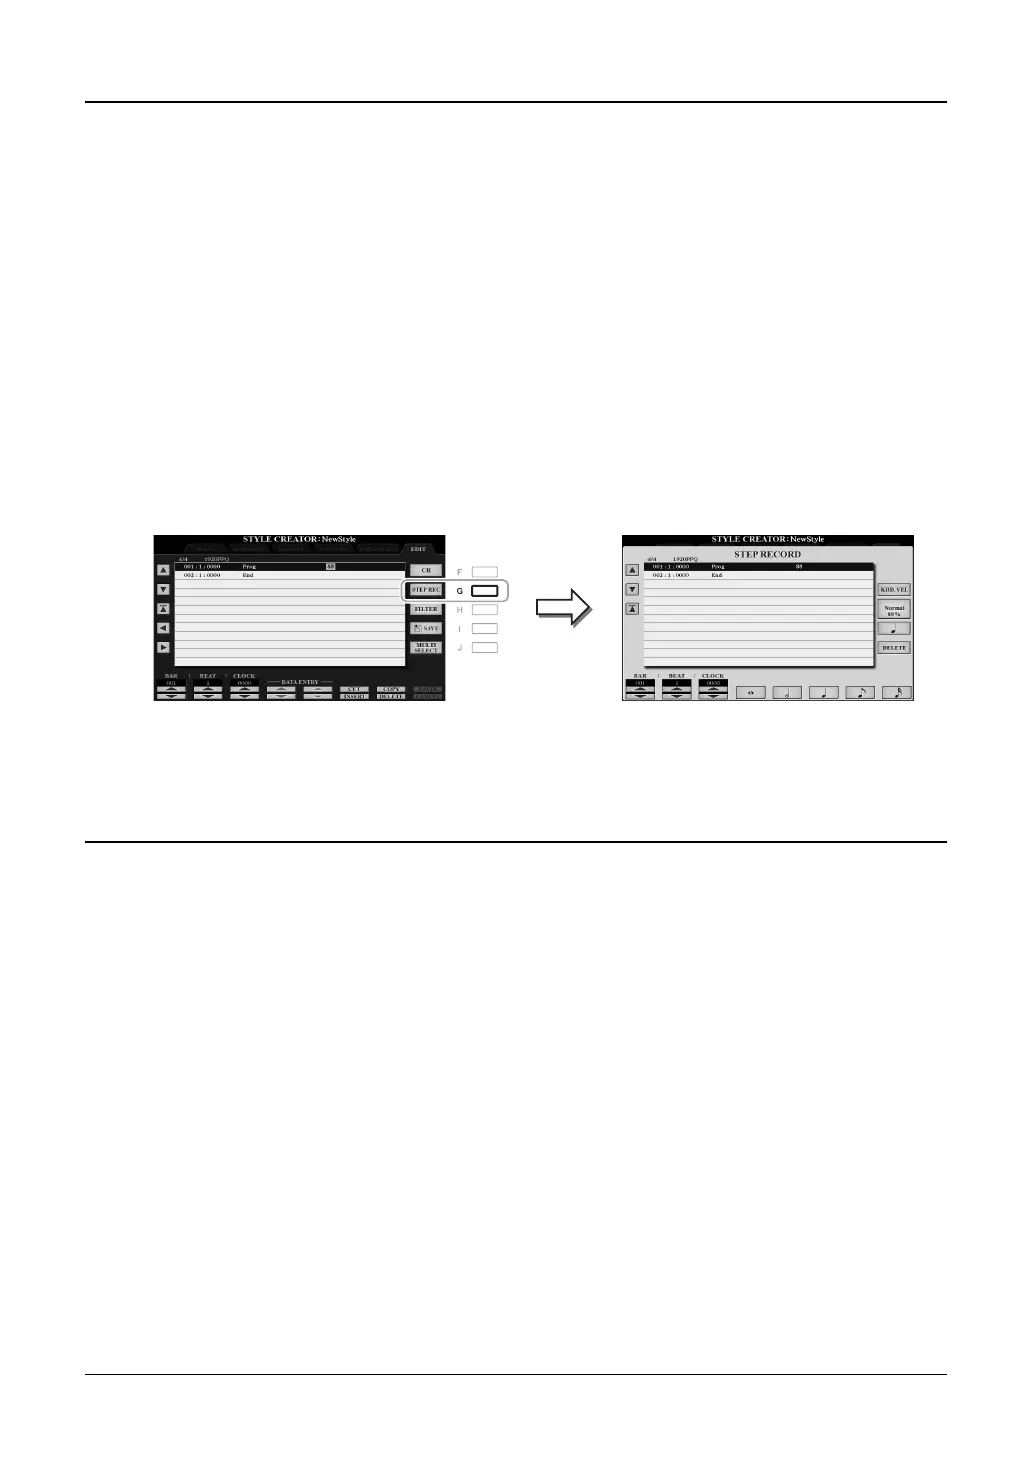
4) Press the [G] (STEP REC) button to call up the STEP RECORD display.
The Step Recording procedure in the Style Creator is essentially same as that in Song Creator (pages 152–155),
with the exception of the following points:
• Unlike in Song Creator, the “End” mark position cannot be changed in the Style Creator. This is because setting
the Pattern Length on the BASIC page determines the “End” mark position. For example, if you select a Section
of four measures or you set the Pattern Length to “4” on the BASIC page, the “End” mark position is automati-
cally set to the end of the fourth measure, and cannot be changed.
• Unlike in Song Creator, a Recording channel can be set on the BASIC page. It cannot be set on the EDIT page.
• Unlike in Song Creator, Chord and Lyrics data cannot be entered. This is because such data is not necessary for
Style playback.
For instructions on Step Recording, refer to pages 152–155. For information on the EDIT page (called as Event List
display in Song Creator), refer to page 165.
Style Assembly (ASSEMBLY)
This allows you to copy channel data as a Source Pattern from another preset Style to the currently created Style.
Use this function if you find a favorite rhythm pattern, bass line, chord backing or phrase from another Style.
The instructions below apply to step 4 of the Basic Procedure on page 125. After selecting a Section and make other
settings on the BASIC page, carry out the instructions below.
1 Call up the operation display.
[FUNCTION] TAB [F] MENU 2 [A] STYLE CREATOR TAB [E][F] ASSEMBLY
2 If necessary, select the Section to be edited.
Even if the Section to be edited has already been selected on the BASIC page, you can change the Section also
on this page. Press the desired Section button on the panel to call up the SECTION window, then press the
[8 ] (OK) button to actually enter the selection. If you want to select a fill-in section (which has no panel
button), press any one of the Section buttons and use the [6 ]/[7 ] buttons to select a fill-in, then press
the [8 ] (OK) button.

 Loading...