User Guide for the CP920 HD IP Conference Phone
22
Enter the profile name, SSID, WPA shared key in the corresponding fields.
b) If you select WPA-PSK or WPA2-PSK from the pull-down list of Security Mode:
Select the desired Cipher type (TKIP, AES or TKIP AES) from Cipher Type field.
Enter the profile name, SSID, WPA shared key in the corresponding fields.
5. Tap the Save soft key to accept the change or Back soft key to cancel.
The connected wireless networks will be saved to the storage network list. The Known
Network(s) can store up to 5 wireless networks, you can specify the priority to connect to the
corresponding wireless network.
Viewing the Wireless Network Information
To view the connected wireless network information via phone user interface:
1. Tap Menu ->Settings -> Basic Settings->Wi-Fi->X available networks (X is the
numbers of available networks).
2. Tap or to highlight the desired wireless network.
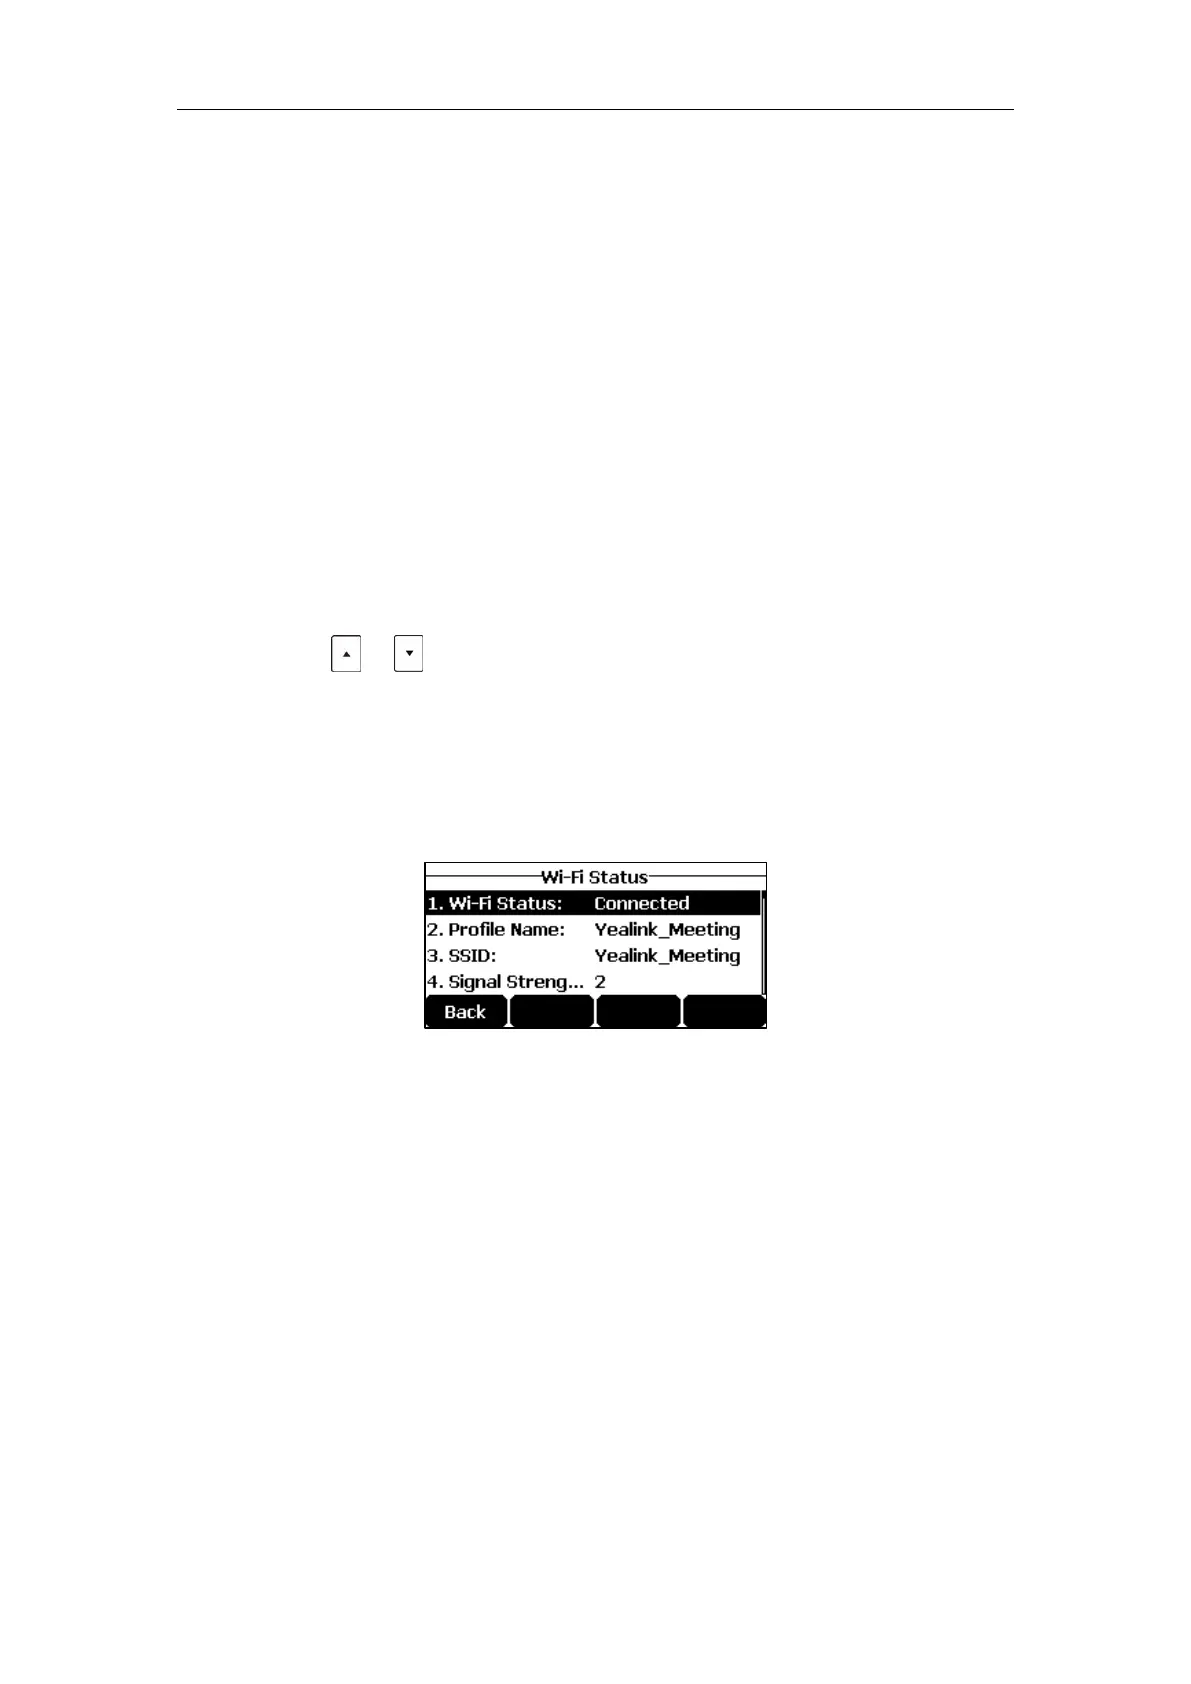
3. Tap the Detail soft key to view the detailed wireless network information (e.g., Profile
Name, SSID or Signal Strength).
If the IP phone is being connected to a wireless network successfully, you can also tap
Menu ->Settings -> Basic Settings ->Wireless Status to view the connected wireless
network information.
Managing the Saved Wireless Network
Once the IP phone has ever connected to wireless network successfully, the wireless network
profile will be saved in Known Network(s) list. The next time you enable Wi-Fi feature, the IP
phone will be automatically connected to the wireless network which has the highest priority
(the top one). Up to 5 wireless network profiles can be saved in Known Network(s) list. If you want
to add a new one when the IP phone has already saved 5 wireless network profiles, please delete the
older saved profile before adding.
 Loading...