32 CHAPTER 3: FEATURES AND SPECIFICATIONS
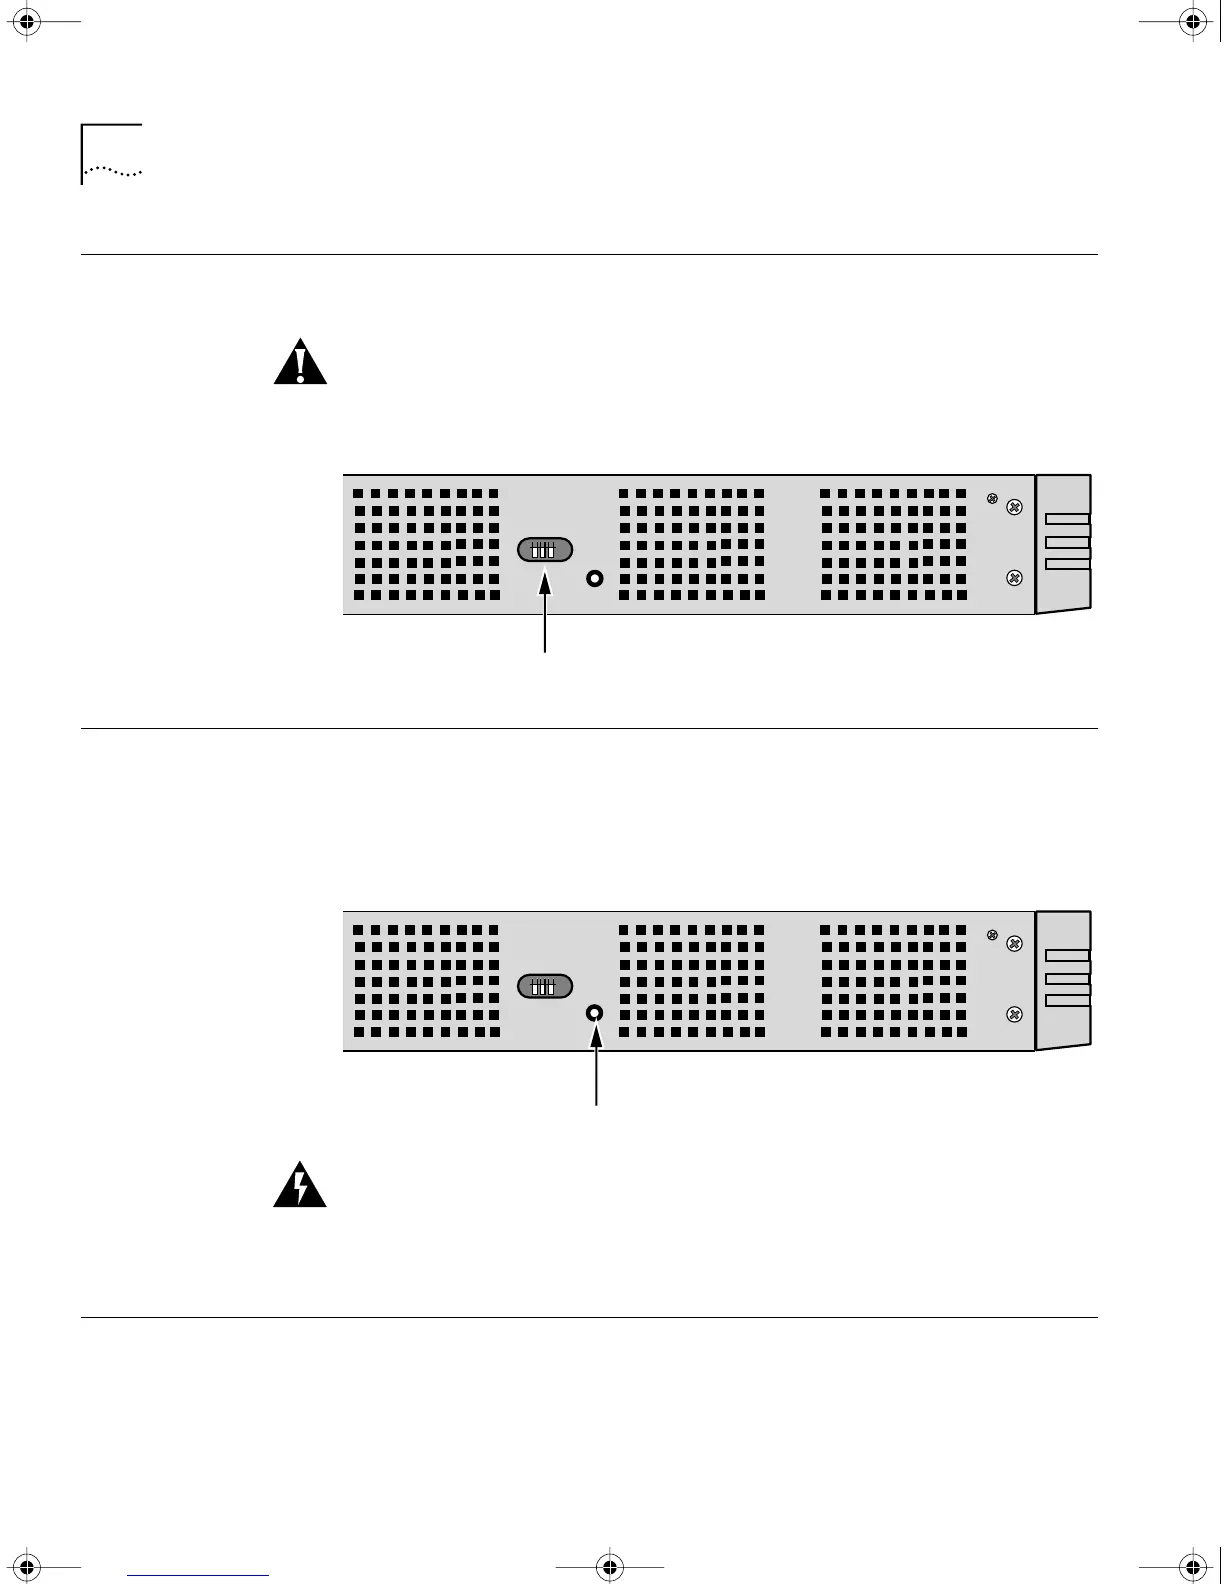
DIP Switches DIP switches are located on the left side of the bridge/router (when facing
the front panel) and are for 3Com use only.
CAUTION: To avoid accidentally erasing your flash memory or
reinitializing the EEPROM, make sure all switches are in the down
position.
Hardware Interrupt
Switch
The hardware interrupt switch is located on the left side of the
bridge/router (when facing the front panel). It is recessed into an opening
near the DIP switches. Press the switch with a nonconductive object, such
as a plastic stylus, to activate the monitor firmware utility.
WARNING: Use only a nonconductive object, such as a plastic stylus, to
press the hardware interrupt switch. Do not use the tip of a pencil.
Graphite particles from the pencil may cause you to receive an electric
shock and may damage components on the motherboard.
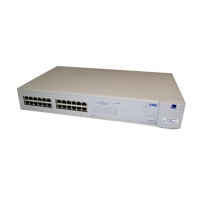
Reset Button Pressing the Reset button resets the bridge/router. The reset button on
the model 4xx bridge/router is on the front panel as shown in Figure 4.
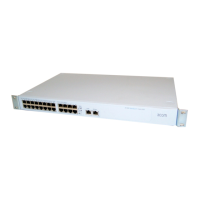
The reset button on the model 5xx bridge/router is on the left side of the
bridge/router (when facing the front panel) as shown in Figure 5.
Left side of unit
DIP switches
Left side of unit
Hardware interrupt switch
HWBook Page 32 Friday, June 19, 1998 3:42 PM
 Loading...