5
INSTALLING OR REMOVING AN
I
NTERFACE MODULE
This chapter describes how to install or remove interface modules in
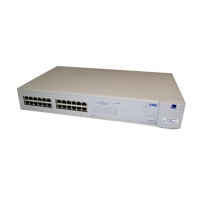
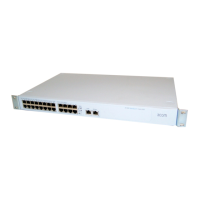
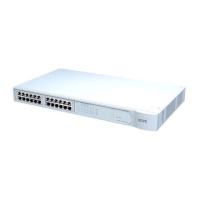
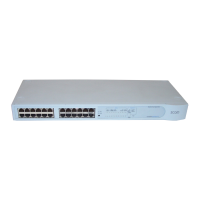
SuperStack II NETBuilder SI bridge/routers.
The following table lists each model number and the interface module it
contains.
You can change any model 4xx bridge/router to another model 4xx, or
any model 5xx bridge/router to another model 5xx bridge/router by
installing, removing, or replacing the interface module.
Removing the
Cover
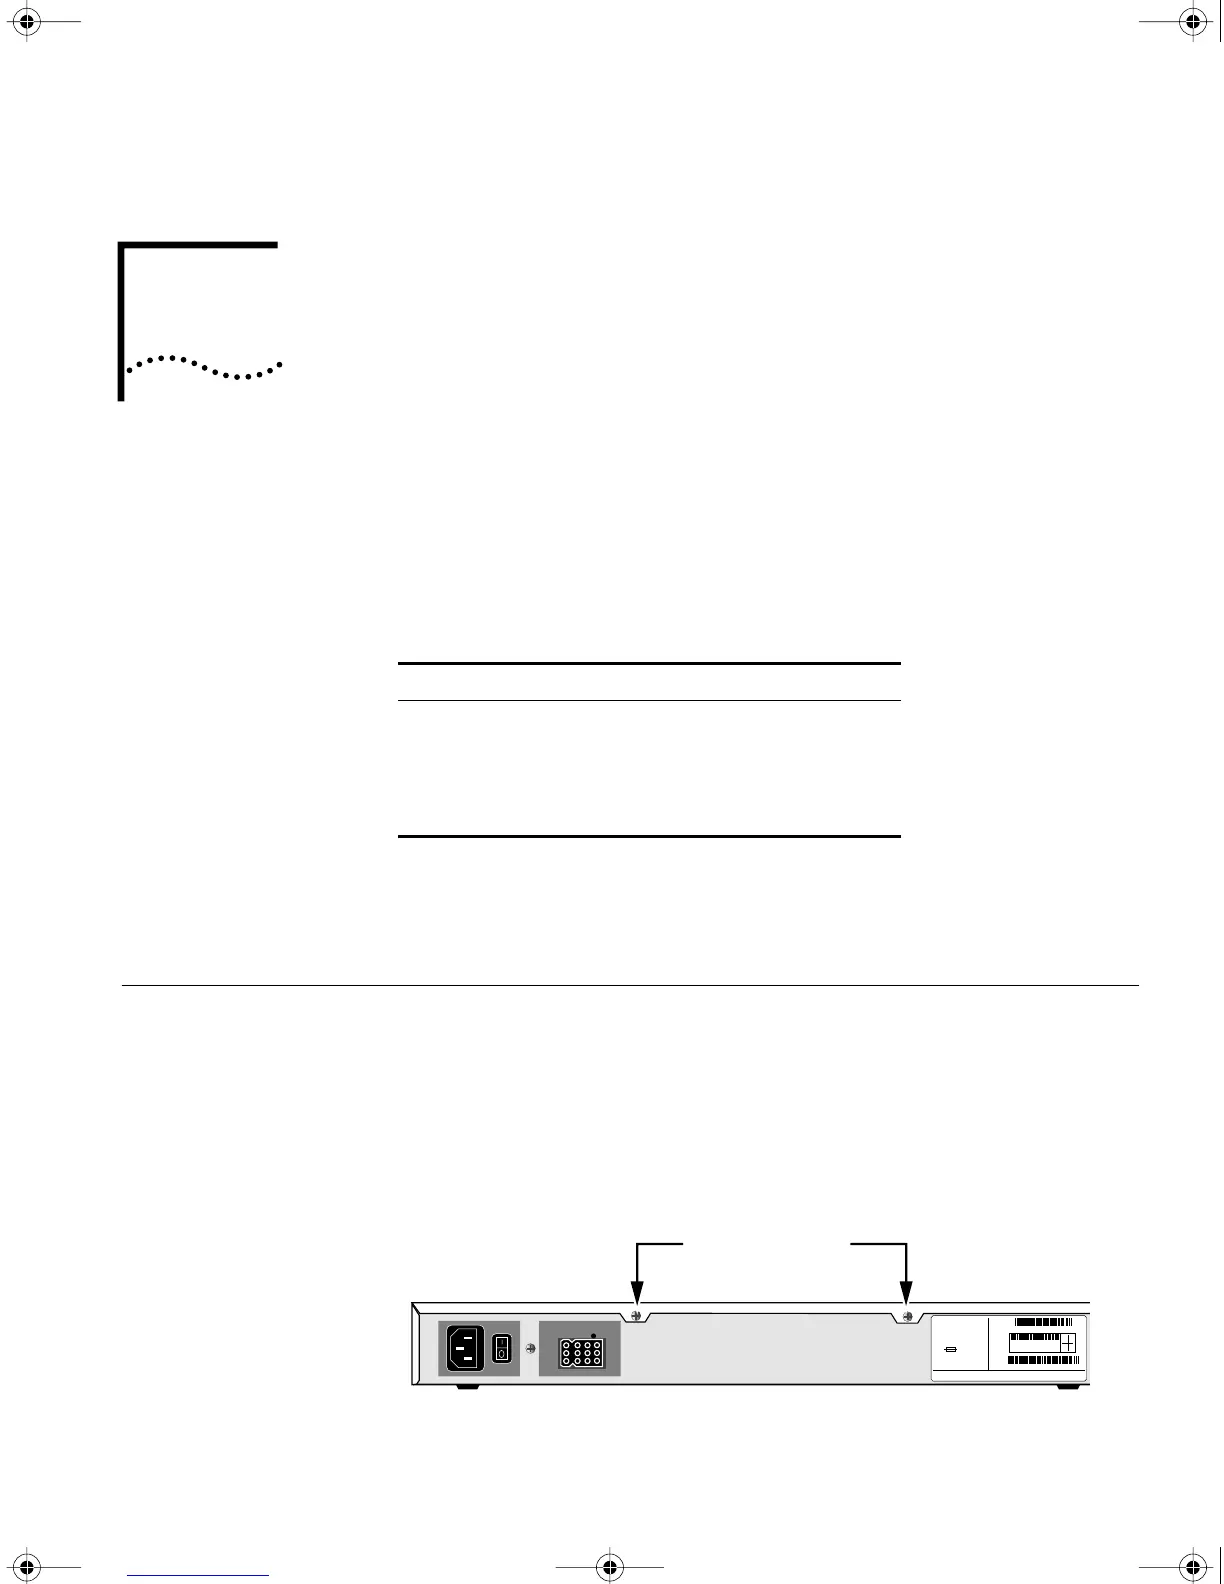
To remove the cover, follow these steps:
1 Remove the power cord and all cables from the chassis.
2 If the bridge/router is mounted with brackets, unmount it and remove the
brackets.
3 Remove the two screws from the back of the chassis.
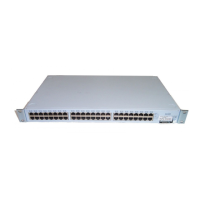
Model Module Installed
43x/53x ISDN S/T port with no interface module
44x/54x ISDN U interface module
45x/55x 56/64 Kbps CSU/DSU module
46x/56x T1/FT1 CSU/DSU module
Remove screws
MODEL: xxxxxxx
xxxxxx
NETBUILDER
xxx
S/N:
1SC05427
100-240VAC, 50/60HZ, 1.0-0.5A
250V, F2A
8.3
FOR CONTINUED PROTECTION
AGAINST FIRE HAZARD
REPLACE FUSE ONY WITH
SAME TYPE AND RATING
NTWK
ADDR:
3COM CORP.
SANTA CLARA, CA. MADE IN USA
080002 04BA1E LAN
04BA1F
04BA20
04BA21
WAN-A
WAN-B
WAN-C
20-0261-000
07/31/95
HWBook Page 59 Friday, June 19, 1998 3:42 PM
 Loading...