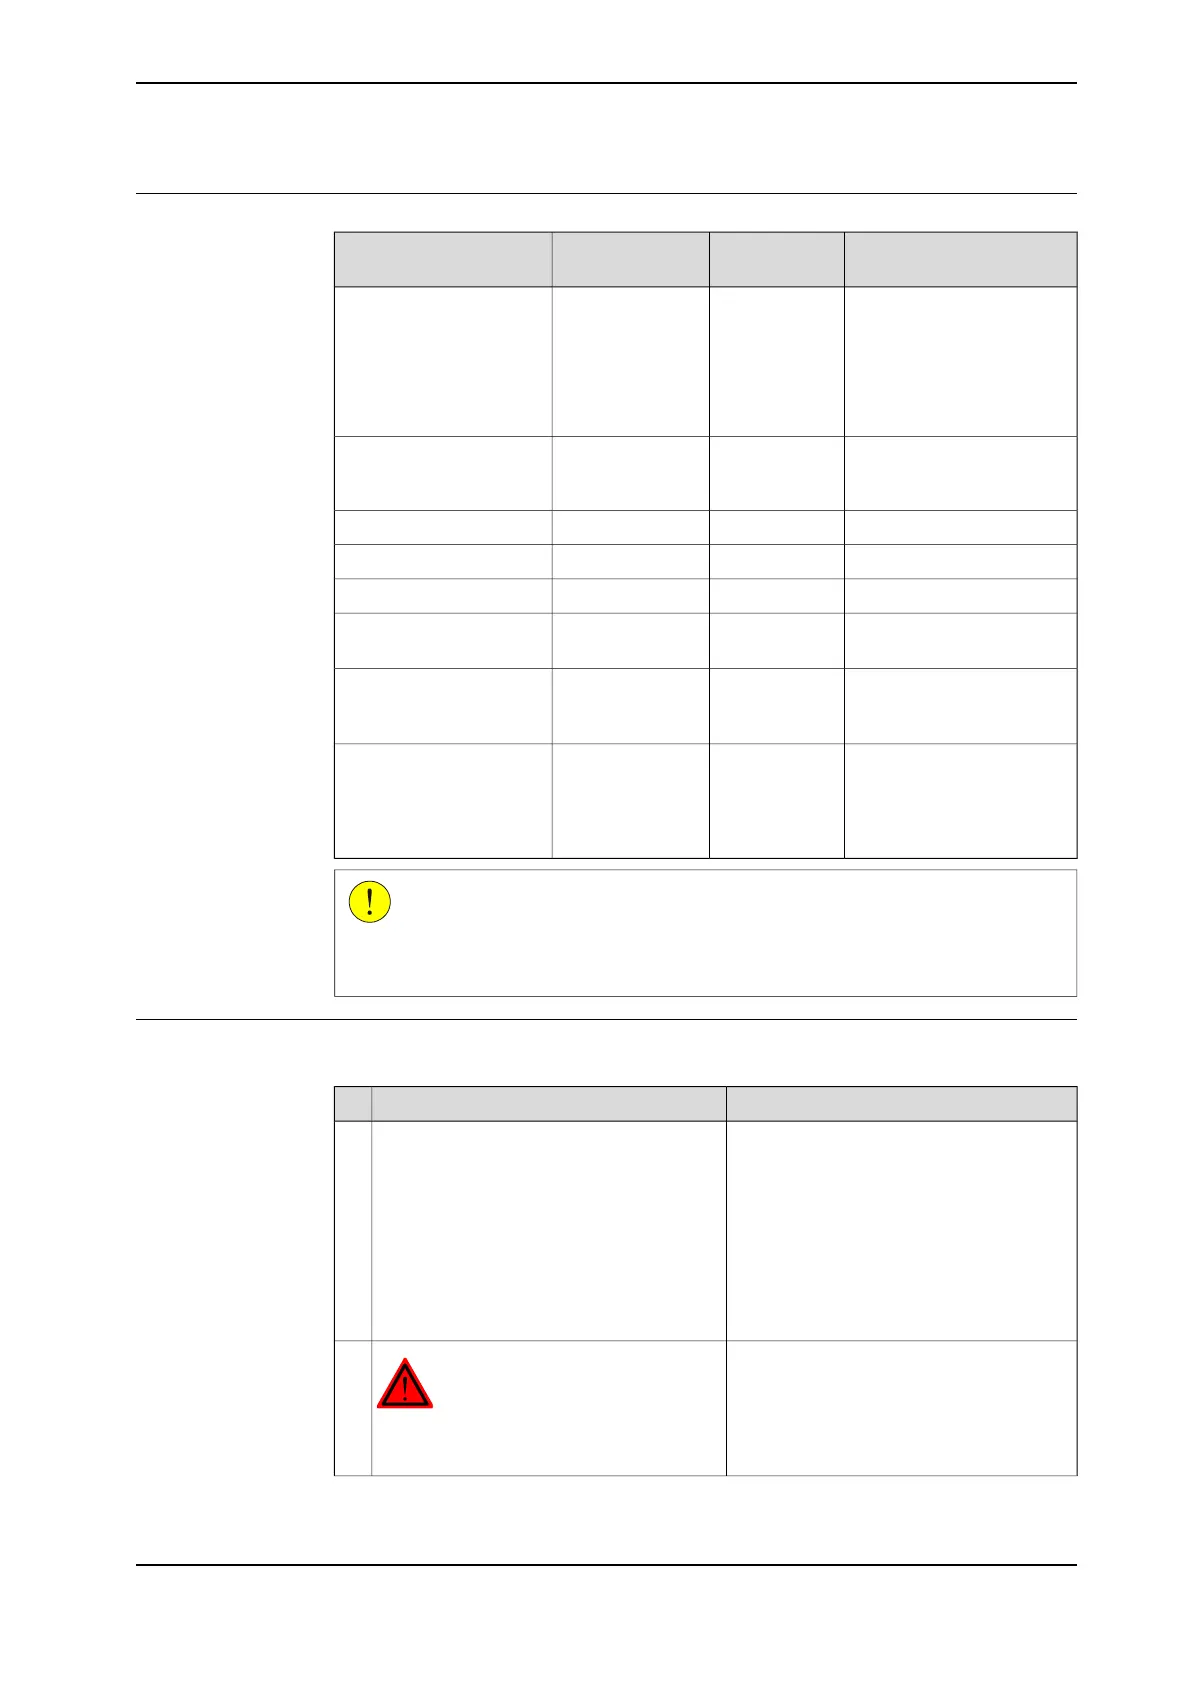
Required equipment
NoteArticle numberSpare part num-
ber
Equipment, etc.
Includes:
• cabling
• covers, motor 1-3
• attachment screws
• gaskets, motor axes
1-3
3HAC4791-1Cable unit axes 1-3,
Standard
Sealing in the base for the
cables. Always use a new
sealing.
3HAC4113-1Sealing
3HAC3200-1Gasket, cover
2166 2055-3Cable straps, outdoor
Loctite 57412340011-116Flange sealing
See the chapter Circuit dia-
gram on page 235.
Circuit diagram
The content is defined in
the section Standard tools
on page 229.
Standard toolkit
These procedures include
references to the tools re-
quired.
Other tools and proced-
ures may be required. See
references to these pro-
cedures in the step-by-
step instructions below.
CAUTION
Always cut the paint with a knife and grind the paint edge when disassembling
parts. See Cut the paint or surface on the robot before replacing parts on page 117.
Removal, cable unit, axes 1-3
The procedure below details how to remove the cabling of axes 1-3.
Note/IllustrationAction
Axes 2 and 3 may be tilted slightly to im-
prove access.
In order to facilitate refitting of the cable
harness, move the robot to the specified
position:
• Axis 1: 0°
• Axis 2: 0°
• Axis 3: 0°
• Axis 4: 0°
• Axis 5: +90°
• Axis 6: no significance
1
DANGER
Turn off all electric power, hydraulic and
pneumatic pressure supplies to the robot!
2
Continues on next page
Product manual - IRB 2400 121
3HAC022031-001 Revision: P
© Copyright 2004-2018 ABB. All rights reserved.
4 Repair
4.3.1 Replacement of cable unit, axes 1-3
Continued

 Loading...


