442811_a 69
7.5.2 Setting the start points
Teaching-in start points 1. Place the
appliance in the base station.
2. Switch on the appliance with .
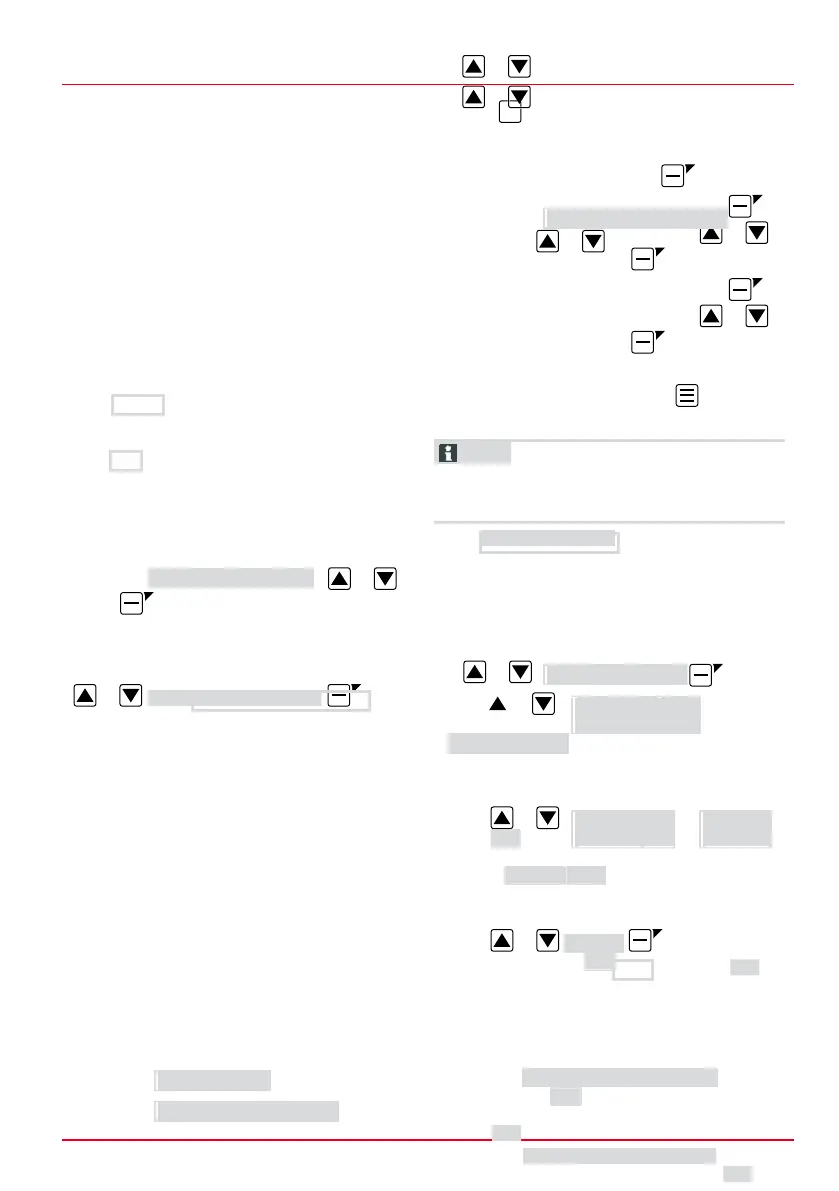
3. Call up the main menu with .
4. or *Programs
5. or *Entry Point
6. or *Interactive teach
7. or *Start interactive entry
point teaching :
■ or Start . The appliance moves along the
boundary cable.
■ or Set when the appliance has reached the
required start point. The start point is
stored.
Settings
8.
if no start point has been specified
during the teaching-in movement. If no
start point has been specified here, the
start points are automatically specified.
9. or Entry point x: XXm
if the last start point has been reached.
Manually specifying start points (01)
The first start point (01/X0) is pre-set and is 1 m to
right of the base station. Other start points can be
defined after this point:
■ Robolinho 500/700/1150: Up to three start
points (X1 – X3)
■ Robolinho 1200: up to six start points
(X1 – X6)
■ Robolinho 2000: up to nine start points
(X1 – X9)
When specifying the start points, heed the
following:
■ Do not set start points too far from the base
station or too close to one another (02/f).
■ Only use as many start points as necessary.
1. *
2. *
Select one digit in sequence with or and
always accept with .
3. *
Select one digit in sequence with or and
always accept with .
4. If necessary, specify further start
points.
5. Return to the main menu with
.
7.5.3 Setting the mowing times
NOTE There must be at least 30 min. between
programming the mowing times and the mowing
start. If not, the appliance starts 30 min after the
last press of the button at the earliest.
In the Weekly Program menu item, the days of
the week and time periods when the appliance
should mow are set. Adapt these settings to the
size of your garden if necessary. If unmown areas
are still visible after approx. one week, increase
the mowing periods.
1. *
■ * : The
appliance
mows every day at the set
times. If is shown, the appliance
only mows on the set days of the week.
■ or *
[X]: The
appliance mows for the set time periods
on the set day of the week. If Monday [
] is shown, for example, the appliance
does not mow on the respective day.
■ or Change : Activate the respective day [X]
or deactivate it [ ] , and set the time
periods, type of mowing and the start
points.
2. Make the settings for every day or the
respective day:
■ e.g. *[M] 07:00-10:00 [?]: Normal
mowing [M] from 07:00 – 10:00 am with
 Loading...