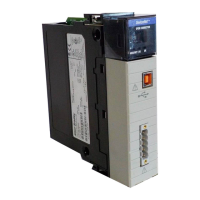
3-10 Installing the 1203-GK5 Module or 1336-GM5 Board
Removing the 1336-GM5
Communications Board
To remove the 1336-GM5 communications board, you need to:
Important: To prevent damage to the board, you must wear a
grounding wrist strap when handling the 1336-GM5 communications
board.
Important: If you are removing the communications board from a
1336 PLUS II, refer to the one-page insert included with the kit for
special mounting instructions.
1. Remove power from the drive, and verify that the drive is not
holding power.
2. Remove power from the DeviceNet network.
3. Unscrew (using a 1/8" flathead screwdriver) and then unplug the
DeviceNet connector from the board.
4. With a #1 Phillips screwdriver, unscrew and remove the four
mounting screws on the board.
5. Making sure not to bend the pins as they slide out of the 14-pin
SCANport connector, gently pull the communications board
away from the main control board.
6. Unscrew and remove the four stand-offs from the main control
board.
!
ATTENTION: Remove all power from the SCANport
product before removing the 1336-GM5 board. Failure
to disconnect power may result in death or serious injury.
Verify all power is removed before installing the
1336-GM5 board.
efesotomasyon.com - Allen Bradley,Rockwell,plc,servo,drive
 Loading...